• Skip to primary navigation
  • Skip to content
  • Skip to primary sidebar
Penny Blogs

Penny Blogs

An insight into the things in life that make me smile

  • Home
  • About Penny
  • Pregnancy
  • Privacy Policy and Disclosure

Decorating

Five years and what do we have to show for it?

April 13, 2023 by Penny Leave a Comment

Oh how I just laughed looking back at some old posts on this blog.

Just over five years ago we moved into our new house. I know clearly that that is how long it is as we’ve just been through the whole painful process of re-mortgaging as our initial (incredibly low) fixed rate period has come to an end. Needless to say that our monthly repayments have gone up. As have everyone else’s.

Nearly four years ago I looked back at how much we’d achieved in our first year of living here and (validly) pointed out that we hadn’t really done all that much as we’d had a baby in that time. A few days later and a burst of enthusiasm had me writing about our unplanned renovation of the downstairs loo, although it seems I never actually got round to showing you the final result. A shame, because we did indeed finish that particular project and it still looks pretty good.

Then we moved into 2020 and we all know what happened next… The blog posts about progress dried up and so did everyone’s social lives.

A two year old child sat on the floor of a newly decorated bedroom looking at books. The carpet on the floor looks very new and on the grey wall is a sticker picture of a large tree with colourful leaves and moneys and owls in it.

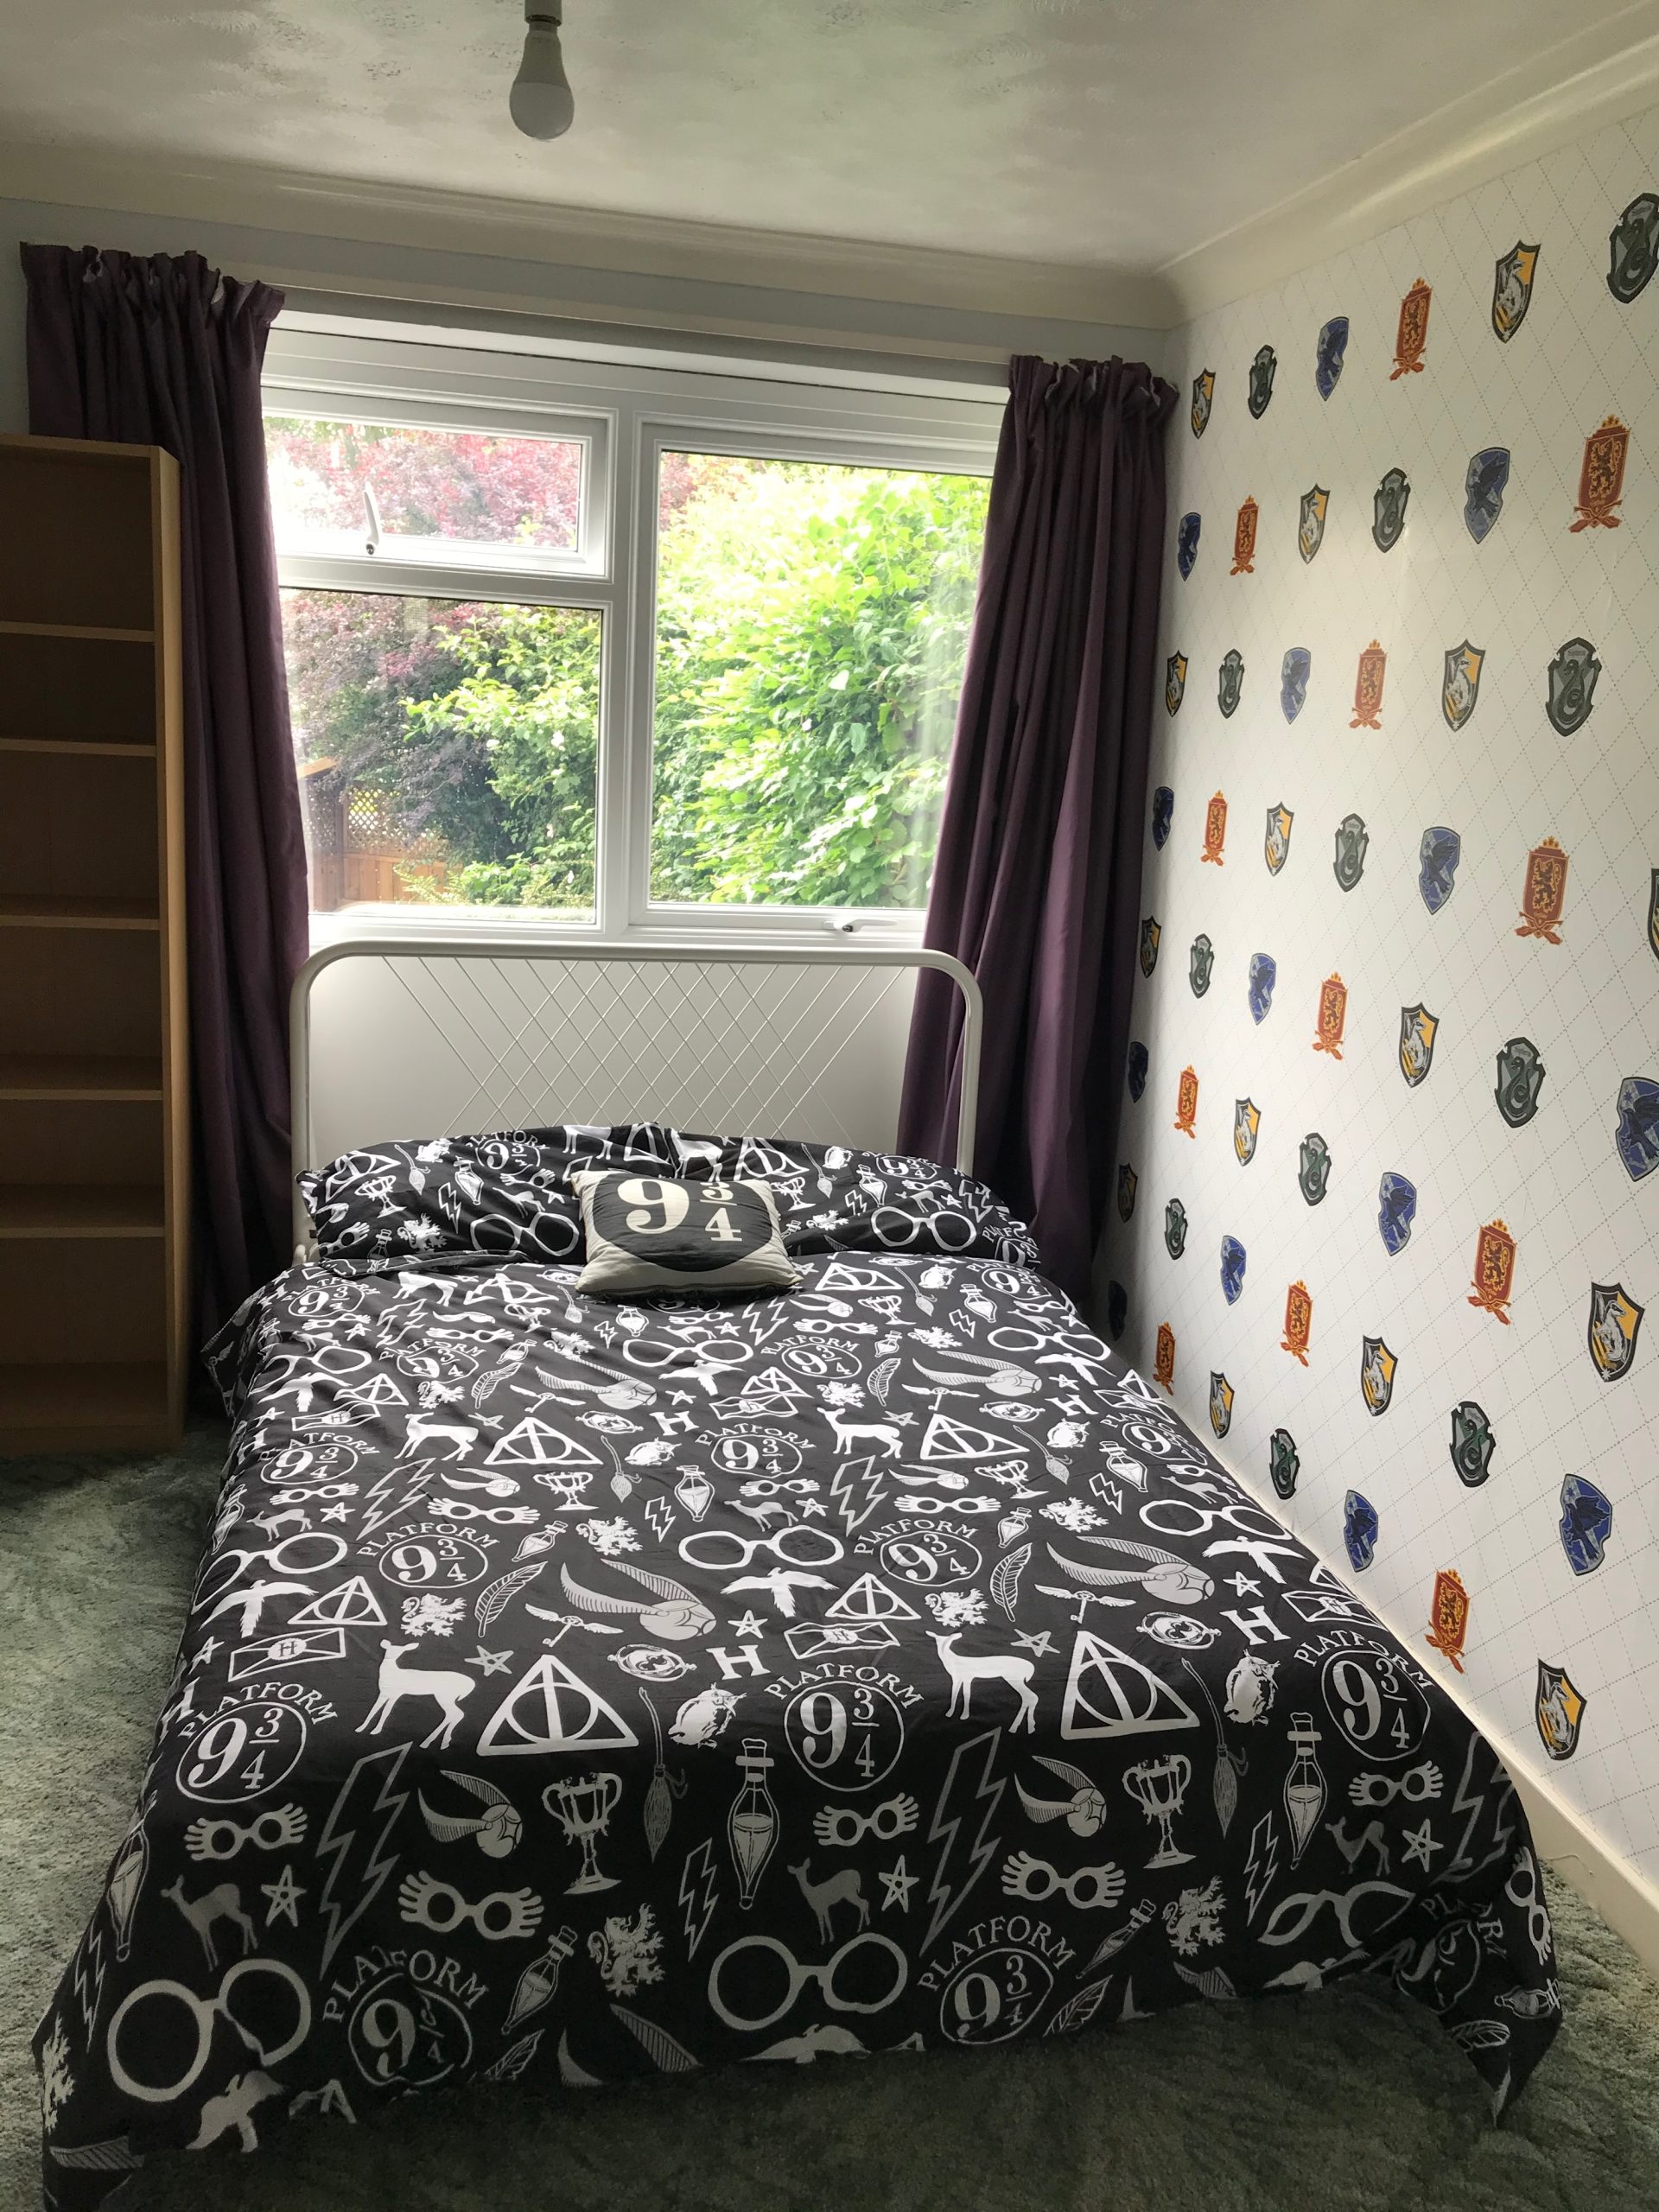
Some things have progressed though – albeit slowly. The youngest finally moved out of our bedroom and into the box room – which we redecorated for her during lockdown conditions. The eldest moved downstairs into the room that my step-daughter had previously used and there was a Harry Potter makeover that included having to source pretty much everything online and making great use of the then newly set up street WhatsApp group to borrow practical things like a pasting table. The living room has been re-jigged and now works so much better for us as a family, but there are plenty of finishing touches in there that still need to happen.

All this has been done on a pretty tight budget with lots of learning new skills. YouTube and the DIY bible my late father recommended dad years ago have both been worth their weight in gold!

The years have also seen us become regular customers of a local roofing company – ironic when you consider that the roof was pretty much the only thing flagged as “green” in the survey we had done when we bought the house. Apart from that, and having to install a new loo when the old one suddenly cracked in two and started leaking(!), the only other thing we’ve paid anyone external to do is fit a carpet. But even then as it was an offcut being used to carpet a box room it only cost me a total of £100 and was another complete bargain.

Other things have stayed the same though. We’re still cooking meals on the “interim” gas cooker that we installed when we moved in. We always said that we’d get the kitchen done soon as we needed a bigger oven and the existing space only gave us 55cm to fit on into. Needless to say I’m still putting in oven trays at an angle to cook a Sunday roast as they’re too wide for the oven otherwise. Roast potatoes cooked “on the wonk” is now a bit of a speciality of mine. My son also still has the thin and sun-bleached carpet in his room that made the removal men laugh when they first saw it. Sorting out his bedroom is still high on the never ending to do list.

As we came to remortgage we knew that despite the new baby and global pandemic excuses our progress on the house has been pretty pathetic really. That’s why we’ve declared 2023 the year of “making things happen” when it comes to the house. I’m pleased to say that we’ve started as we mean to go on with huge steps already taken to make the main family bathroom more usable and at present the whole family is enjoying the benefits of finally having a decent shower, rather than just a pathetic dribble!

What I need to do now though is get back to actually recording what we’re up to in the hope that doing so will help us see how far we’ve come and encourage us to keep pushing it all further. It feels a bit like we’ve failed over the last five years in really turning this house into a home, and I’m determined to use this year to turn that around.

Standby for a series of updates and progress stories!

Filed Under: Decorating, DIY, Interiors, Moving house, New house

A first lick of paint… discovering Frenchic

April 24, 2018 by Penny Leave a Comment

Sometimes something drops into your inbox at exactly the right time. That was the case with an invitation from Frenchic to their Blogger and Media Showcase event in London, which took place last week.

When I first received this I was on the edge of my seat with anticipation about the new house we were in the process of buying. At that point though, despite everything being in place from our end, our vendor’s solicitor was still fast asleep! I didn’t know if accepting the invitation would be tempting fate or not. As it happens, it was probably one of the best things I could do.

Our new home

The house we now own had the same family living it for nearly 50 years. It’s fair to say that nothing has been updated since the 1980s. There are some interesting carpets, lots of floral wallpaper, dated tiles and some very dark wooden doors. It’s not a property with what estate agents would call “character features” but instead has tonnes of potential. We realise that that equates to lots of work, but we are thrilled about the idea of a challenge. We want to be able to put our stamp on the place.

I’ve watched enough upcycling programmes to know that it is possible to do a huge amount with a bit of imagination, lots of enthusiasm and a limited budget, but finding the right materials can be key to success. And that’s where I think Frenchic is going to pay a key part in our home’s transition into properly becoming ours.

Introducing Frenchic

Now, before last week I wasn’t really familiar with Frenchic. The name rang a vague bell, but if I’m honest that was all. A massive lack of funds means that I had been staying out of the shops recently. A fear of jinxing things with the house had stopped me from even pinning interiors ideas on Pinterest.

The fact that the Frenchic day took place just a couple of weeks after moving really make it perfect timing. Since coming onto the market in December 2014, Frenchic’s eco-credentials mean that it has become a firm favourite with everyone looking to update their home or up-cycle in as environmentally friendly a way possible.

Frenchic

There are no hidden chemicals in Frenchic paint and it simply lacks that paint smells that I got so used to using chalk paints in the past. It goes on like a dream, and their range includes genius ideas like an Al Fresco range for use outdoors and also their Lazy range (genius name!) even has the wax already in the paint. That means that once it is dry you don’t need to wax it, just buff it up. In addition to these and their standard chalk and mineral paint, they’ve also got a wall paint, one for trims, and additional products like a crackle glaze (to use between paint coats to give a crackle effect) and waxes and a finishing coat product.

I was blown away at the blogger day when everything was demonstrated to me. As I sat there I was making a mental list of the various parts of my house that need things doing and the products I could use to transform everything. There are wooden fitted wardrobes that need refreshing, old bathroom tiles that need updating, a wooden banister to cover, dark wooden doors that need a lighter shade and a whole 1980s kitchen that is incredibly functional, but as ugly as sin.

Frenchic

I kept my project for the day small to allow me the headspace to come up with more details plans of what I could do where. Encouraged by some of the Frenchic stockists I decided to try my hand at using some of their paint as the base on a little birdhouse. I then went on to decorate with decoupage (another craft that I have strangely never actually tried my hand at).

Decoupage

I kicked off by using the Al Fresco range on this simple wooden birdhouse (available from The Works here). One top tip was to use a light colour if you’re going to decoupage over it, as otherwise your background colour will swamp your decoupage detail.

I then set about with a pile of paper napkins to choose my decoration. Inspired by a birdhouse that one of the staff had already completed, I went for a bumble bee theme. I quickly set about tearing out bumble bees. The trick to decoupage using napkins is to use just the top layer of three ply napkins. Normally this is the only layer that has the picture printed on it. All you need to do to separate the layers I wet your finger and thumb and then press them hard onto the napkin, and hey presto – when you separate them again the napkin comes apart.

I was then taught how to simply use Frenchic Finishing Coat to attach the napkin. Paint a thin layer on then lightly lay your napkin detail in place. Then use some scrunched up cling film, to work from the centre of the picture outwards to squeeze out the excess finishing coat from underneath and also expel any trapped air bubbles. On a bigger surface you can even put a plastic bag over your hand to smooth it out.

Frenchic

I decided to use a complete sheet of napkin to cover the roof of my birdhouse. Then I added further details to the front and sides by tearing out some of the bees. I also added some plants on the sides from a different napkin design. What is strange is just how addictive the whole process was. Suddenly I felt my creative juices flowing and away I went. Several people stopped as they passed by to tell me how much they liked what I was doing. That just seemed to inspire me even more.

Back home

I’m delighted to have come home with a gorgeous finished birdhouse. I am planning to hang in my kitchen to constantly remind me of my first project in this house. There was also a goodie bag packed with Frenchic products, so I can start putting our own stamp on this house. As I sit writing this a week later I’m delighted to say that project number one is already complete. Watch out for a blog post on just that very soon, and I’ve got a couple more planned. I’m also back to pinning like mad on Pinterest for inspiration of what else I can do.

One of the Frenchic team also introduced me to their fantastic Facebook group. It is full of people sharing their Frenchic projects, and is so inspiring!

Be warned, if anything stays still in this house, it now stands a very good chance of me painting it!

Disclaimer: I was delighted to be invited along to the Frenchic blogger and media day. This post includes affiliate links.

Filed Under: Decorating, Interiors, New house, Upcycling Tagged With: chalk paint, Frenchic, upcycling

Primary Sidebar

Google Ads

Categories

  • Baking
  • Blogging
  • Books
  • Business
  • Car Boot
  • Childrens Crafts
  • Collaboration
  • Corona Diary
  • Crafting
  • Crafts
  • Crochet
  • Days Out
  • Decorating
  • DIY
  • Environmental
  • Family
  • Fashion
  • Films
  • Finances
  • Fireworks
  • Food and drink
  • Gardening
  • Gifts
  • Halloween
  • Health and Fitness
  • Home
  • Interiors
  • Knitting
  • Life
  • Moving house
  • Music
  • New house
  • Outdoors
  • Parenting
  • Pregnancy
  • Relationships
  • Romance
  • Sewing
  • Simple things
  • Swimming
  • Television
  • Thrifty
  • Travel
  • Upcycling
  • Vintage
  • Womens Institute
  • Work

Penny on Amazon

Want to find out what I’m recommending over on Amazon at the moment? Take a look here.

Copyright © 2025 · Genesis Sample on Genesis Framework · WordPress · Log in