As I sit here writing this we’re half way through the fifth month of 2024 and I’m delighted to say that my sock knitting project is on track. If anything, thanks to working in a very quiet polling station on the day of the local and Police and Crime Commissioner elections, I’m actually ahead of schedule. But let’s not get ahead here. Pair of socks number two. My third and fourth socks of 2024.
Following on from my first socks of the year this second pair were made following the same pattern, and again using a ball of yarn that I picked dup form the middle aisle in Lidl as an impulse purchase last year. Two different shades of grey and white in a regular repeating pattern.
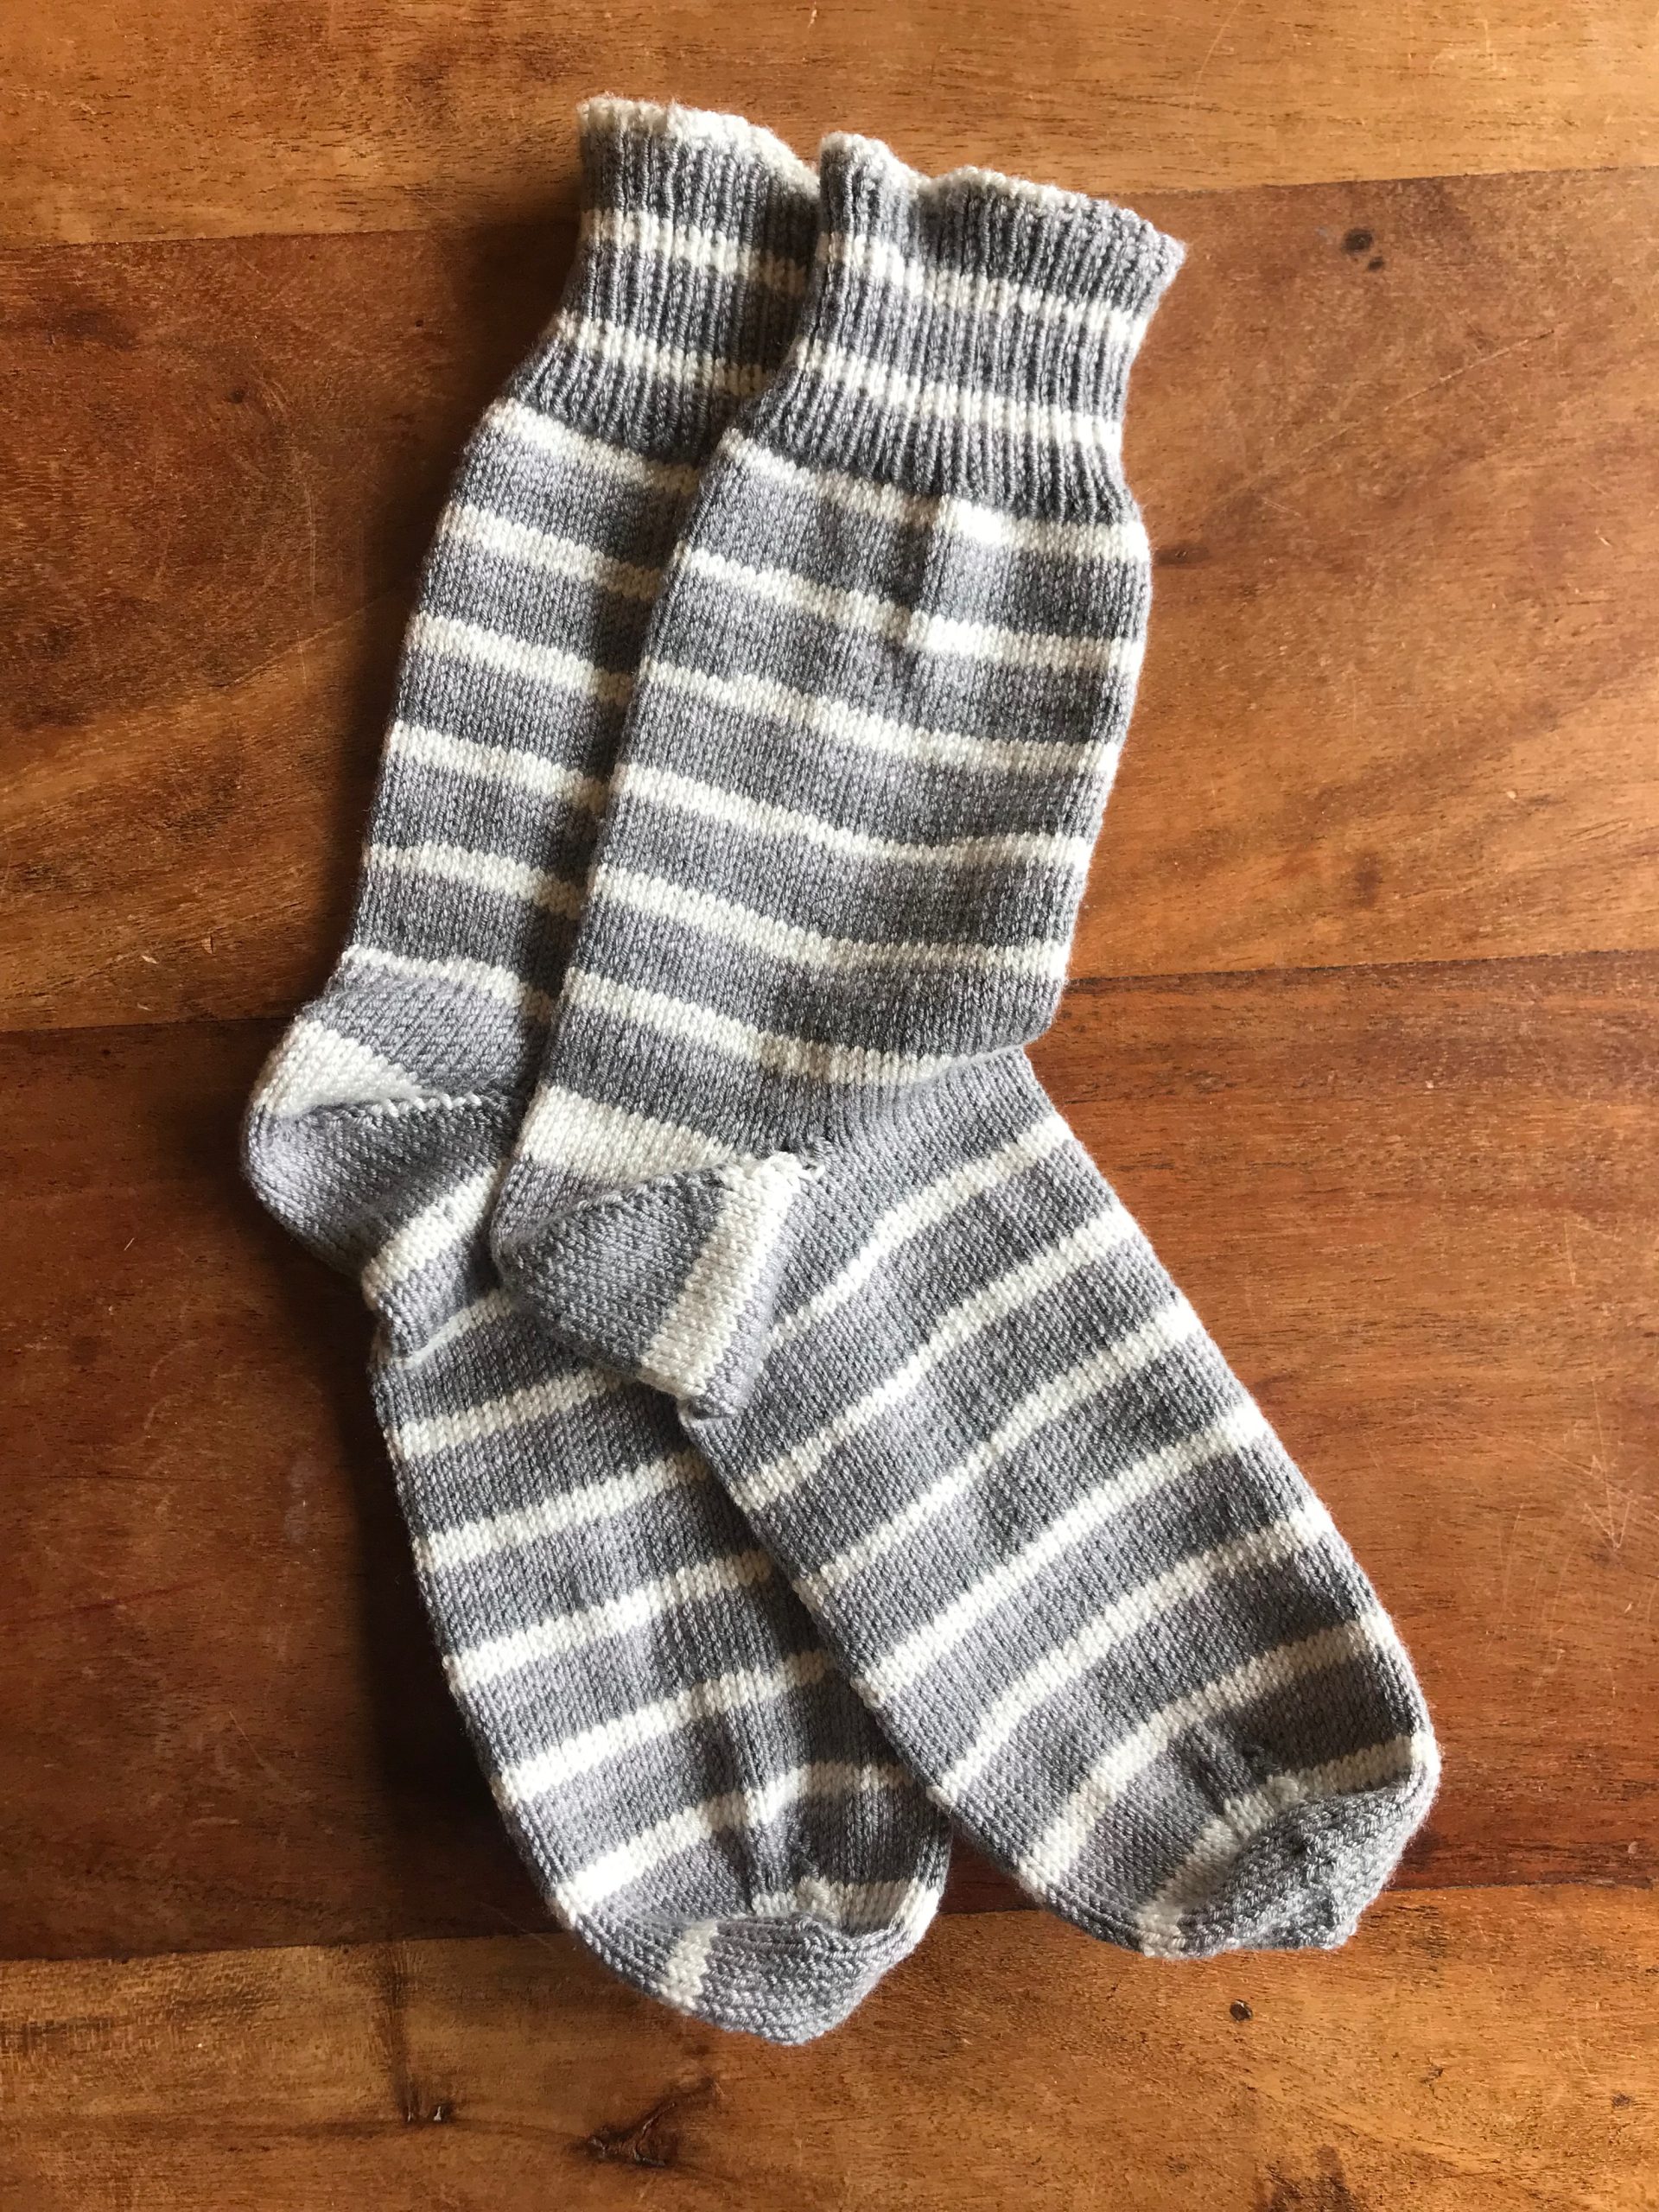
With so little changing from the last pair it should come as no surprise that they fit perfectly, and generally worked up without any problems.
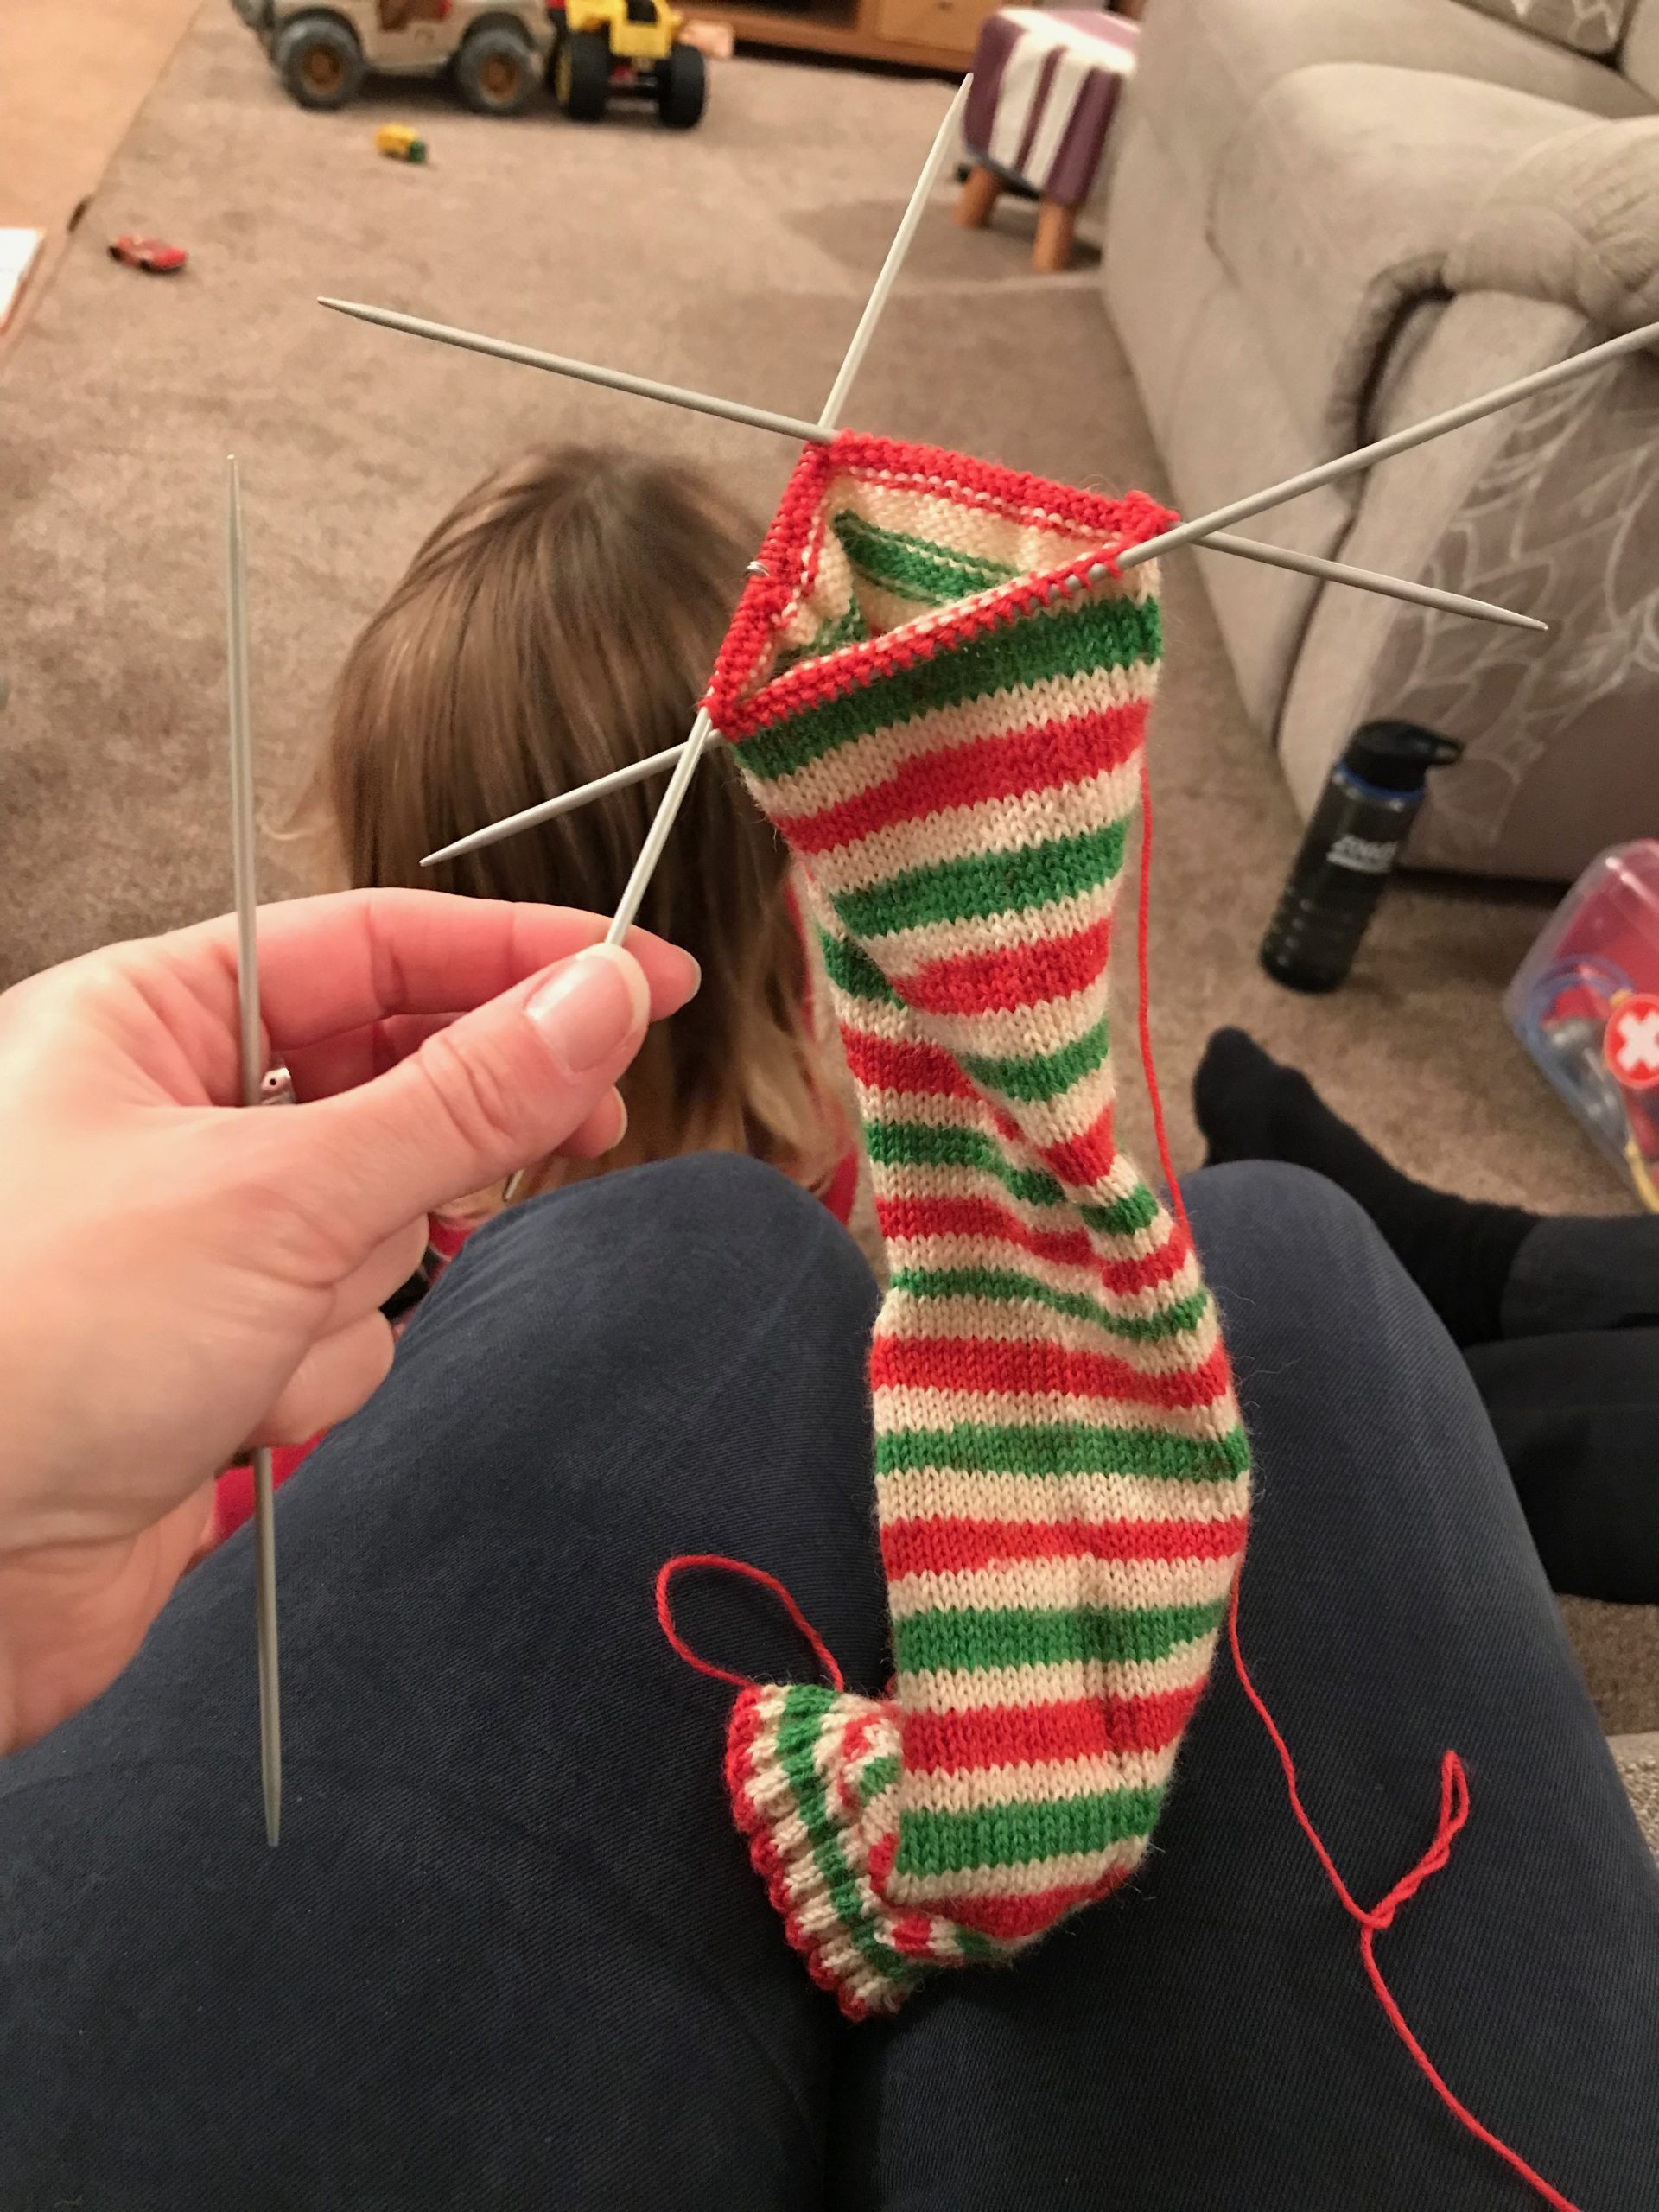
I’m still encountering a couple of holes larger than I’d like at the sides of the heels, but with the more I knit socks I’m managing to decrease this a first bit. Having the confidence to pick up a few extra stitches and then doing an extra k2tog is helping. Maybe by the end of the year I’ll have solved the problem and finally have a perfect pair of socks? As I said at the start, let’s not get ahead of myself!
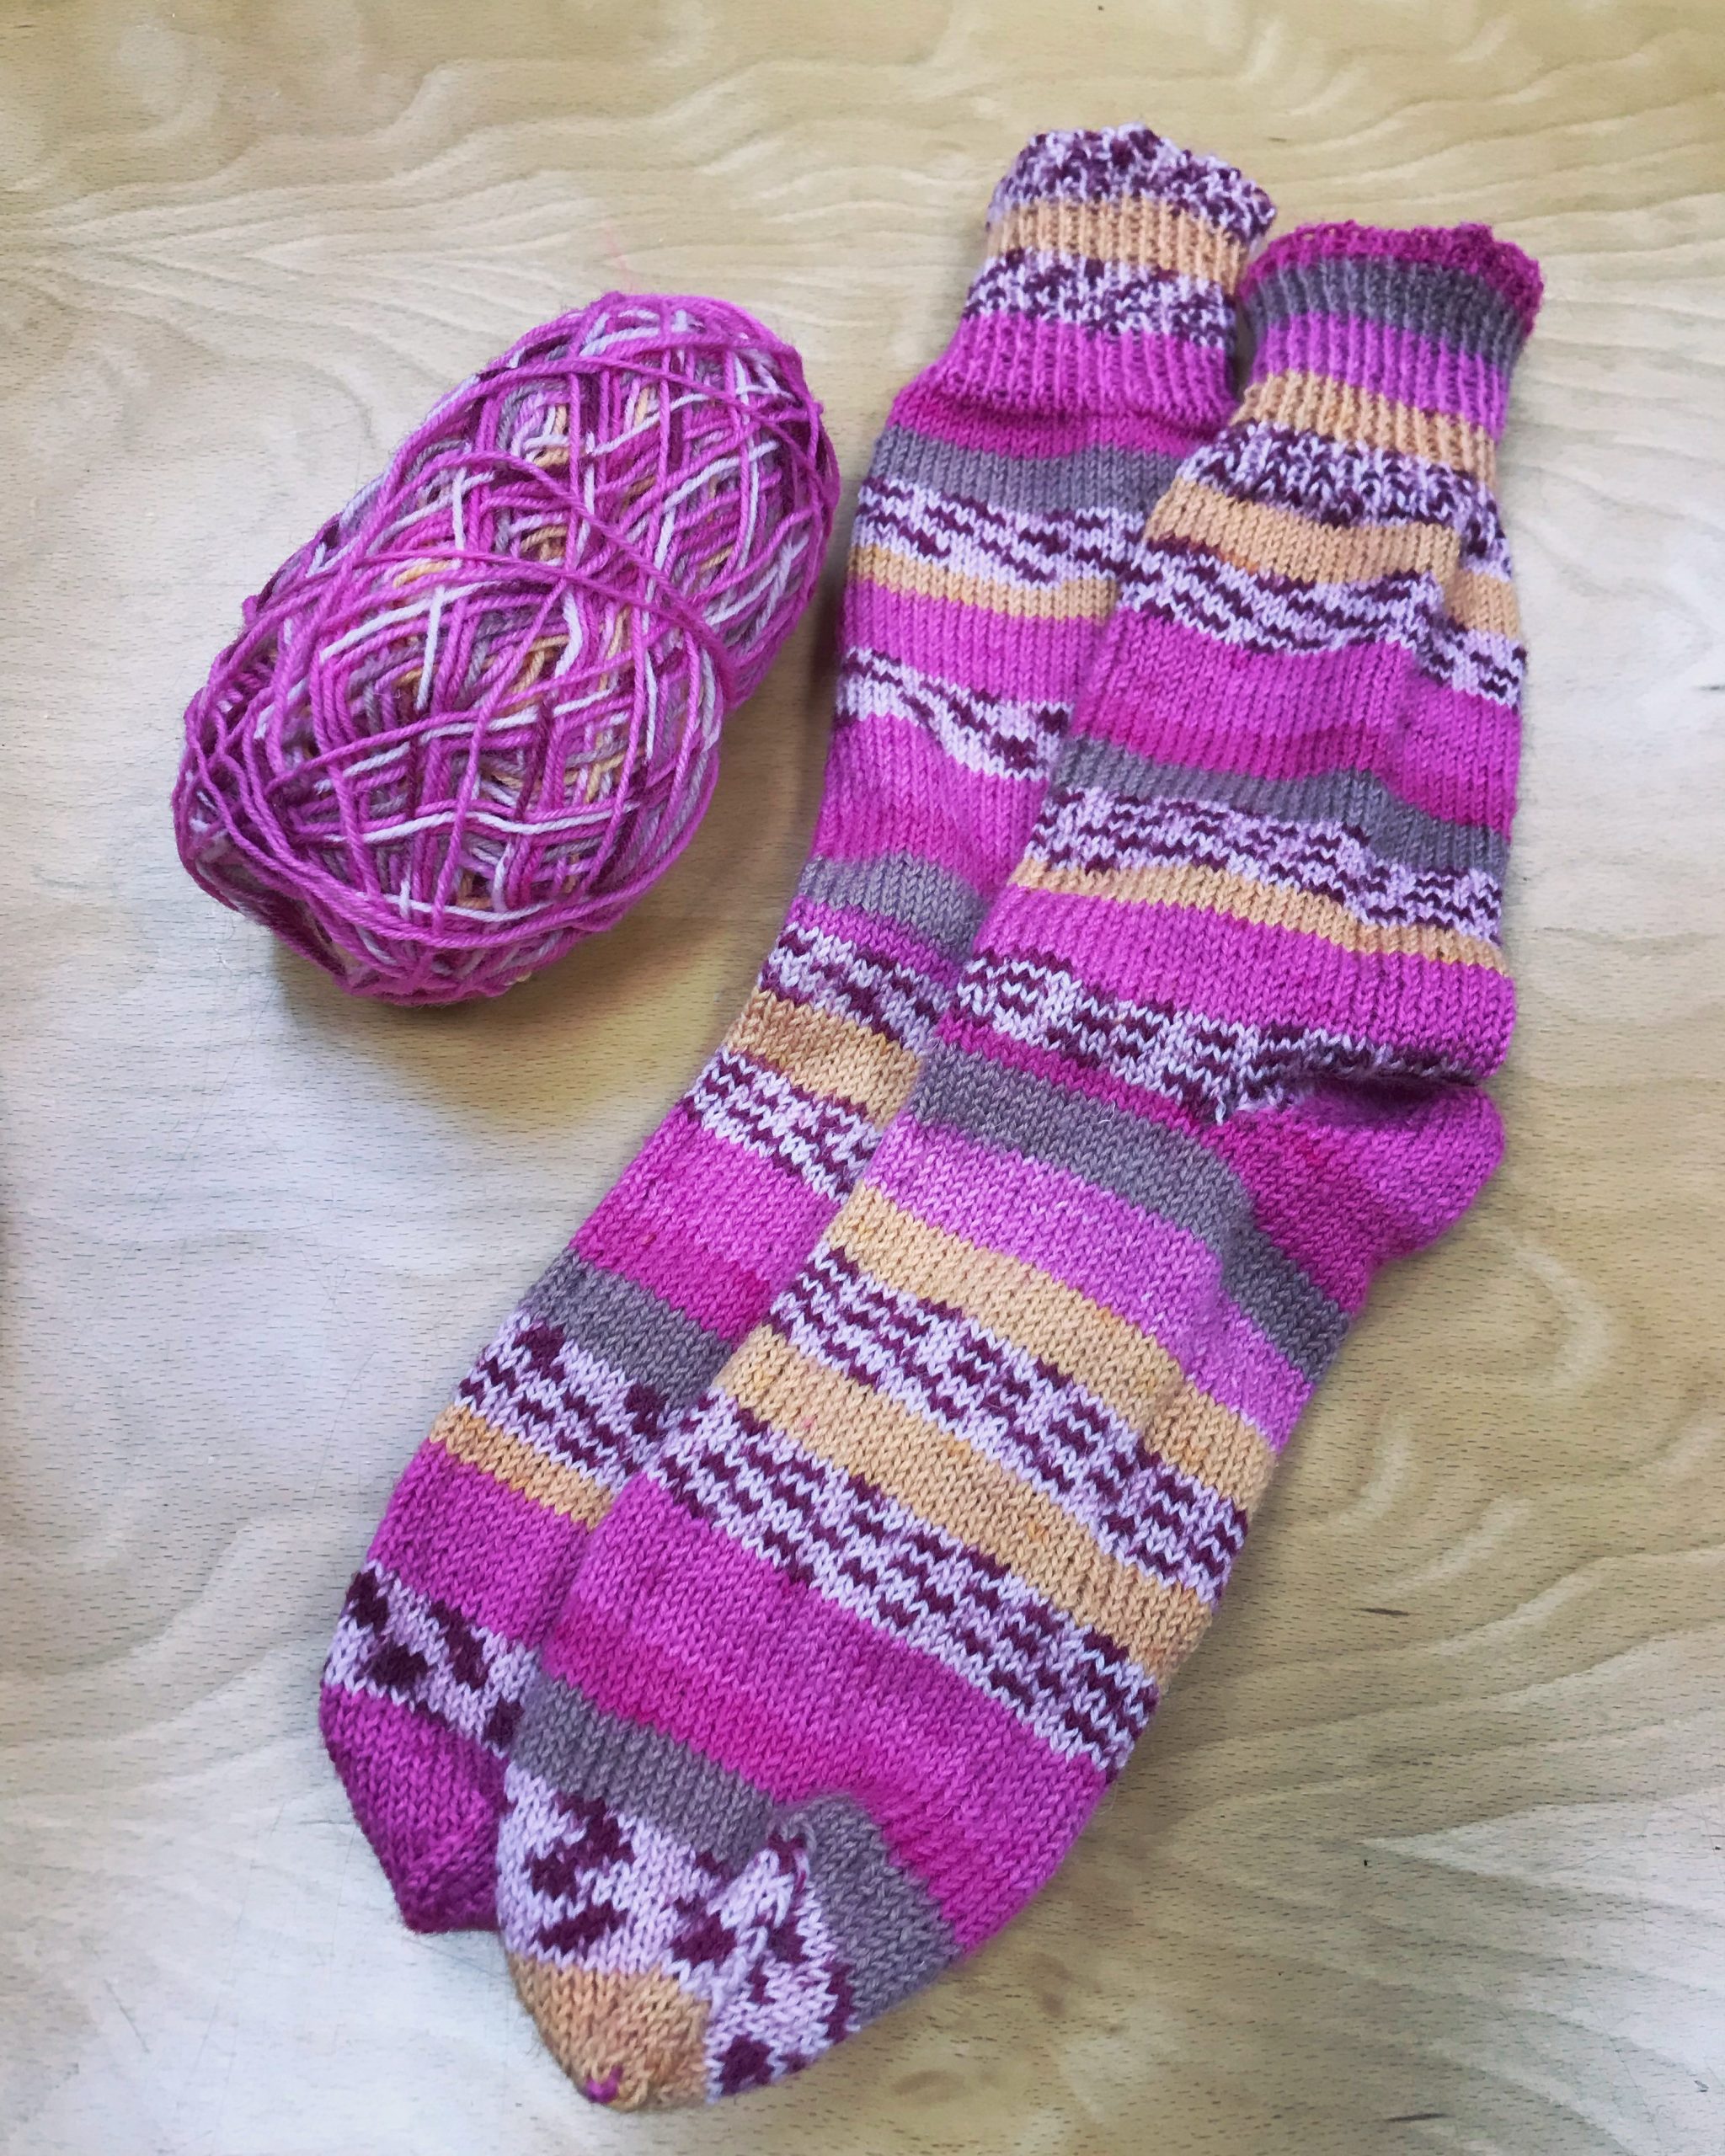
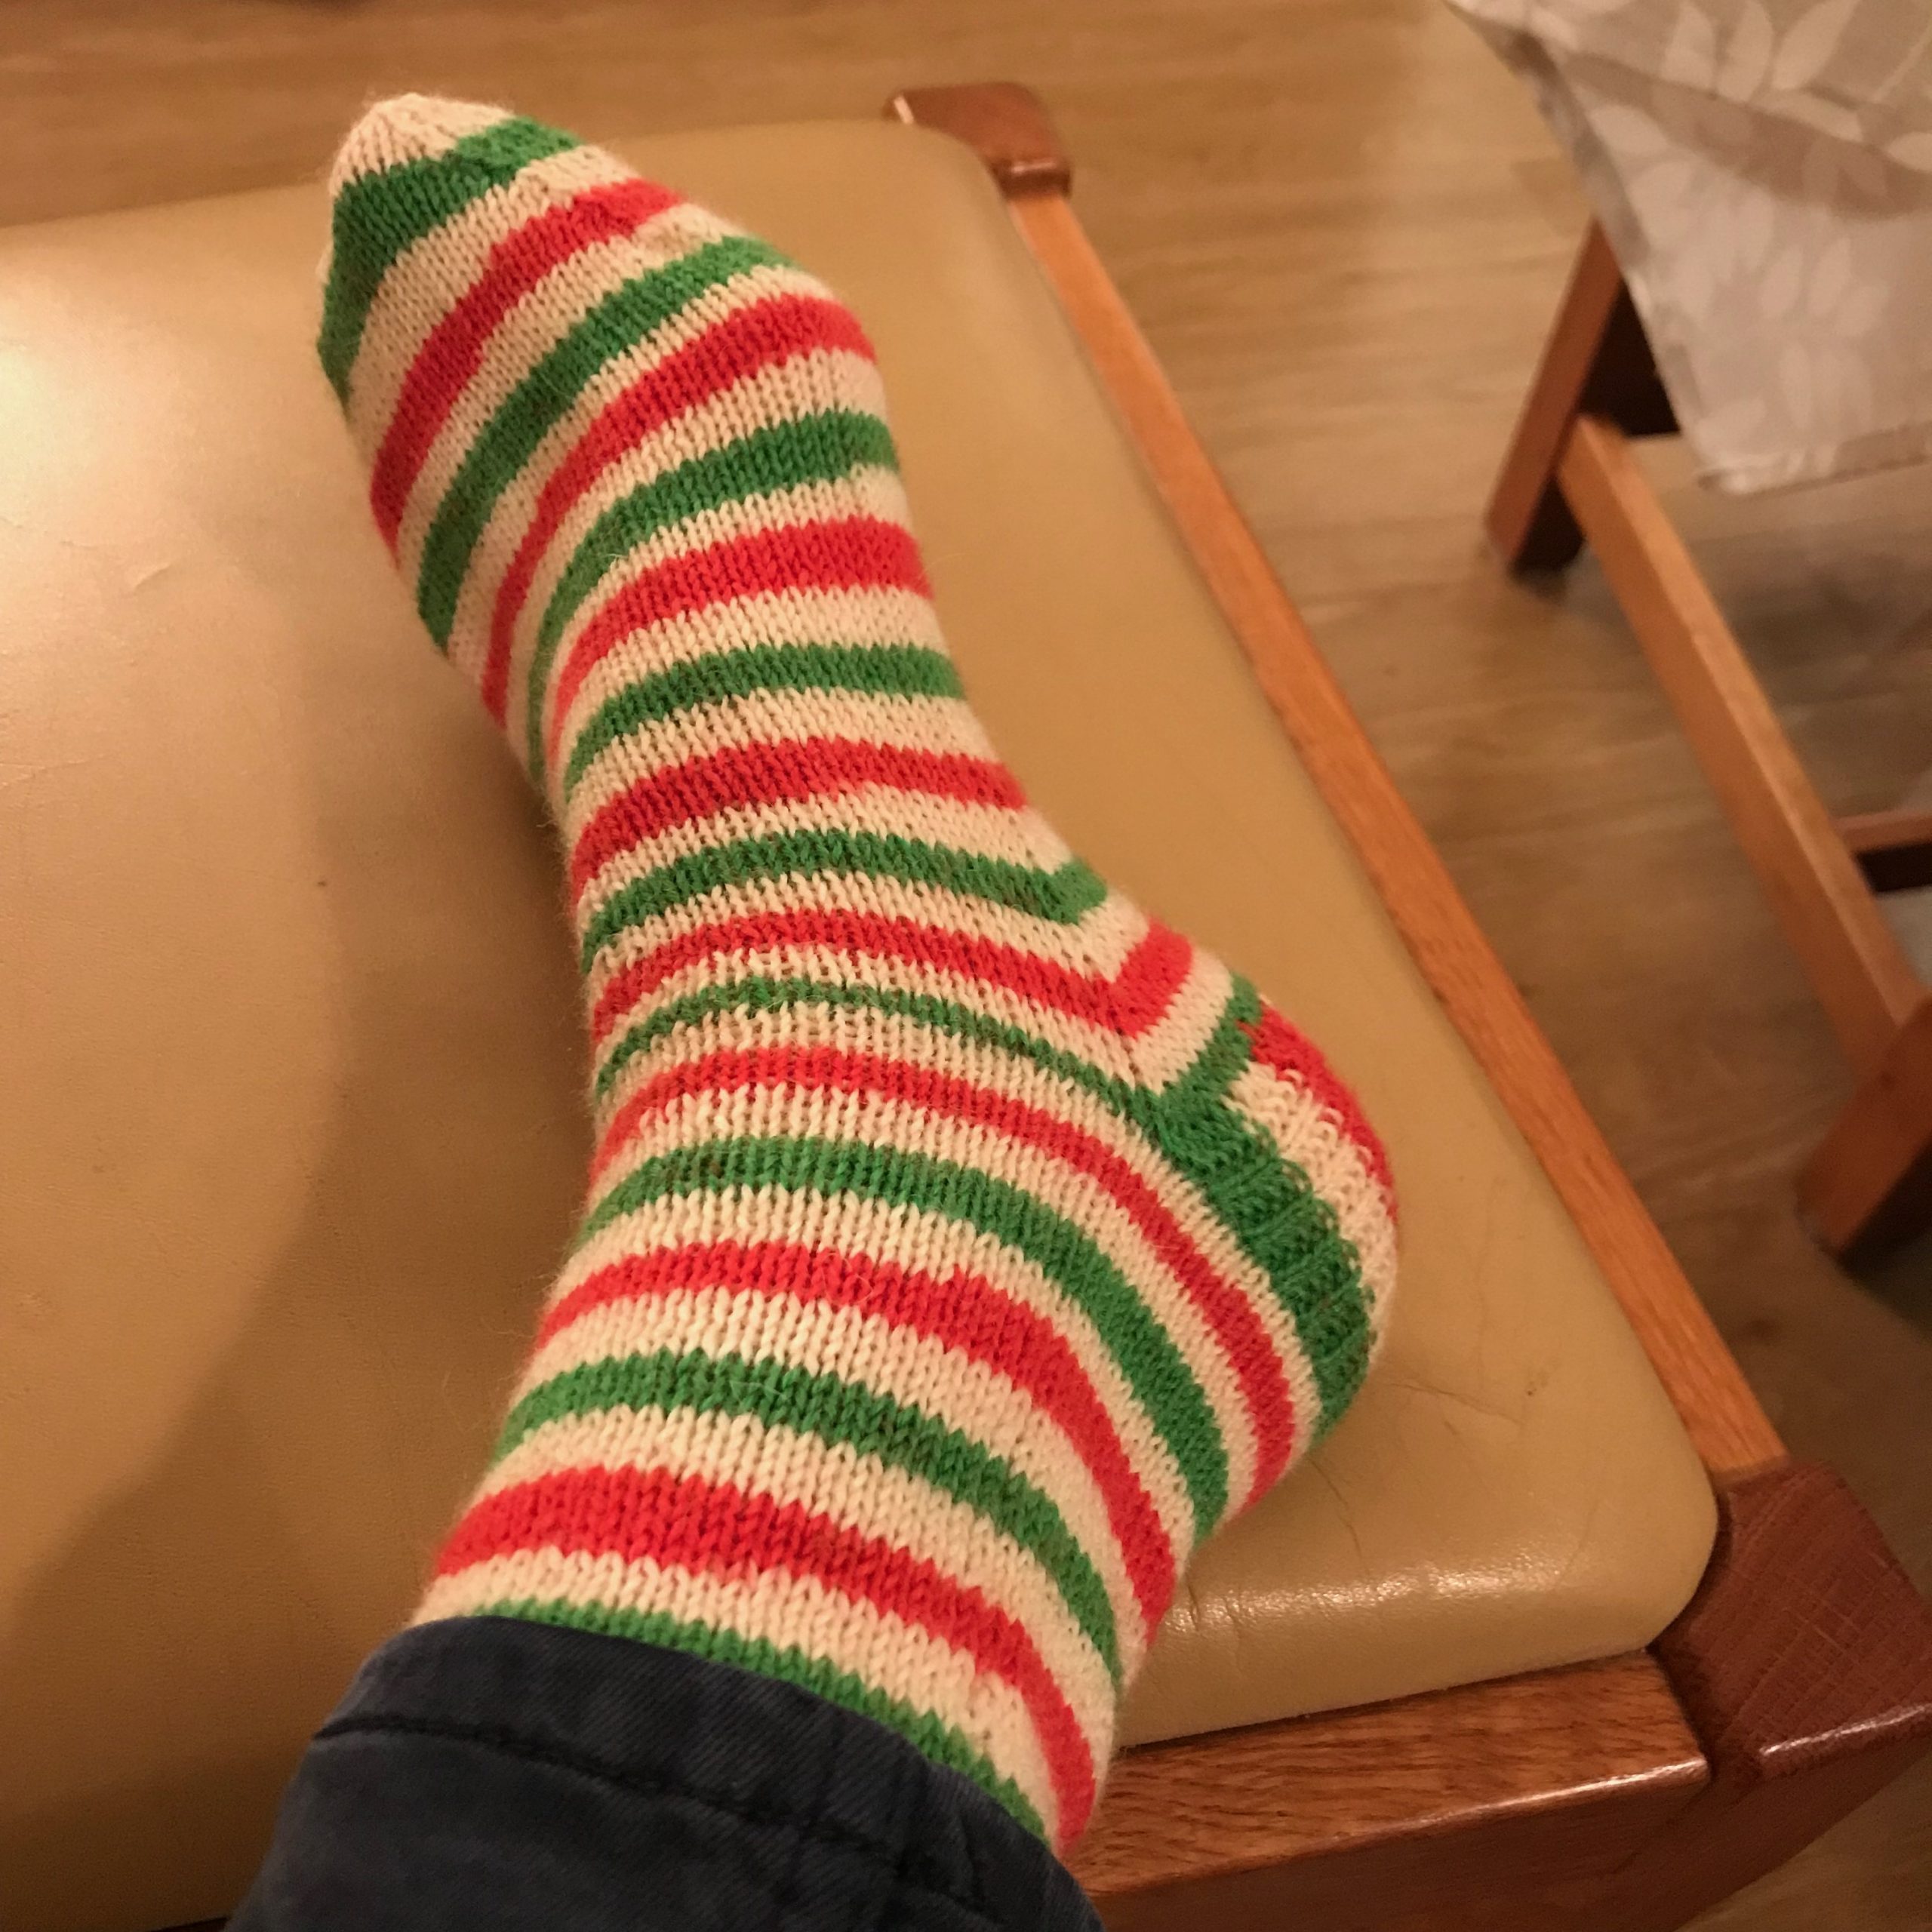
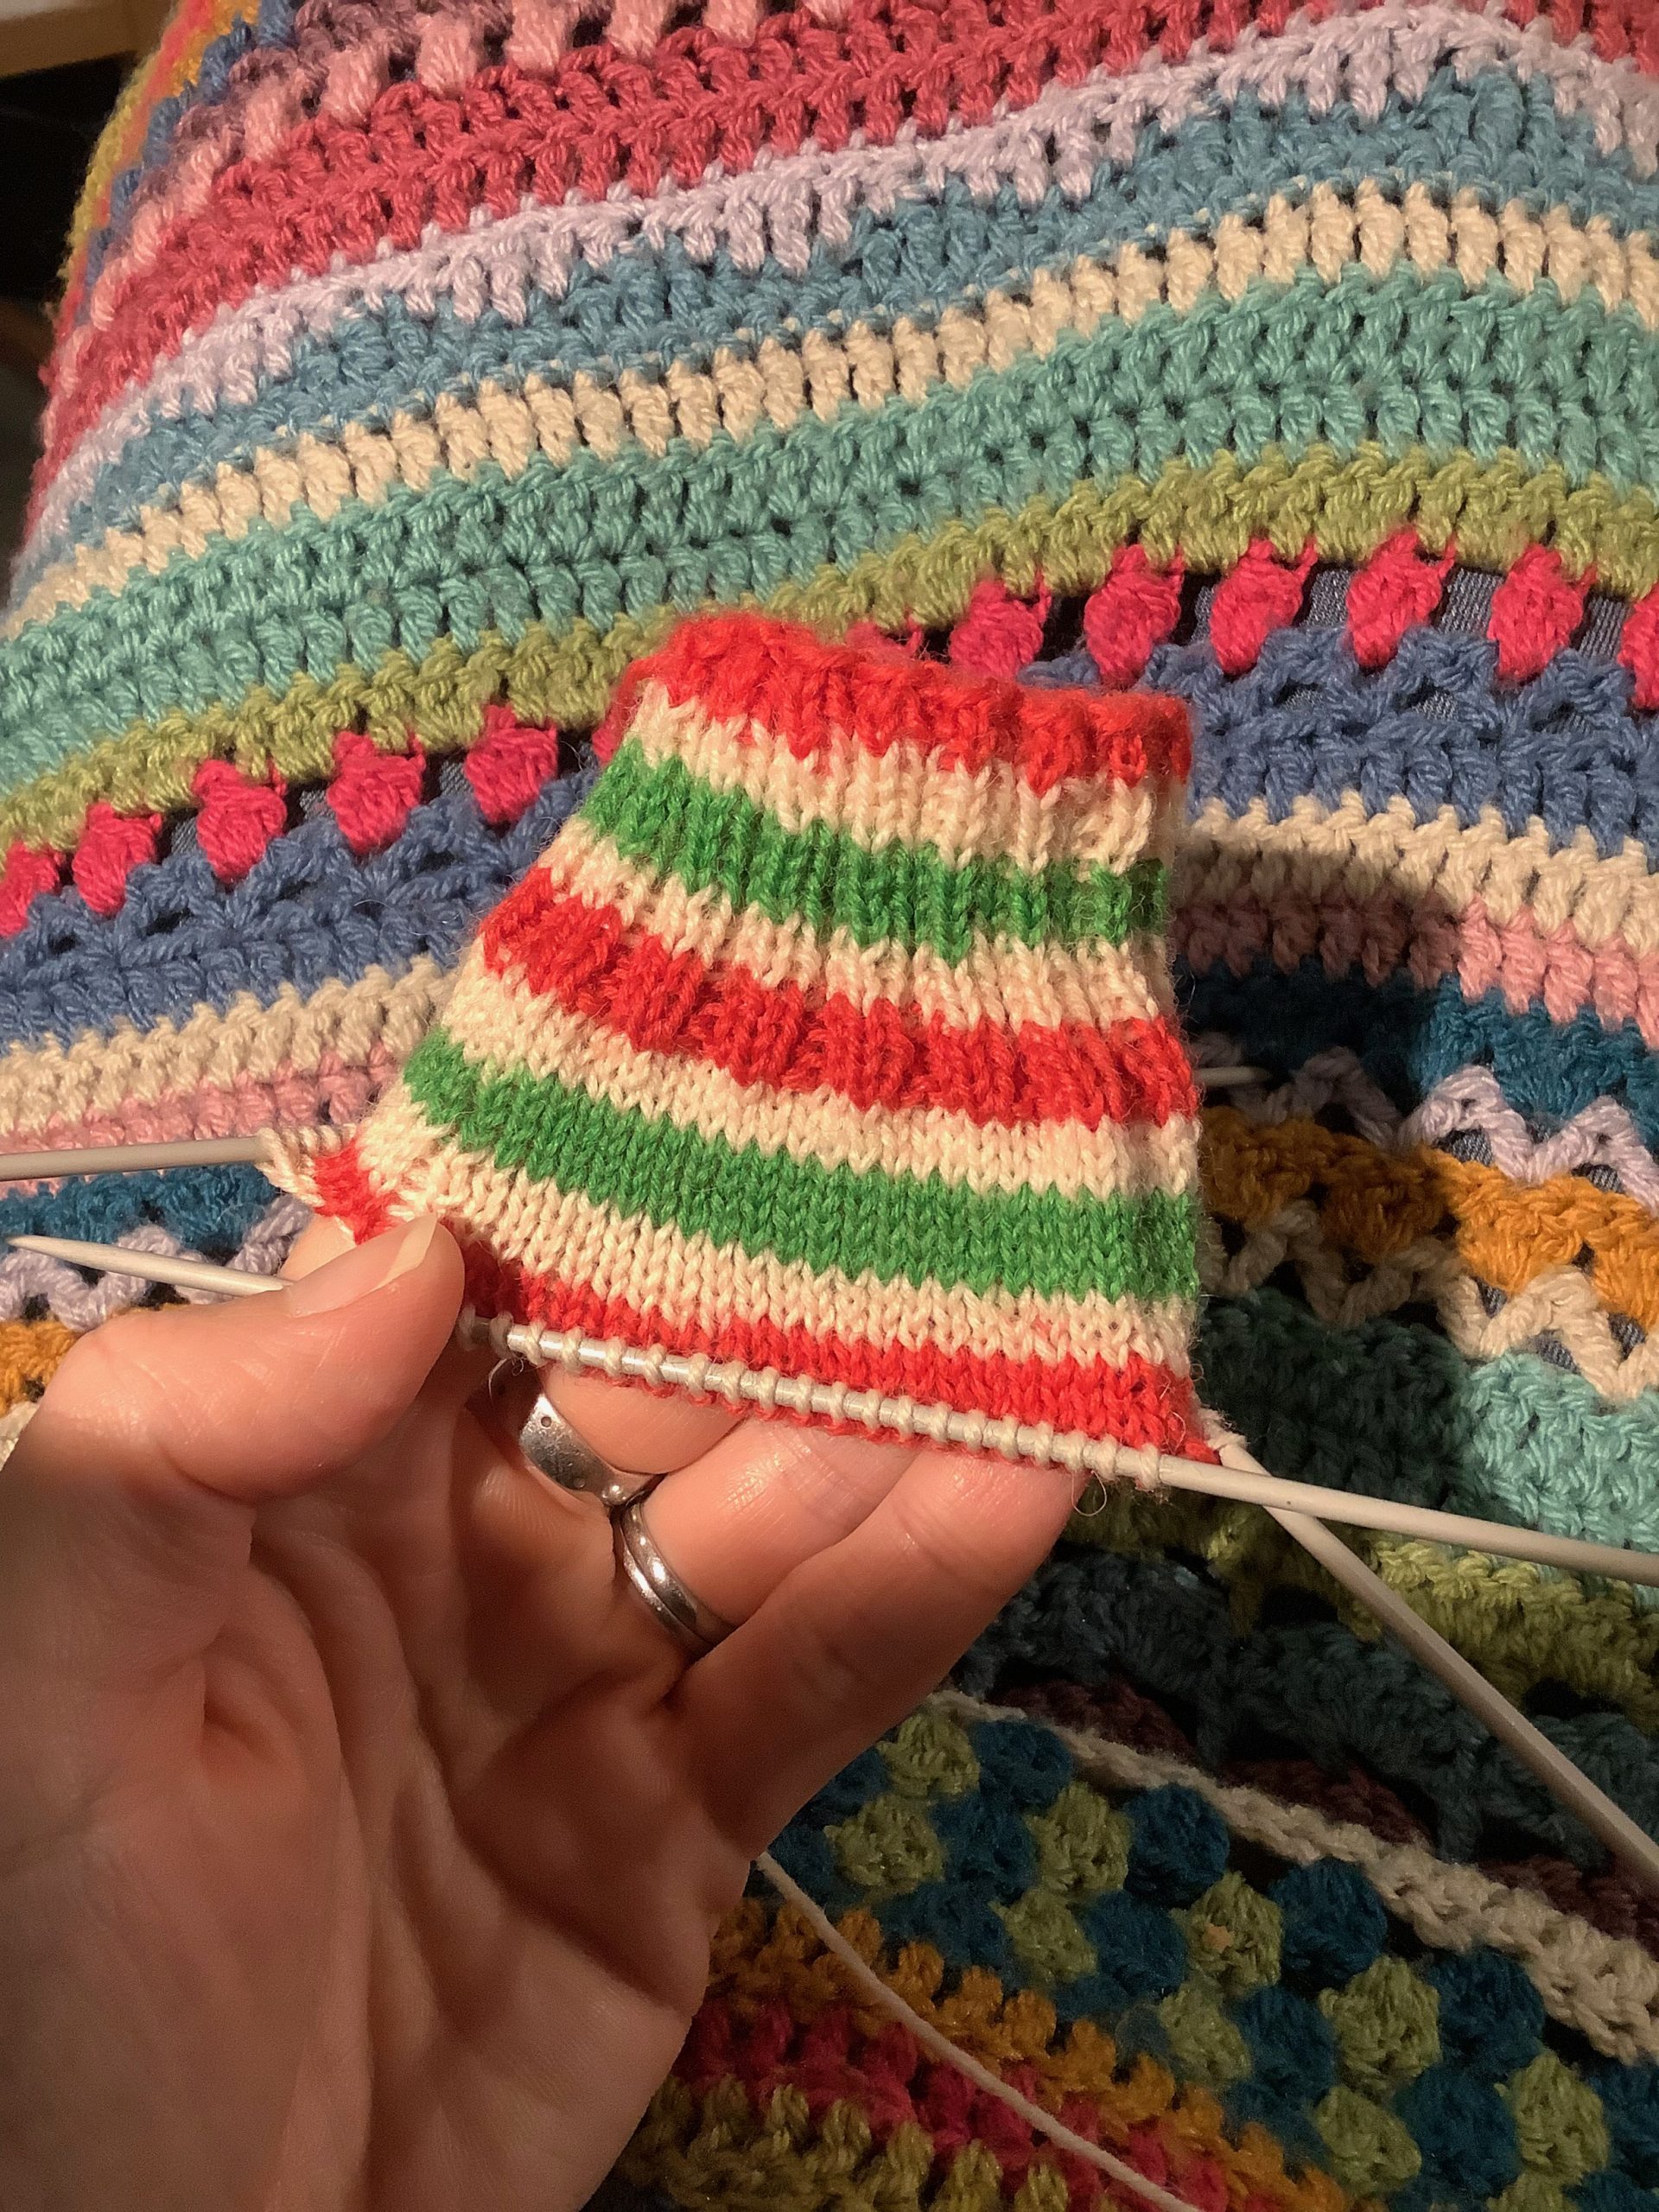
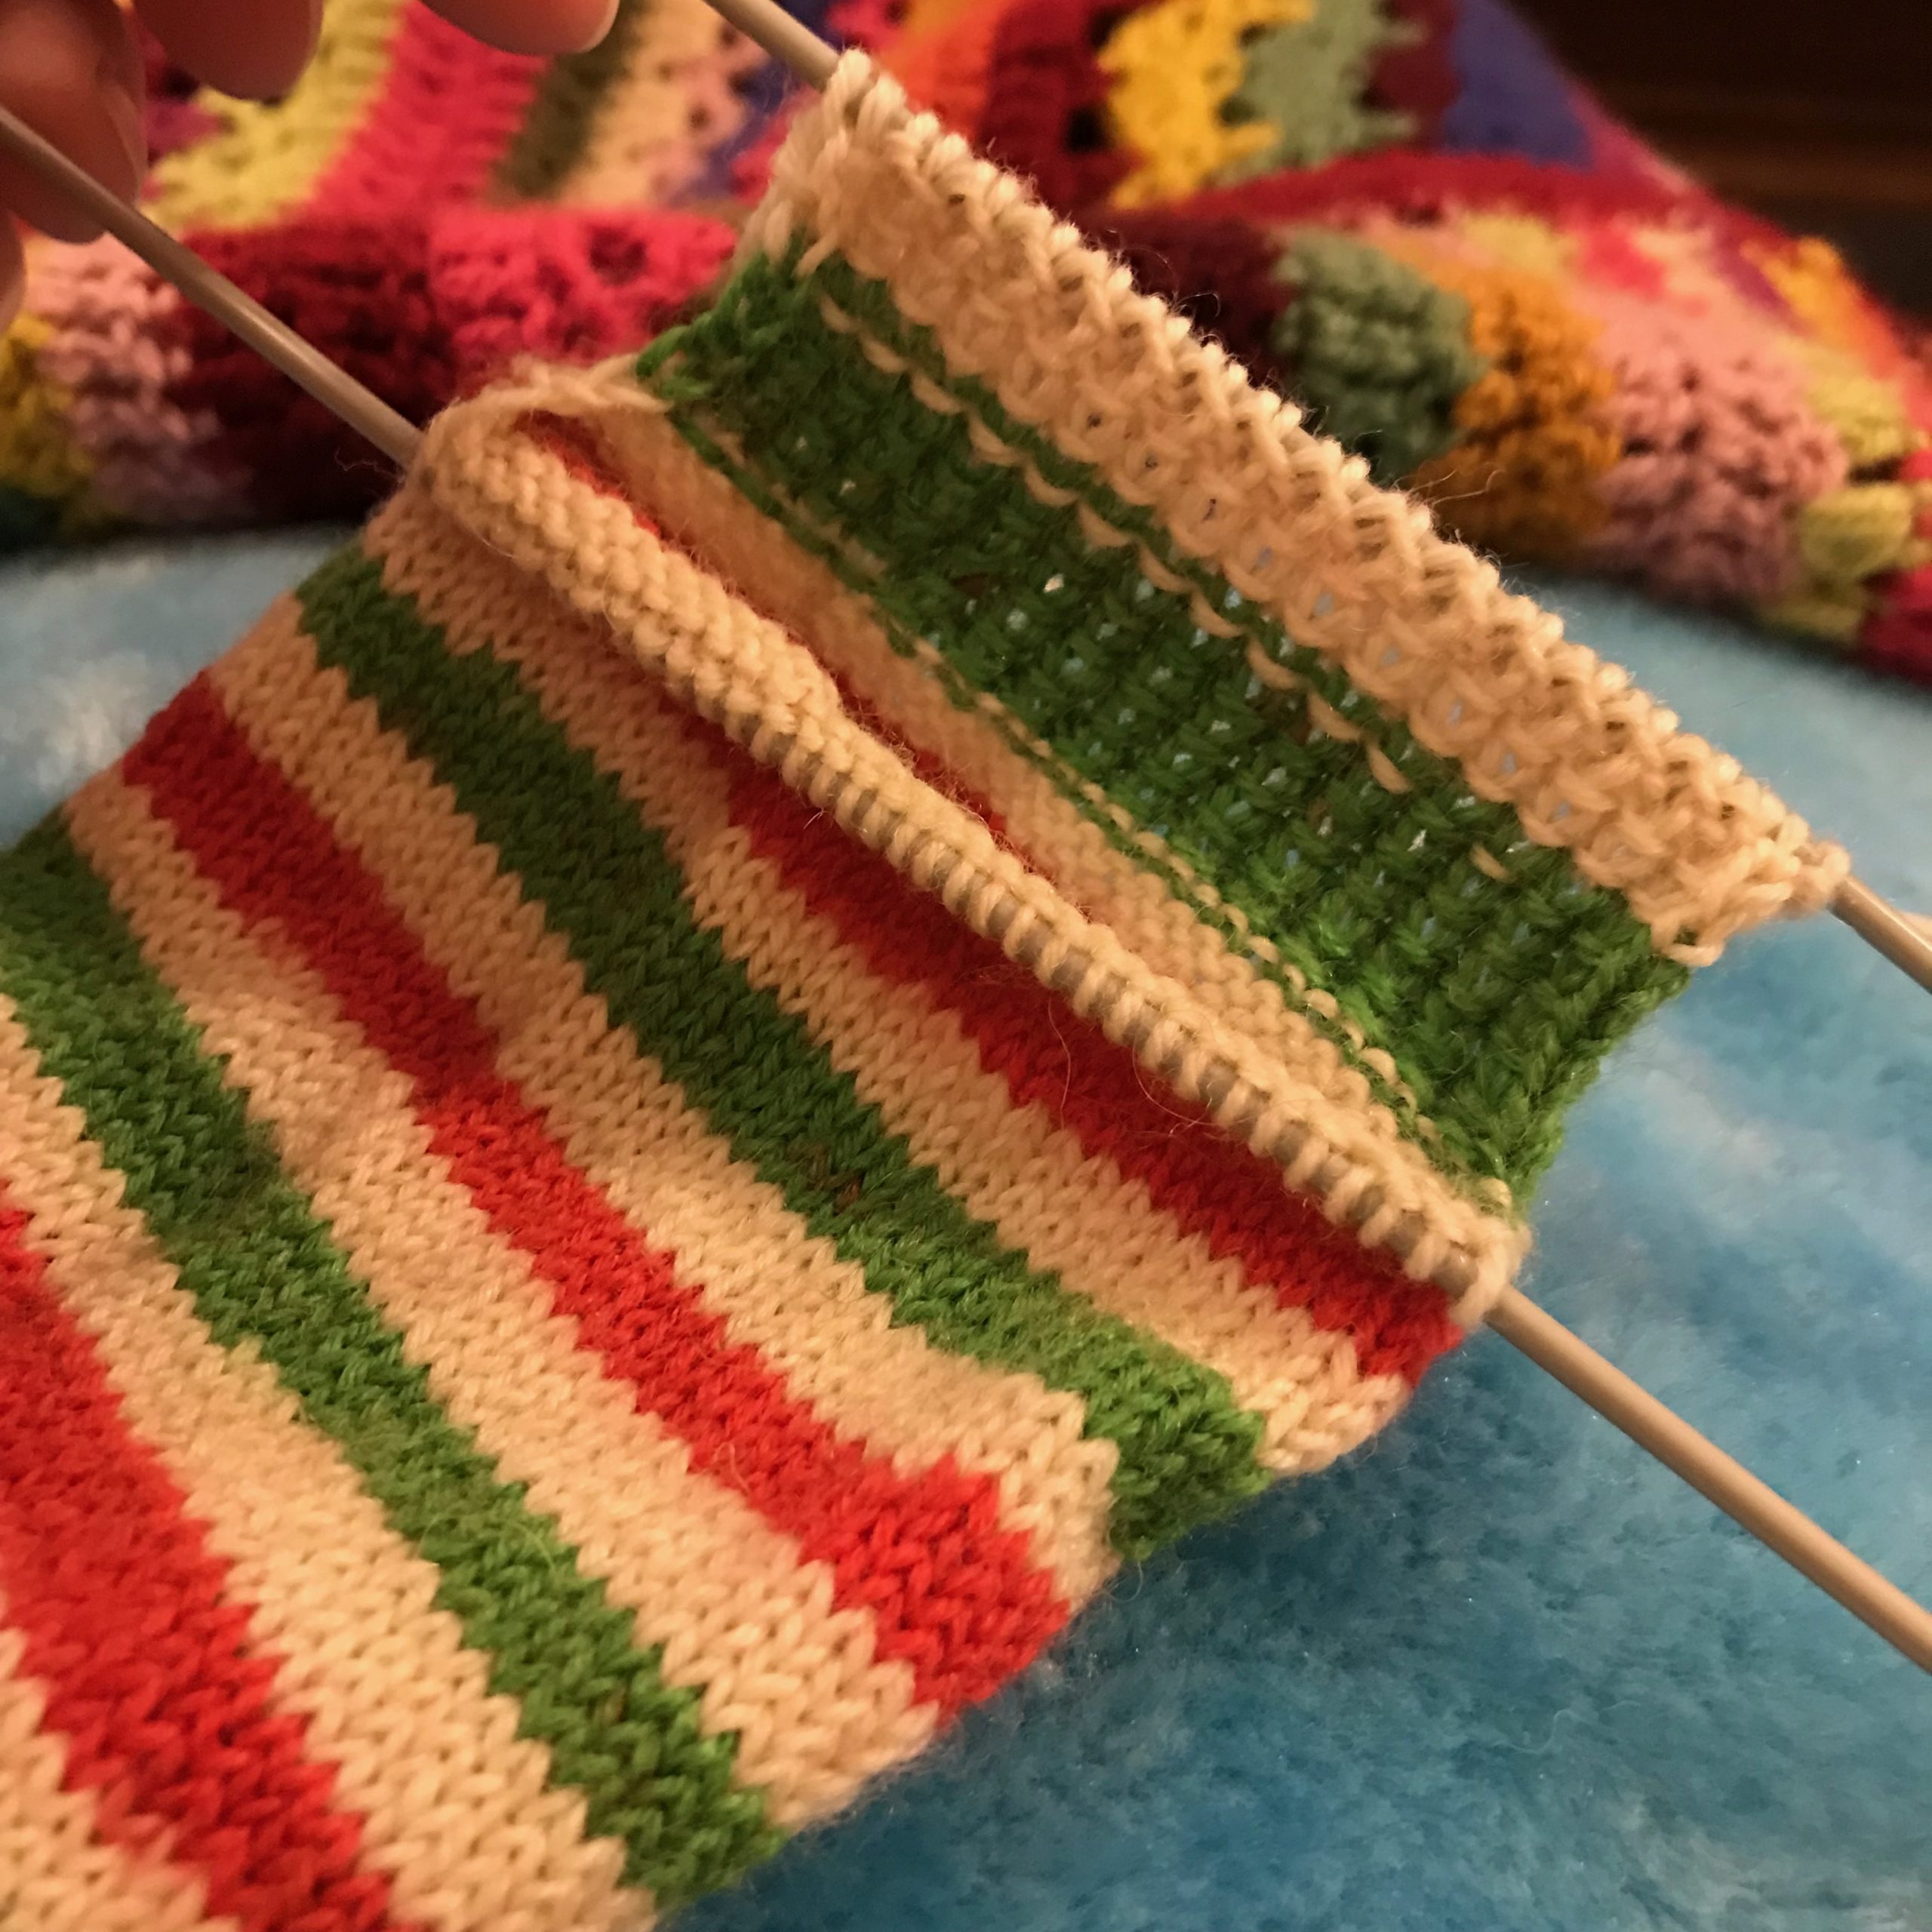
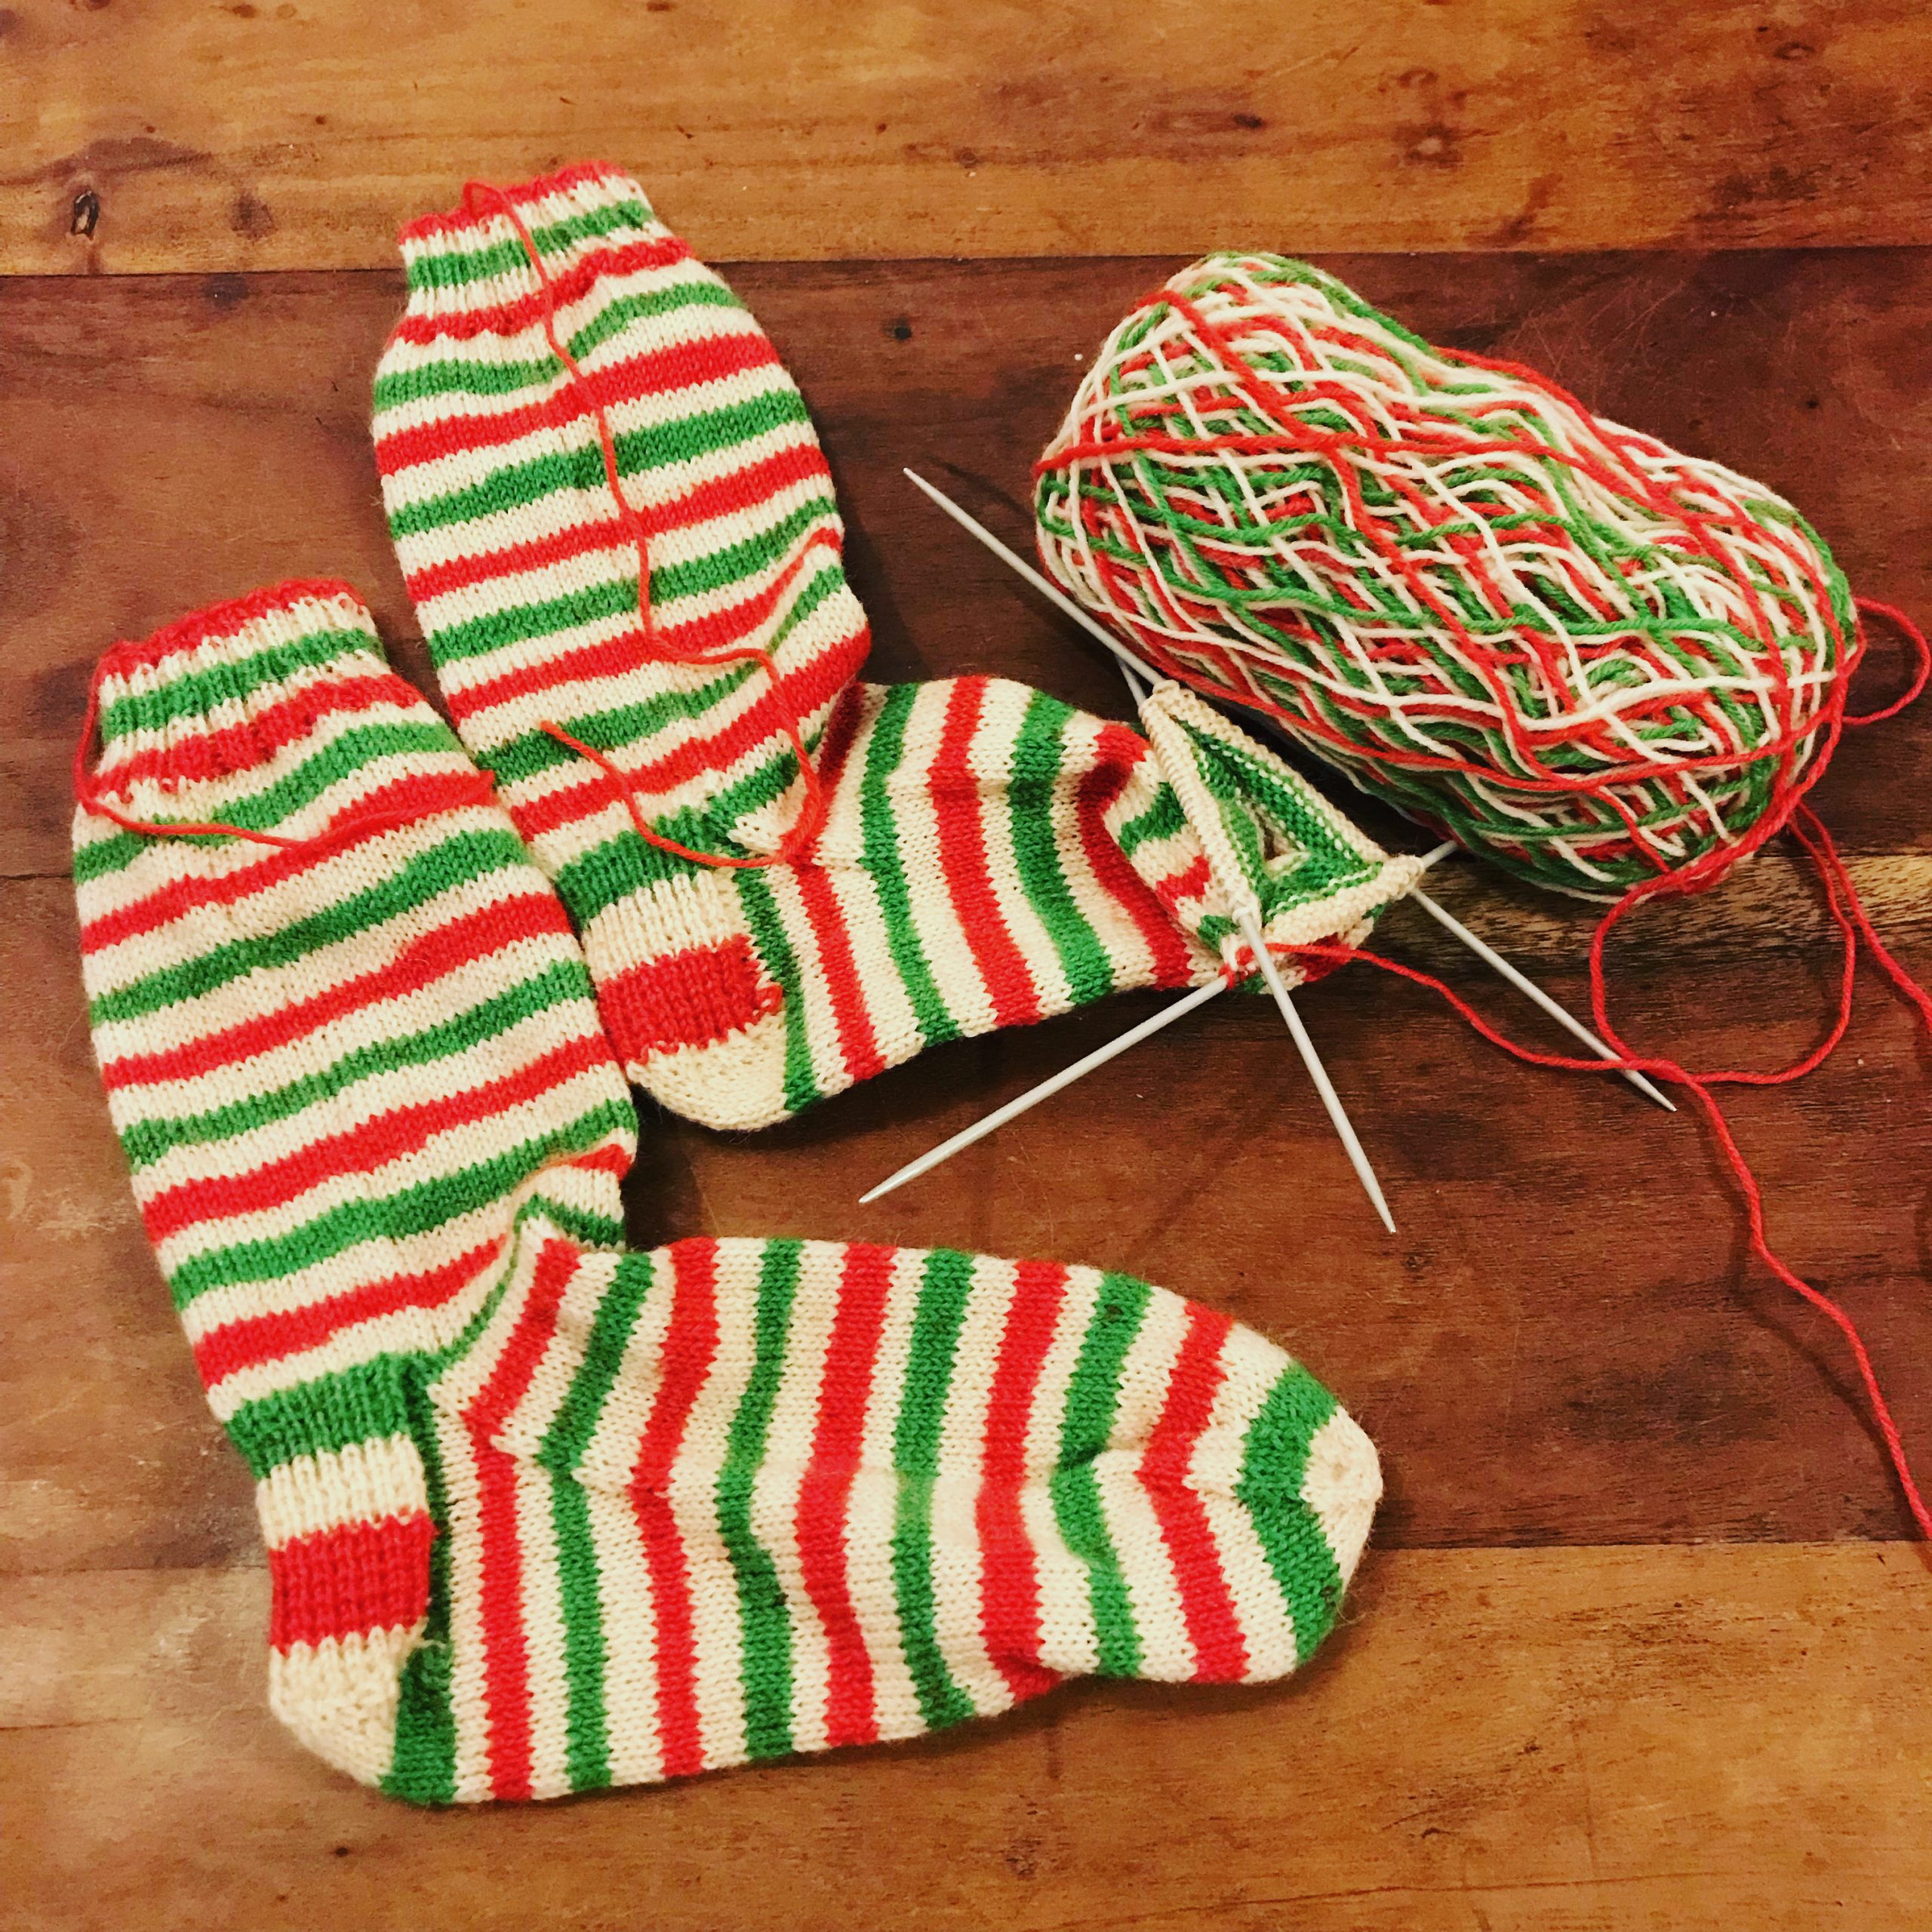
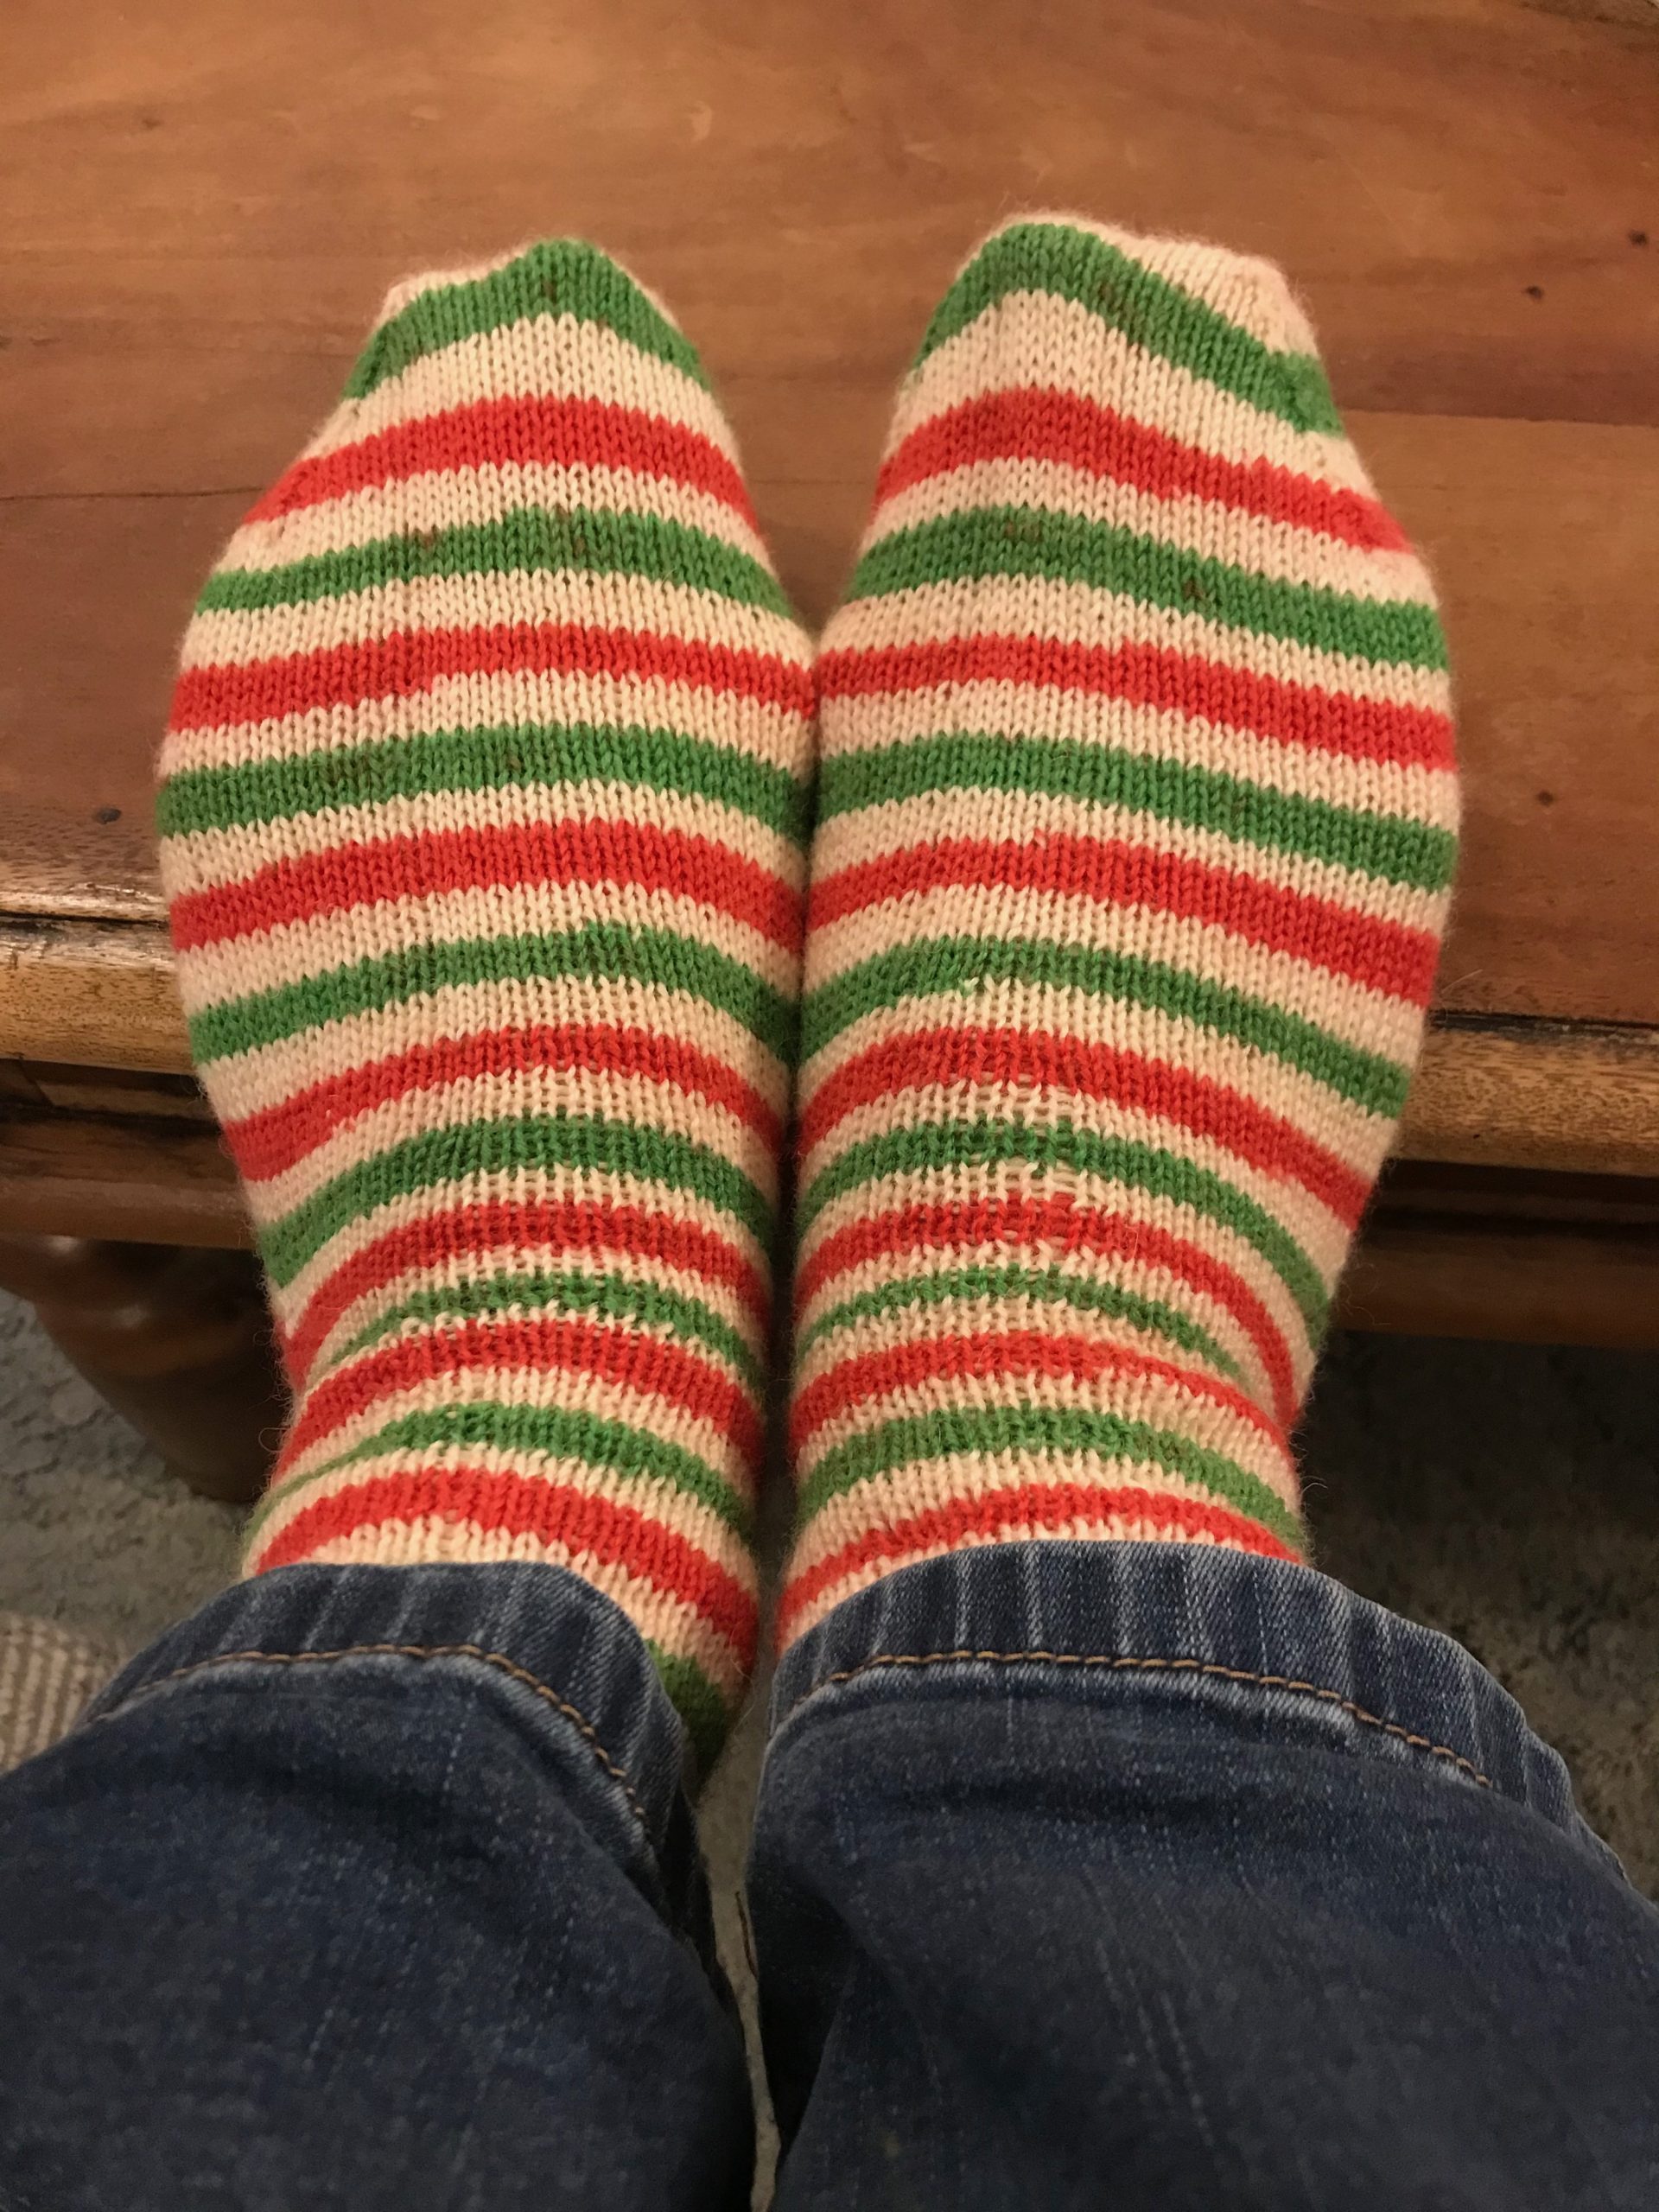
What I can promise though is that the third pair of socks of the year is going to be a bit different. I’m currently on the cuff of the second one and will be back once they’re finishes with something a bit brighter in colour to show off.