• Skip to primary navigation
  • Skip to content
  • Skip to primary sidebar
Penny Blogs

Penny Blogs

An insight into the things in life that make me smile

  • Home
  • About Penny
  • Pregnancy
  • Privacy Policy and Disclosure

Sewing

Disney Encanto Patchwork Quilt

September 22, 2023 by Penny Leave a Comment

There hasn’t been anywhere near enough time for crafting of any sort lately. I’m really hoping that as we step into autumn I’ll be able to make some time to spend evenings curled up with some knitting or crochet once more. My hands miss being busy, but at the same time I’m often so exhausted after a busy day that if I sit in front of the TV in an evening I’m most likely to fall asleep.

A completed Disney Encanto themed quilt hung on the washing line. It has a purple boarder all around.

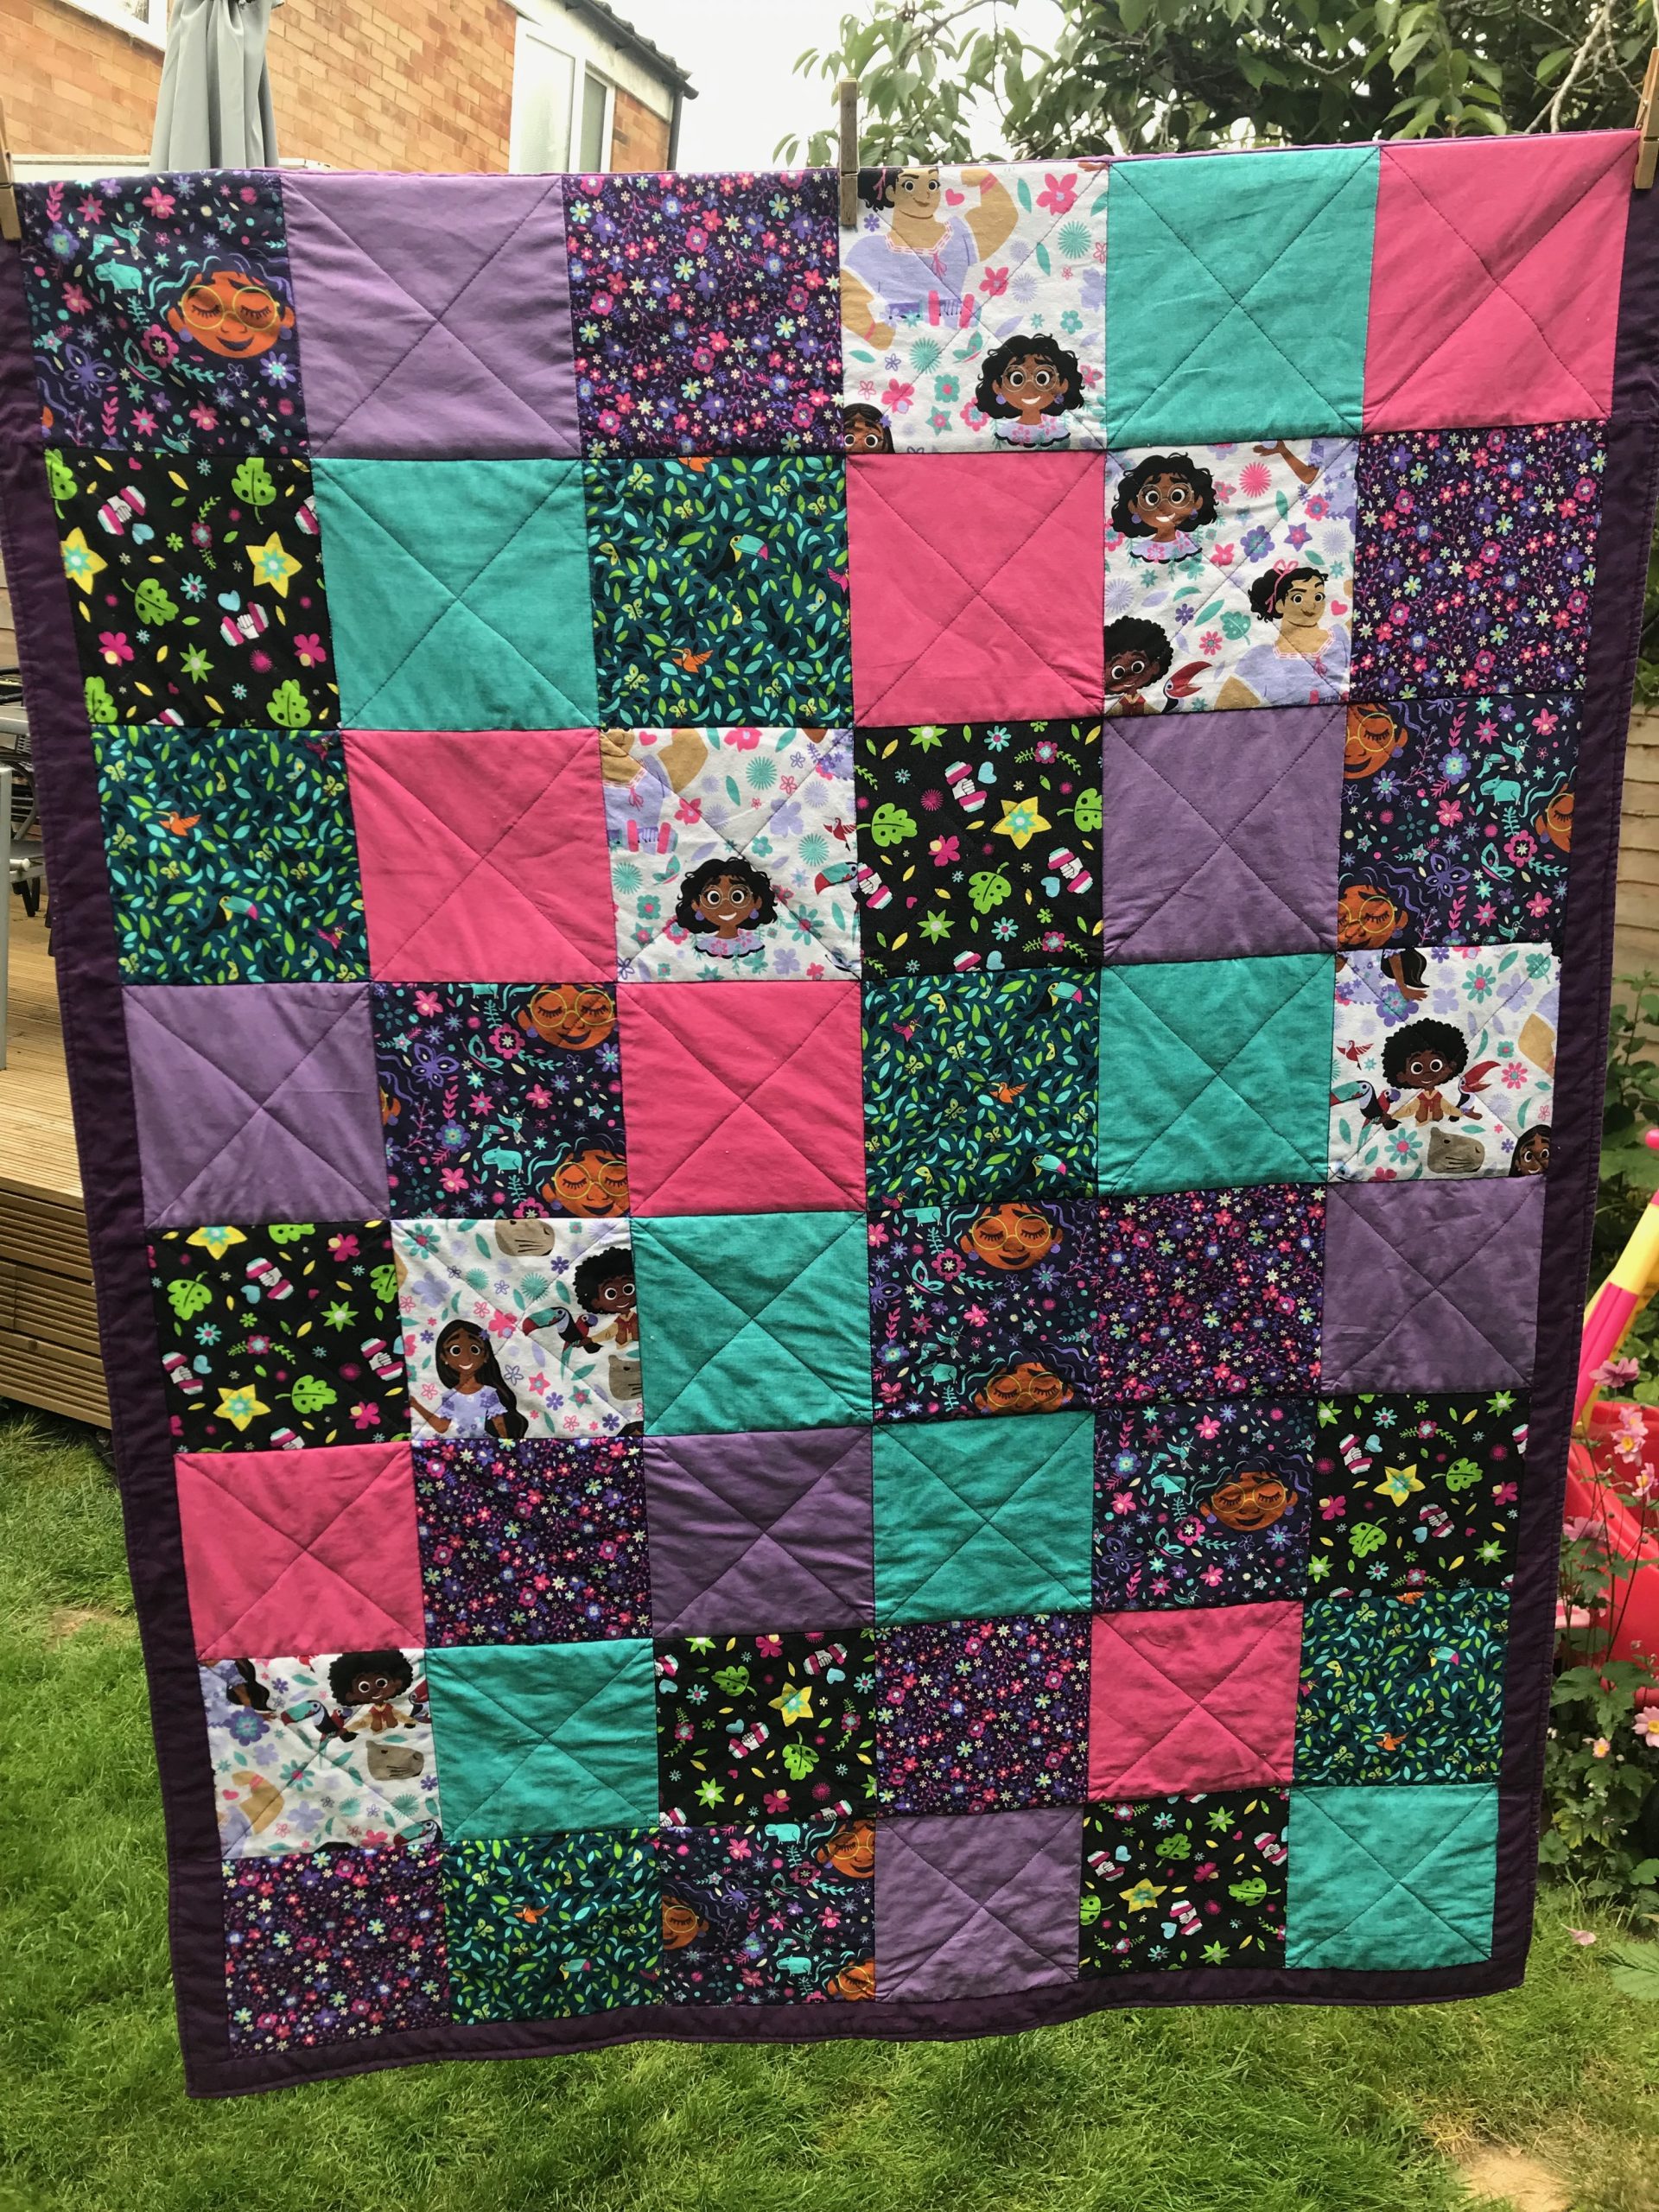
Looking back at the whole of 2023 I have generally been making attempts to actually finish craft projects rather than start new ones. With a couple of exceptions. One being something that I’m justifying to myself on necessity grounds rather than anything else – a Disney Encanto quilt for my youngest’s bed.

Fabric squares laid out on a double bed. Sevela of teh squares have an Encanto theme to them, whilst the others are coordinating plain coloured blocks.

Until now she has normally been sleeping under a patchwork quilt that I originally started for my eldest daughter, Little Miss C. Bearing in mind that said Little Miss is now 13, you probably get a feel for just how long it took me to complete said quilt. My youngest did at least yet to sleep under it for all of last winter and it gave me a lovely warm feeling to know that she was going to sleep at night curled up warm and snug under something I made.

By now though she’s shot up in height and was starting to get cold feet from them sticking out from under her quilt, so I knew it was time to start a new one. A chance trip to The Works for a sketch book for my eldest saw me happen upon an Encanto set of Fat Quarters. The youngest loves the film on Disney plus and so she instantly asked if I could make her something from them. A quilt seemed the obvious answer.

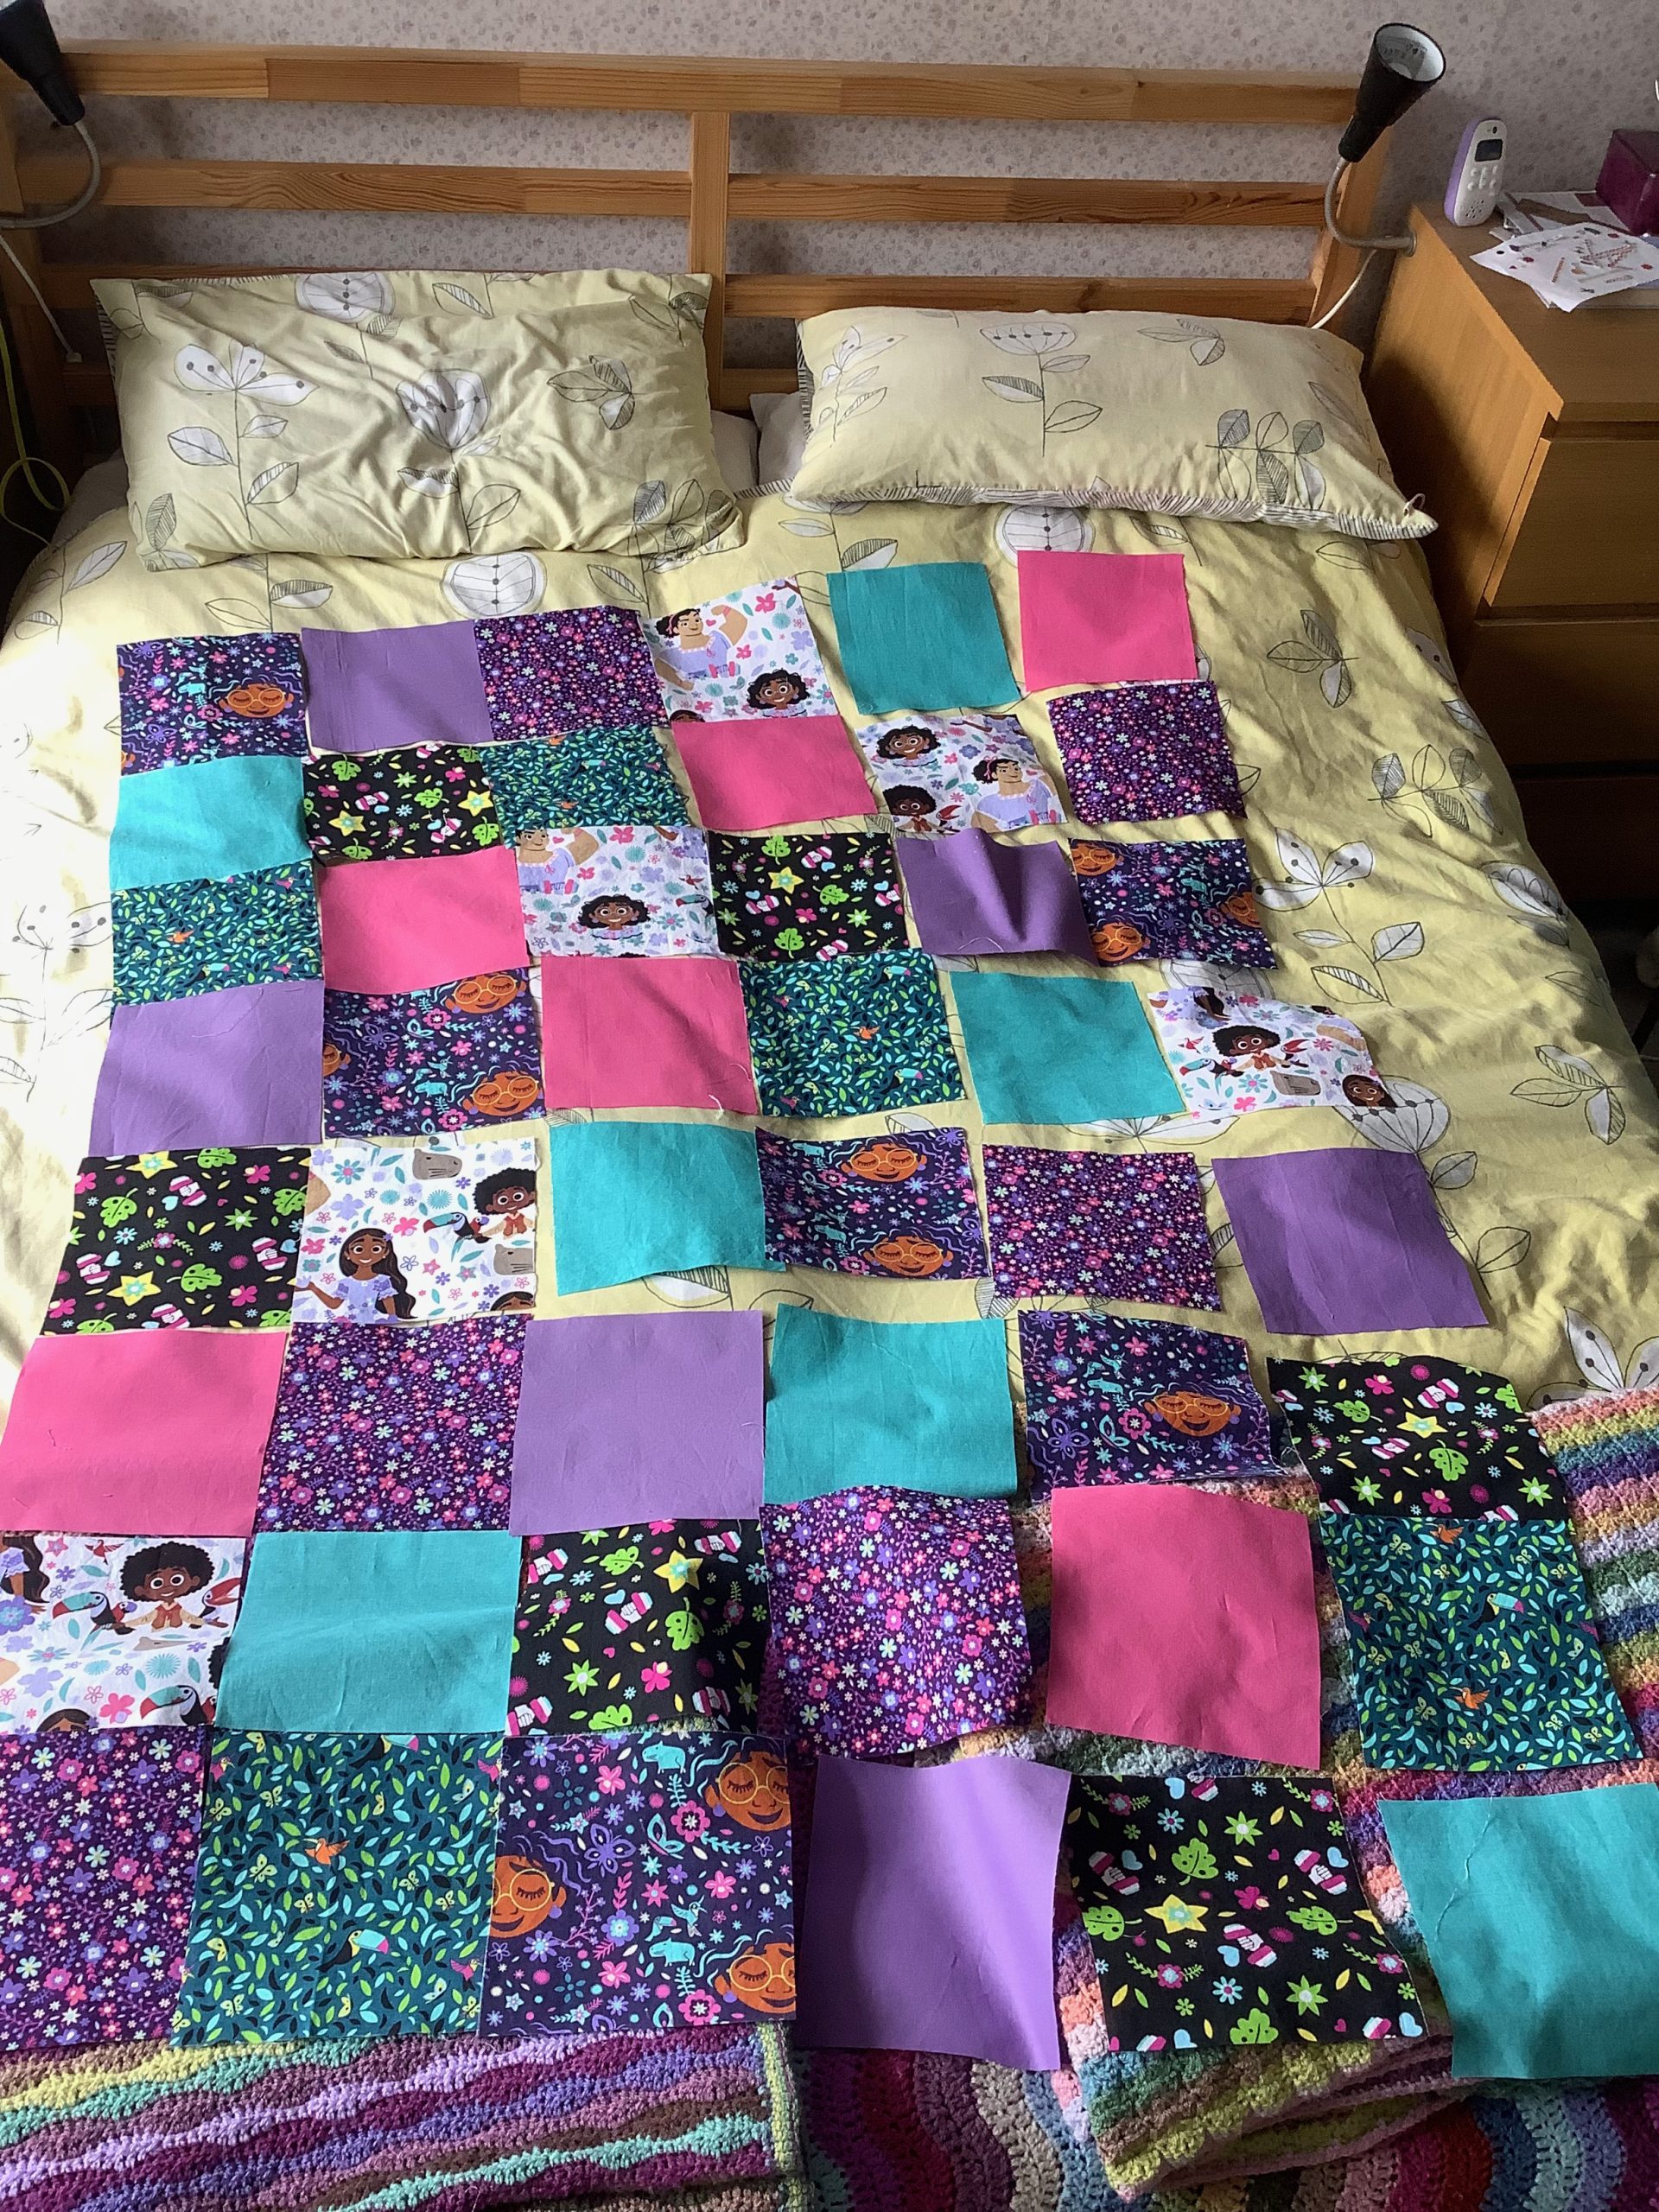
I bulked out the fat quarters with some plain pieces of cotton that I picked up at a local fabric shop in St Albans – Fashion ‘n’ Fabrics – and it wasn’t long at all before I was cutting out squares and working out a layout. The edges and backing fabric came from the same shop, along with the batting inside. The design and sizing was made up as I went. I basically just tried to get as much as I could out of the fat quarters, having accounted for any wastage from fraying once the fat quarters were washed through.

A close up showing one corner of the patchwork quilt with a purple fabric boarder around the patchwork squares.

The edge sizes were again made up based on how much fabric I had and it’s fluke really that it ended up the perfect size for the small cot bed that she sleeps in. I’m delighted with the fabric layout and how it’s all turned out.

A close up of a sewing machine in use as I quilted a diagonal line across an Encanto themes piece of fabric

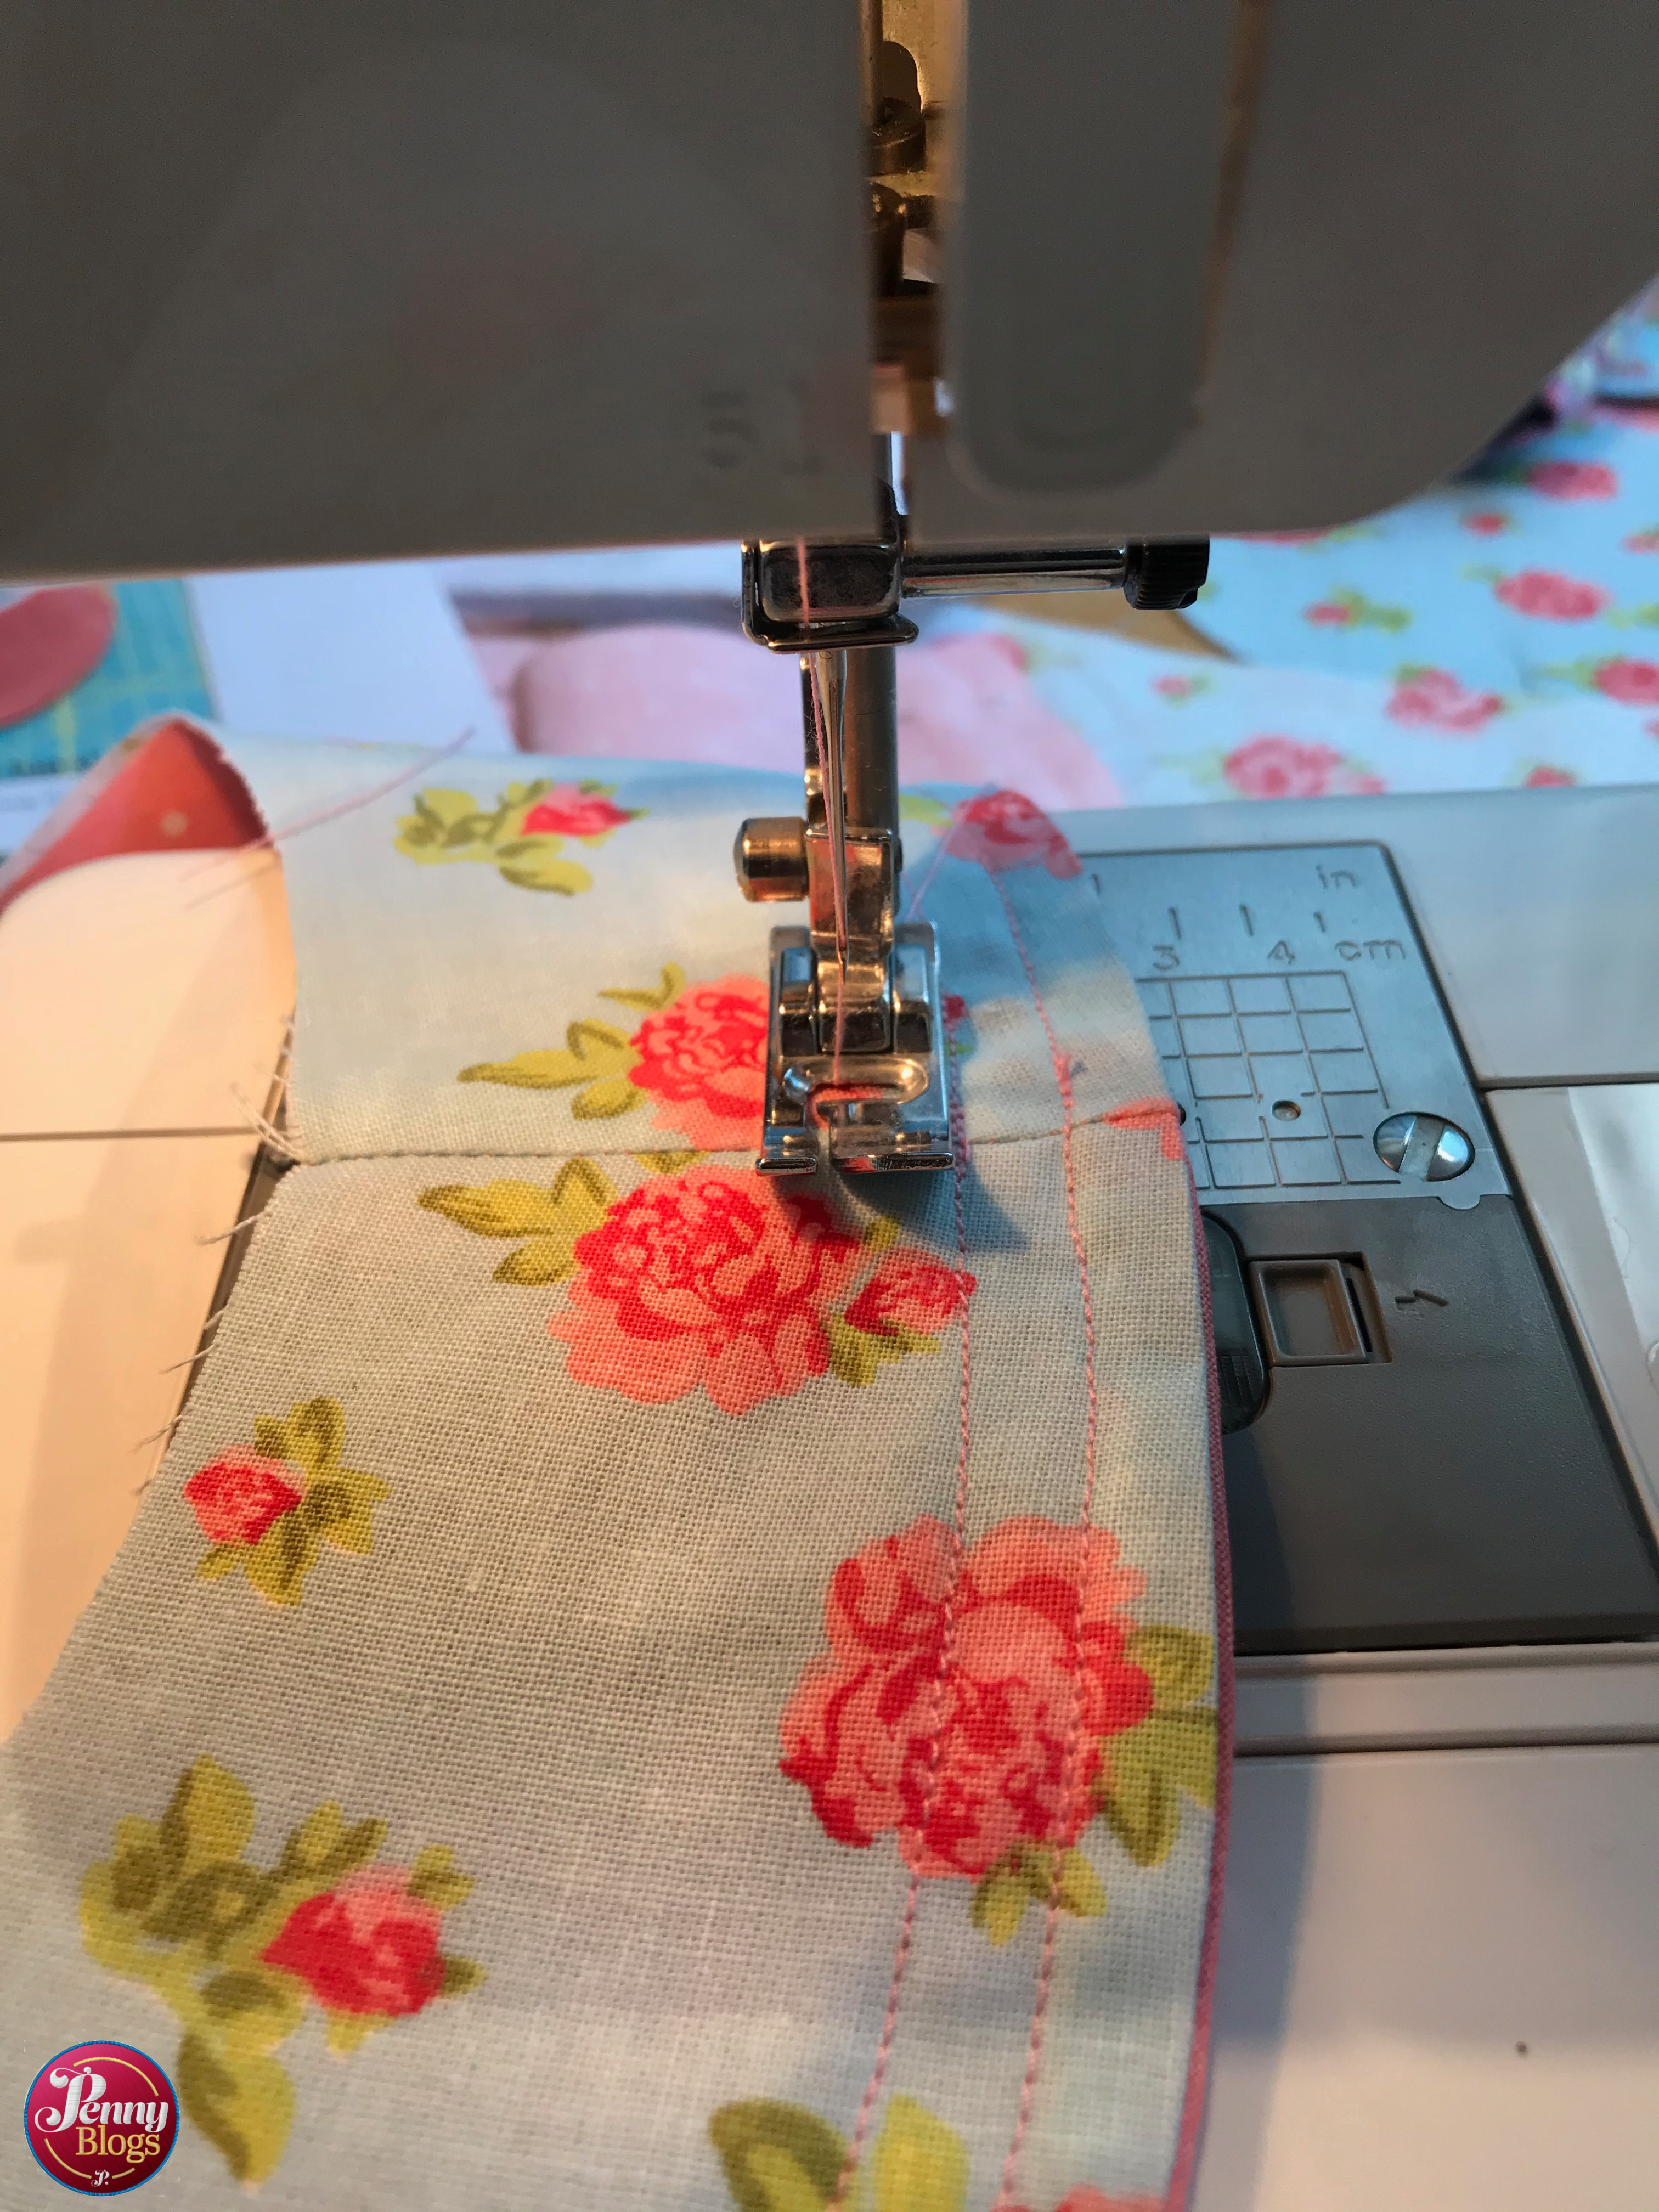
My sewing machine encountered a few problems when I was doing the final bits of quilting and so I spent hours unpicking and re-sewing right at the end of the make. Luckily my husband takes machines apart for a living and so was able to help take my sewing machine to pieces in an attempt to find out what was causing the problem. I’m not sure we managed to completely get to the bottom of the problem, but we did at least make enough progress to get to the end of making the quilt.

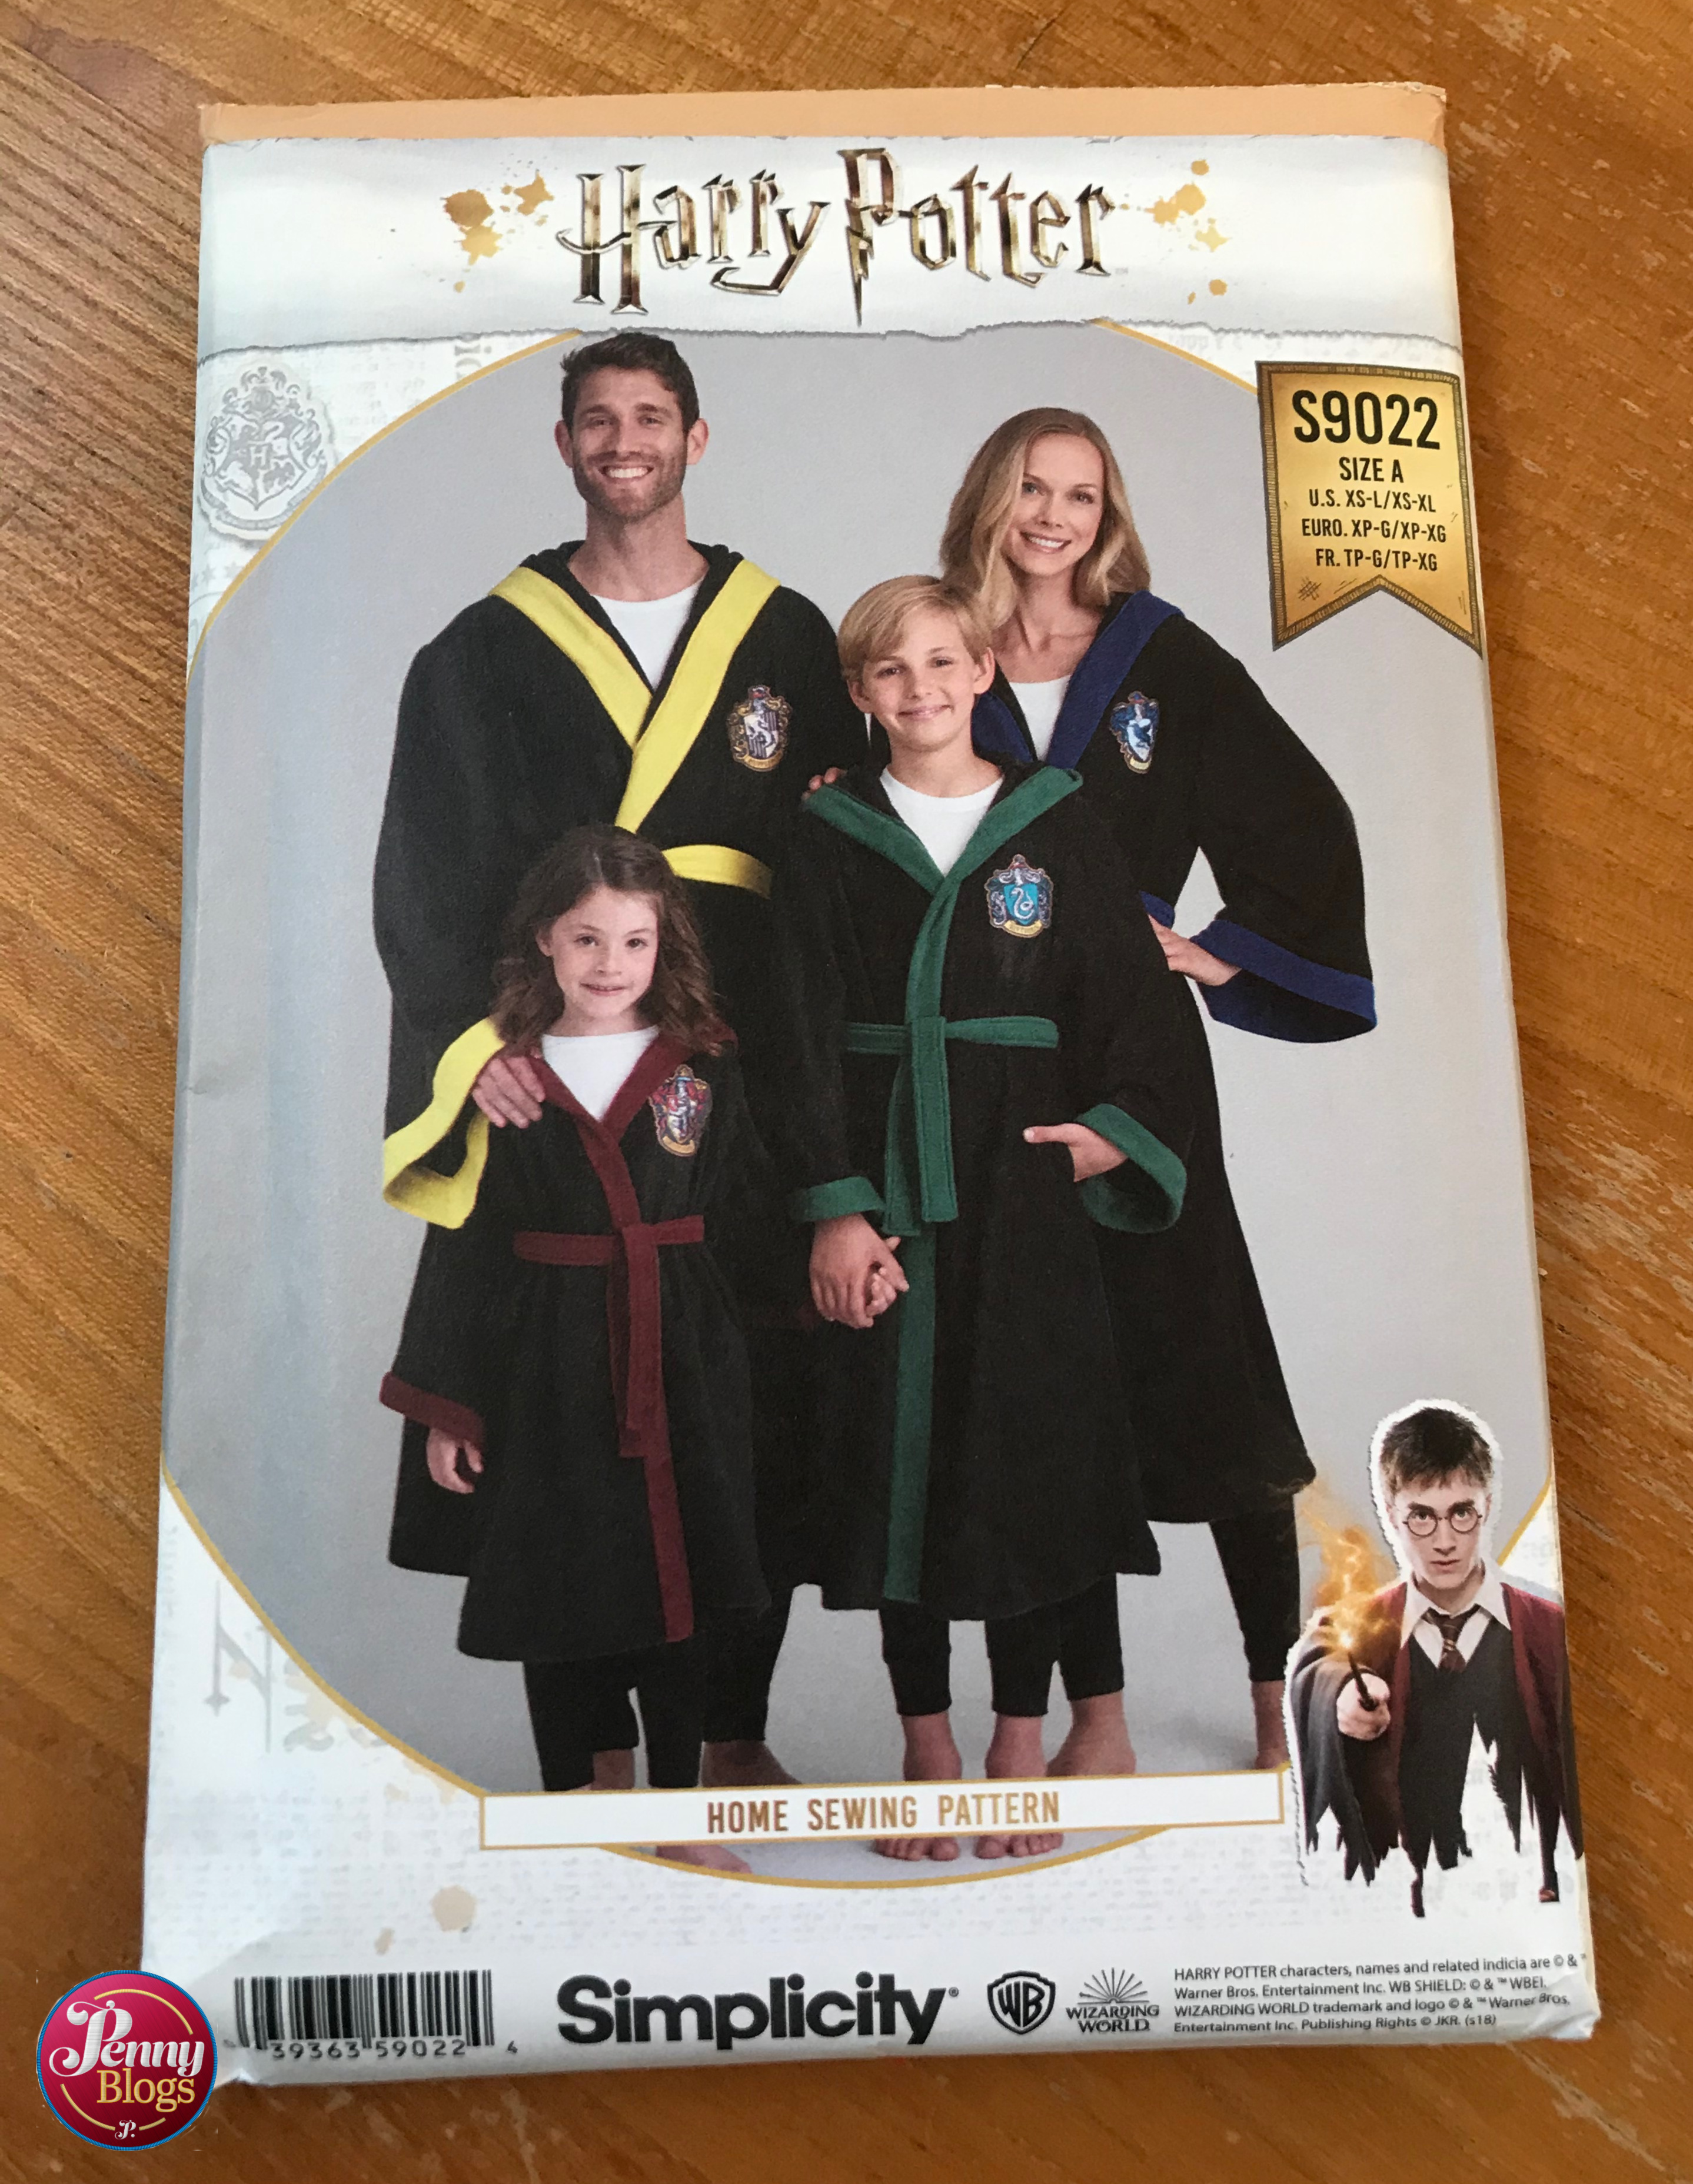
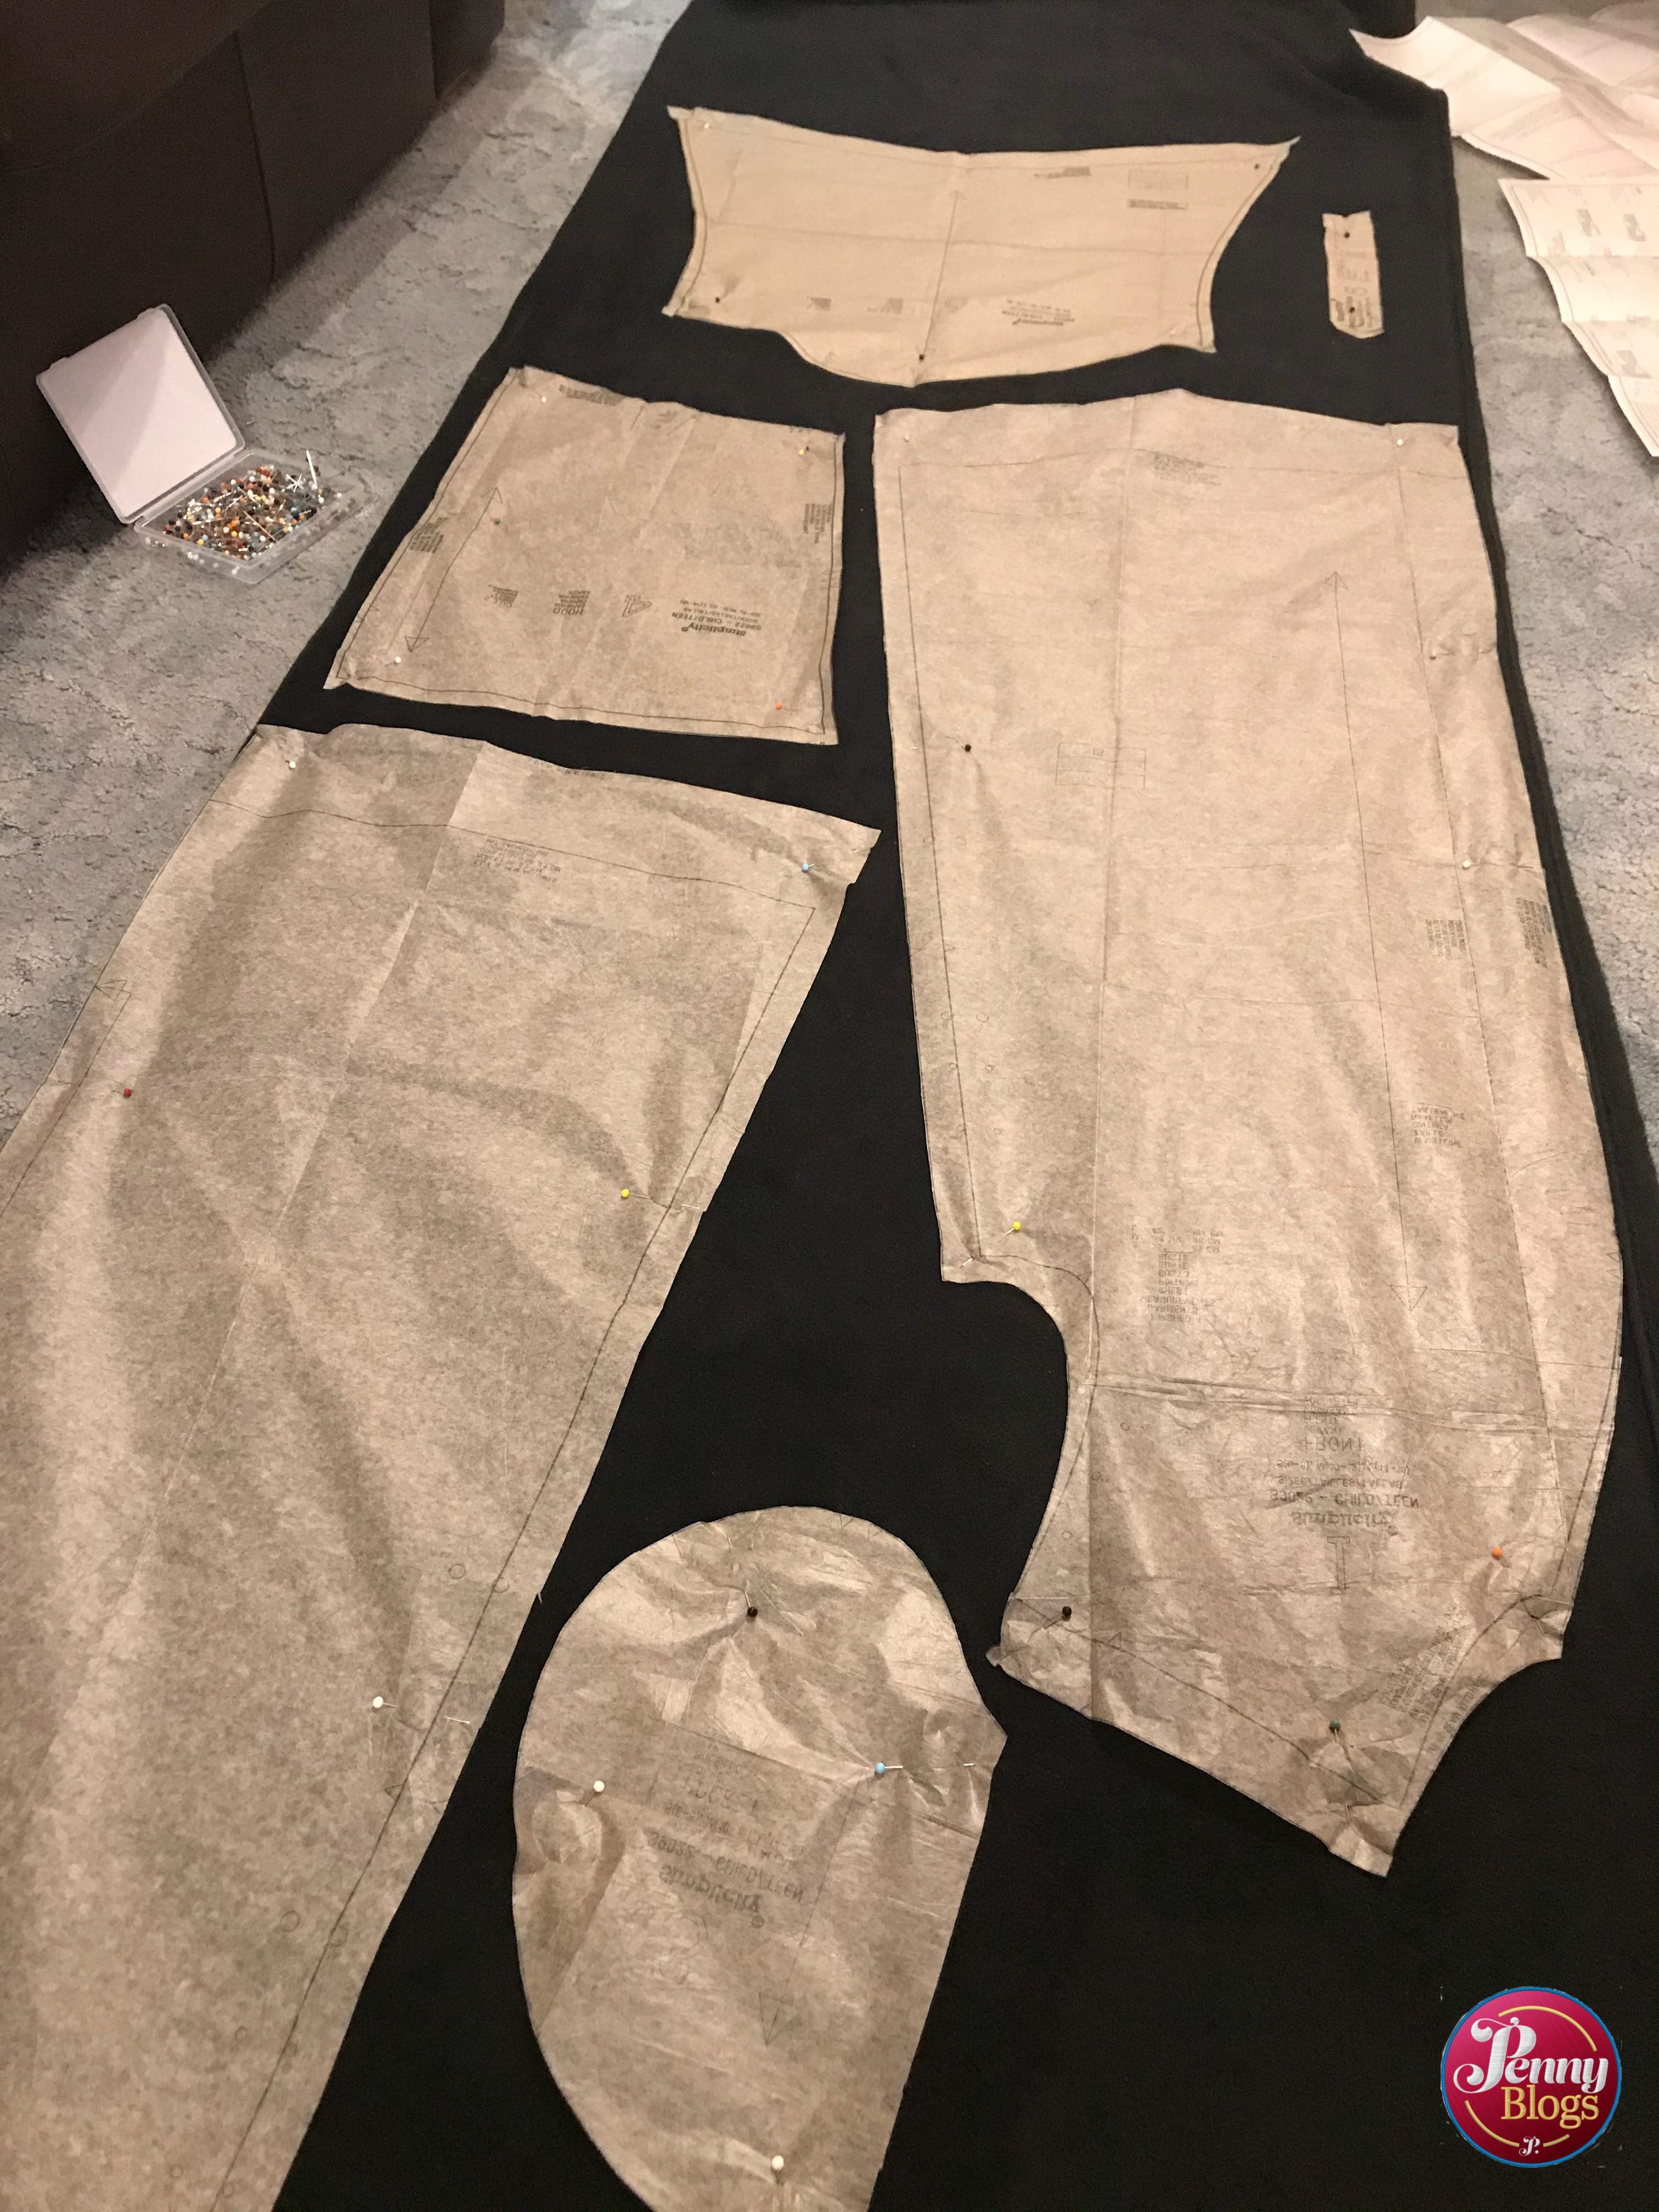
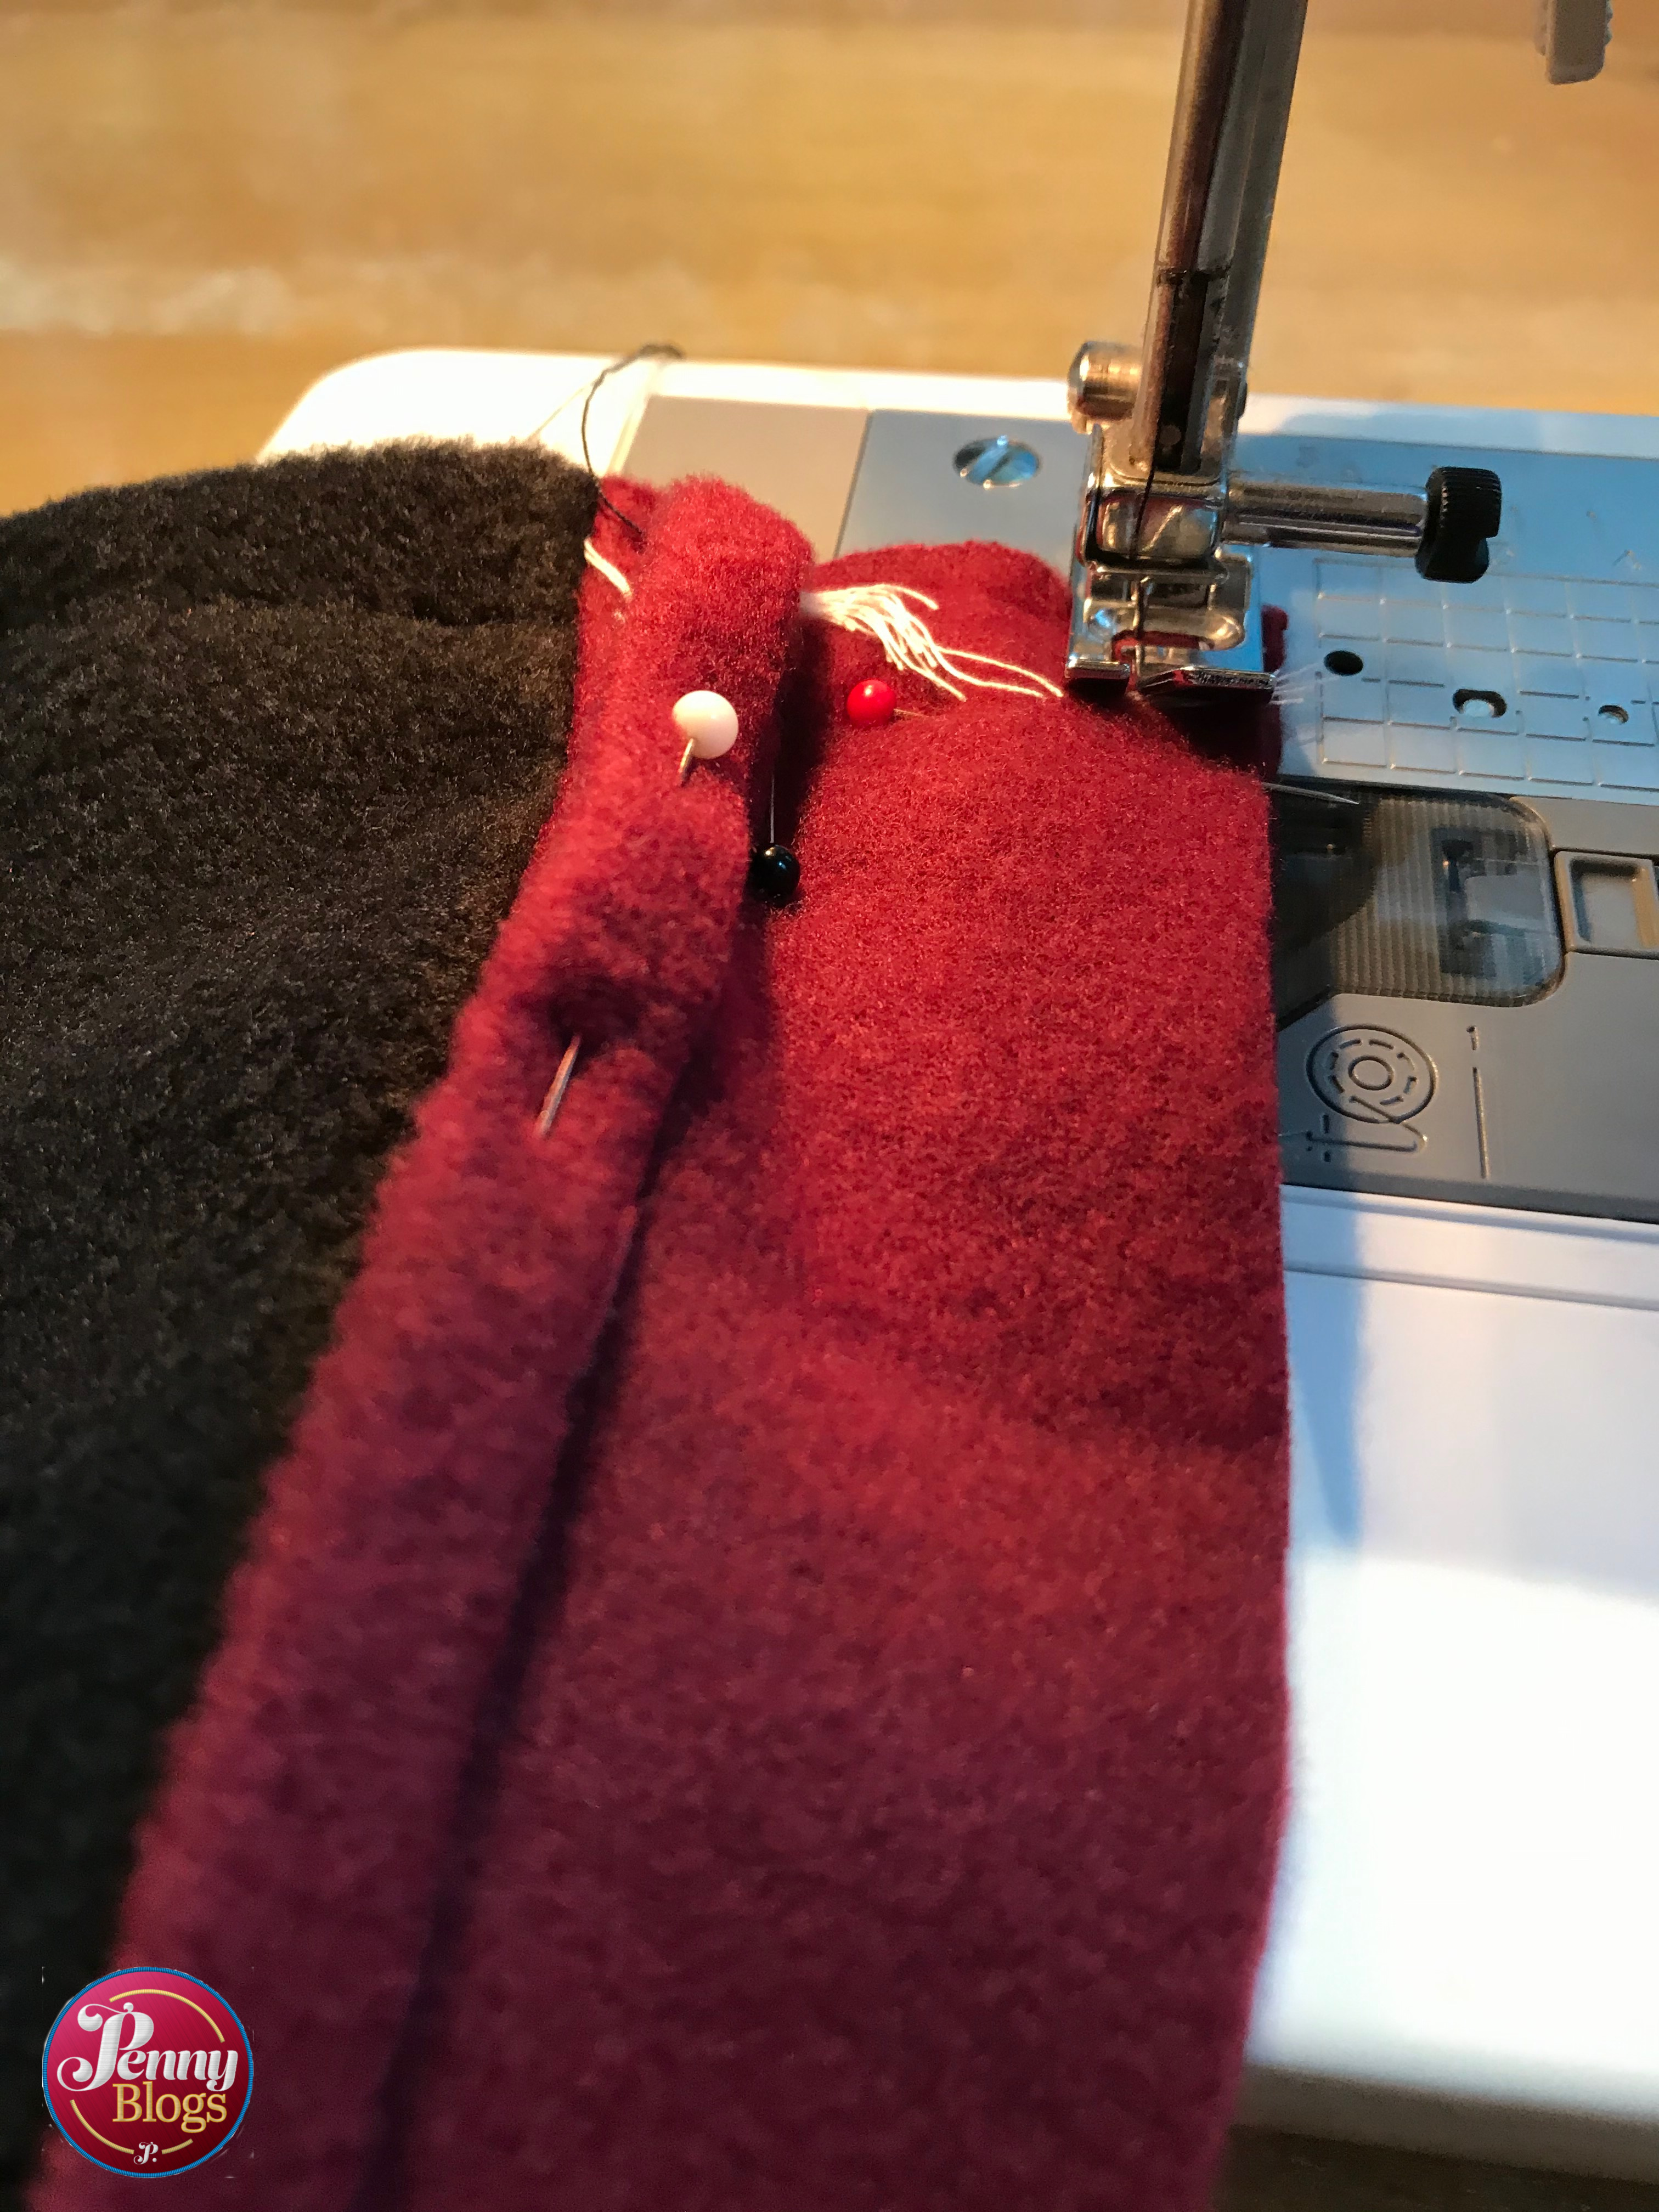
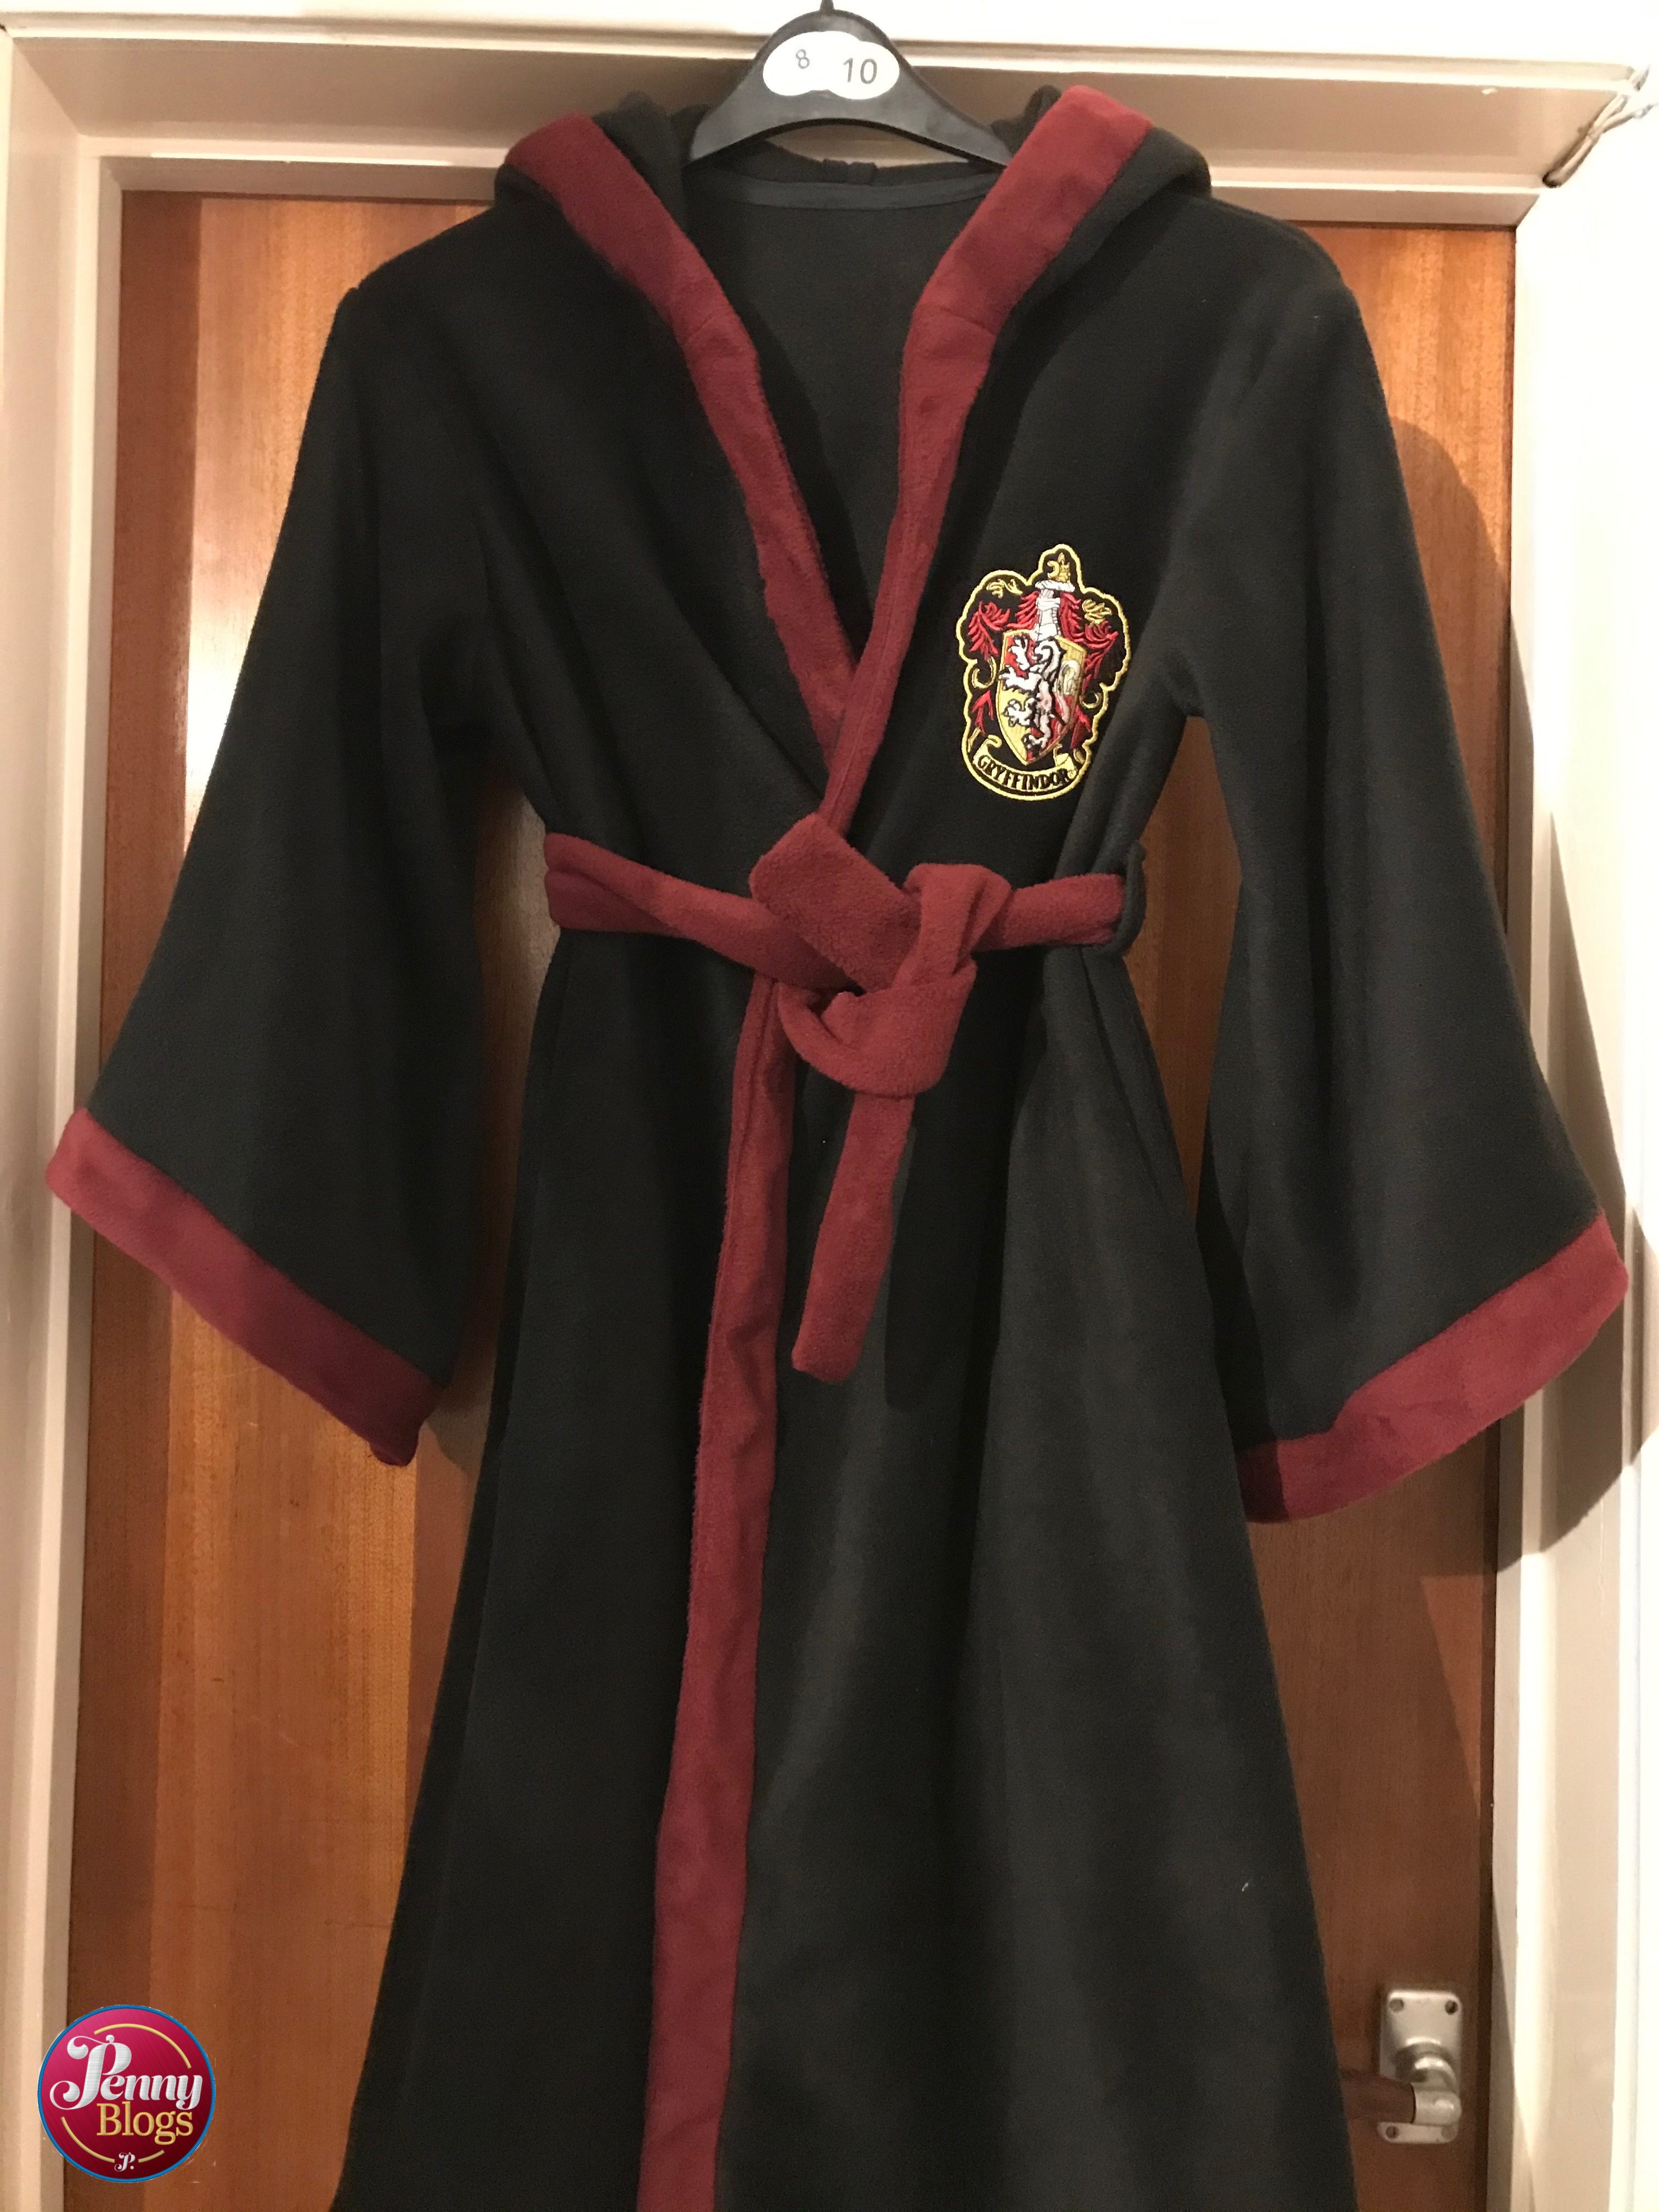
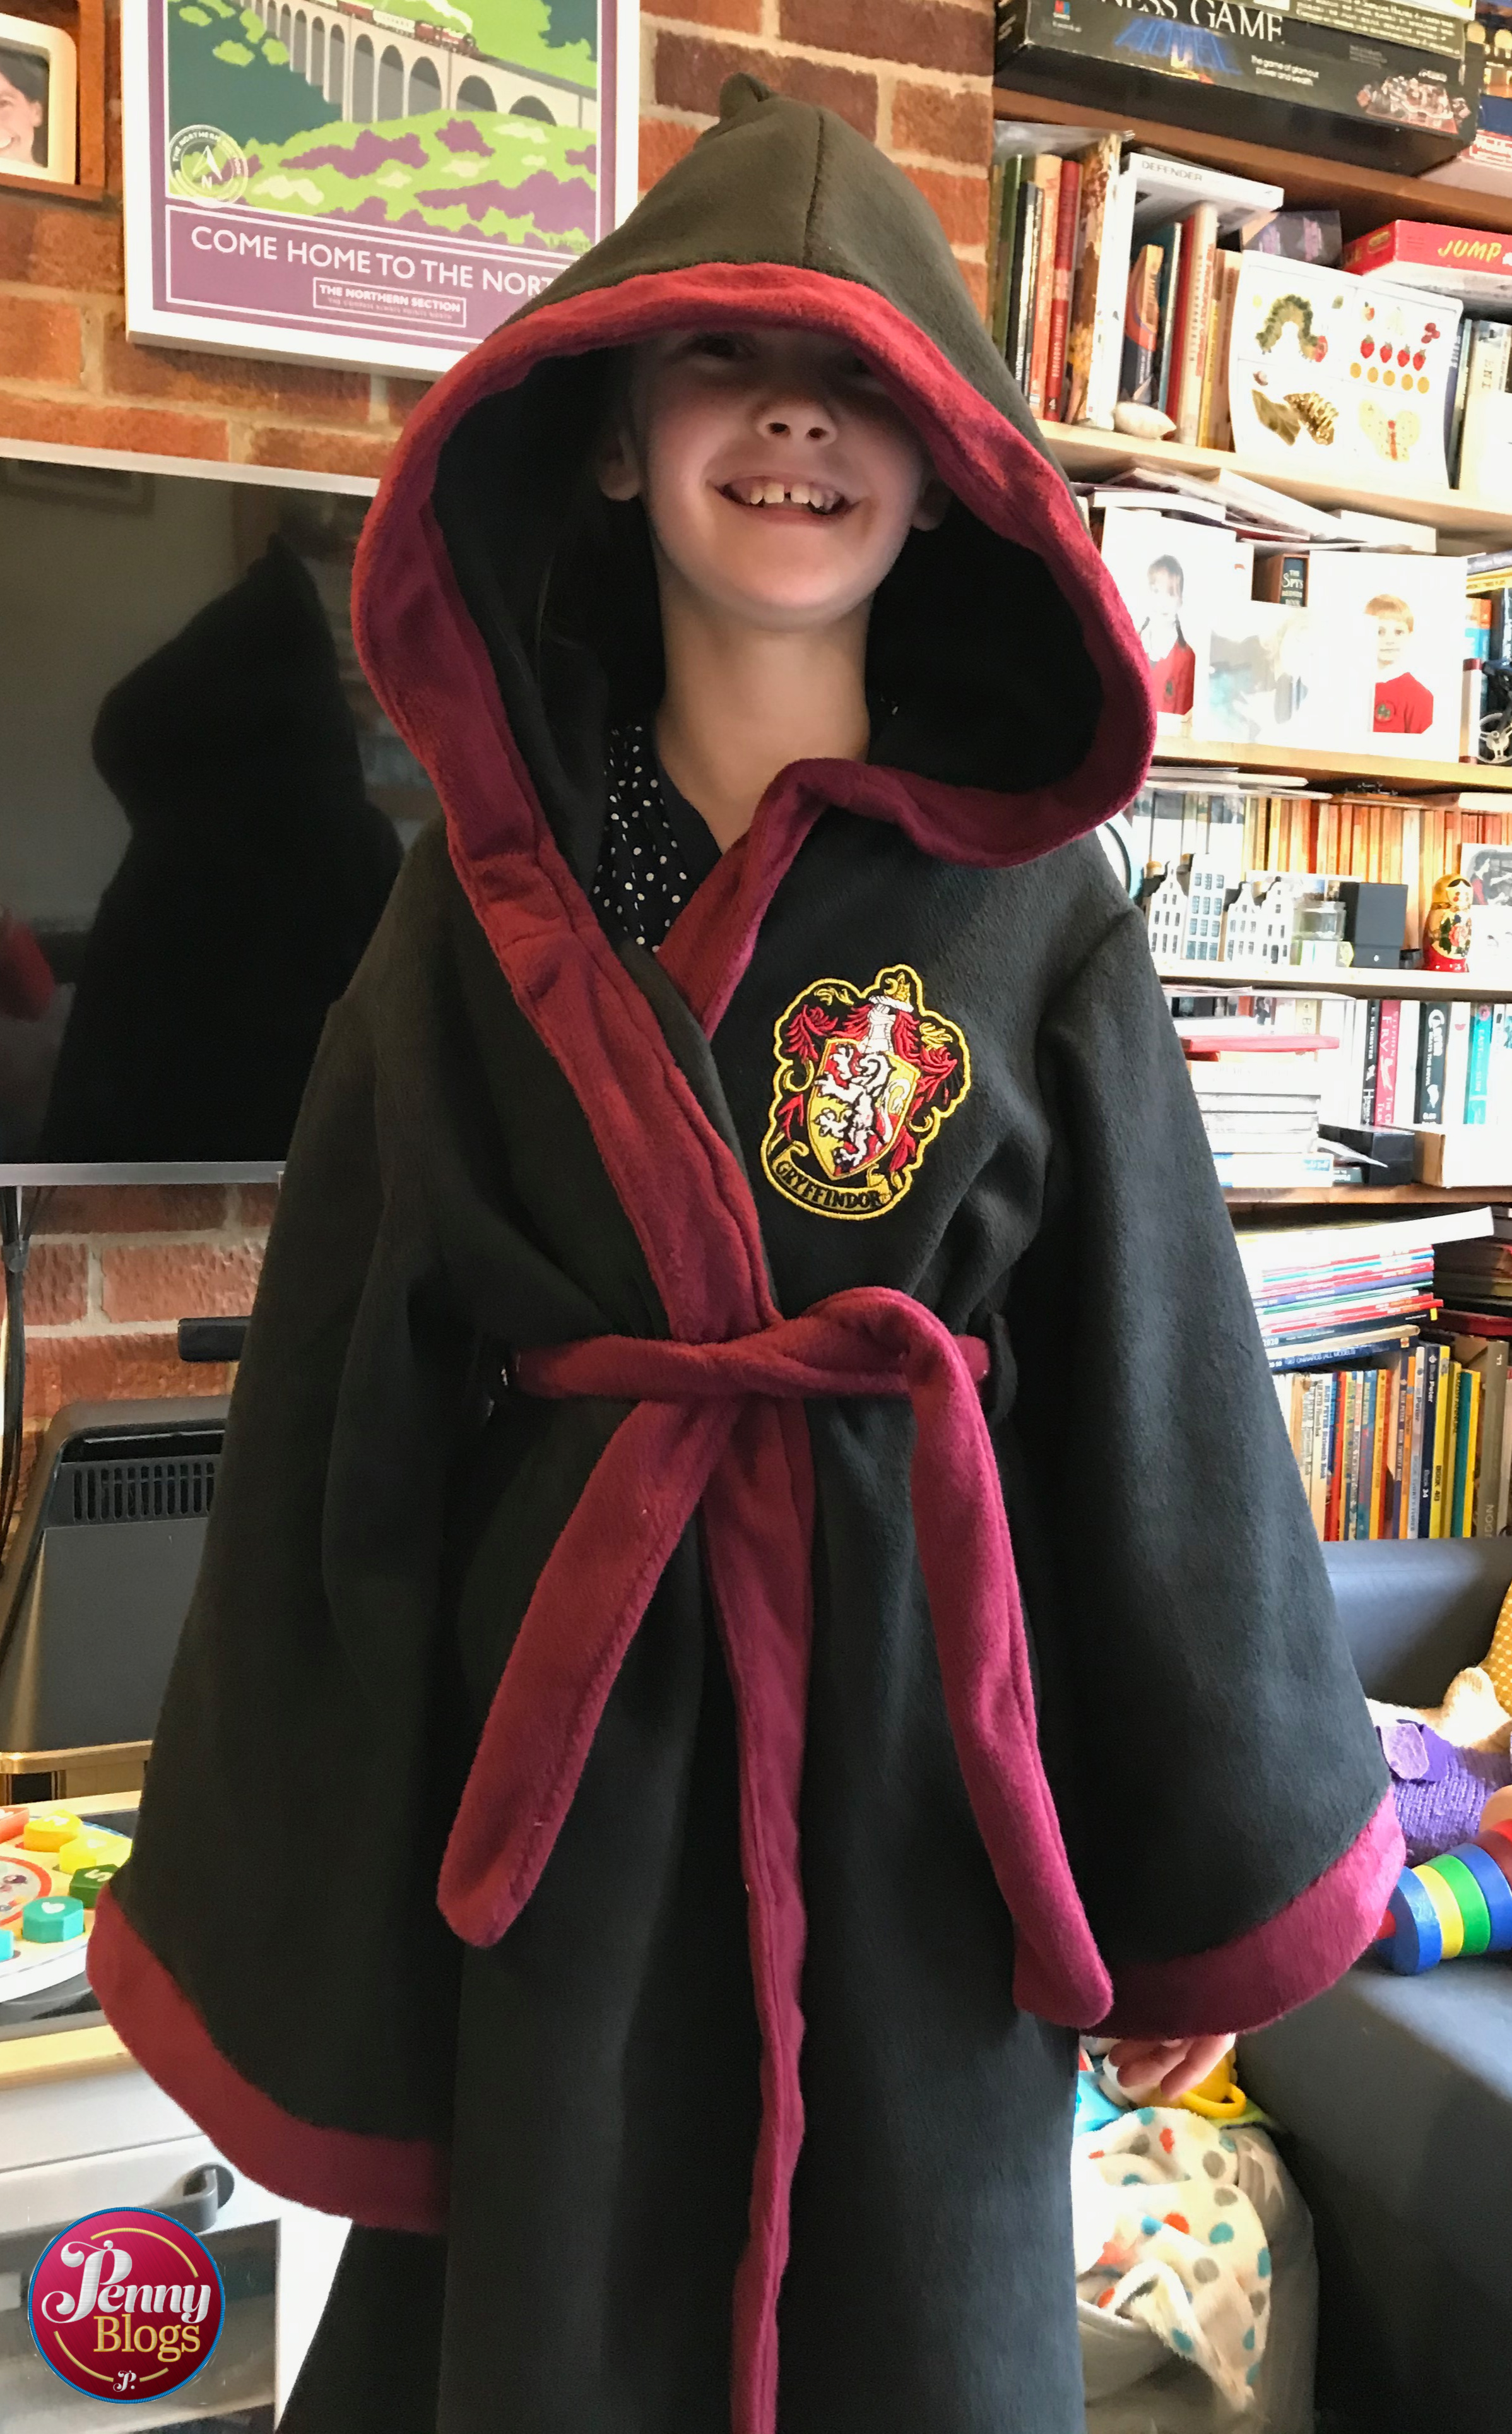
Just yesterday my daughter pointed out just how small the Harry Potter dressing gown I made her back in lockdown now is – so I’m expecting a request for a new mum-made dressing gown before Christmas. I guess I’d better get my machine properly fixed before then!

Filed Under: Crafting, Crafts, Sewing

Sewing a Harry Potter Dressing Gown – Simplicity Pattern S9002

June 19, 2020 by Penny Leave a Comment

Making a birthday special in lockdown is hard work. But when you have a child that is a massive Harry Potter fan, you’re planning a new Harry Potter themed bedroom for her, and then you happen across a sewing pattern for a Harry Potter dressing gown then you have to make it as a birthday present. Even if you are somewhat up to your eyes in home schooling in the middle of a global pandemic at the time!

Harry Potter Dressing Gown

It’s ages since I’ve done any proper dressmaking, but with added confidence from watching this series of the Sewing Bee I figured I should be able to manage a dressing gown. Originally I’d seen someone sharing an Instagram post of a Harry Potter cloak that they’d made, and I then ended up down an online rabbit hole that took me to *Simplicity Pattern S9002 for these house themed Harry Potter dressing gowns, or robes as they call them in America.

The packet of the Harry Potter dressing gown sewing pattern - simplicity pattern S9002 showing a family of four wearing dressing gowns, each one showing a different Hogwarts House colour on the trim

I think the last time I made something from a proper paper pattern was actually back in secondary school, yet I have a whole collection of patterns that I bought not long before I left my ex-husband that I’d never got round to doing anything with. There’s also a whole box of vintage patterns somewhere in the garage that also need some love and attention. I figured that I had to stop being so scared and just get on and make something.

Fabric choices

For this dressing gown I decided to make it in fleece fabric as I know my daughter loves that soft feel to a dressing gown. I ordered my fabric from Empress Mills who have an amazing selection of both plain and patterned fleece online. With everyone in lockdown at the time it was a fair while before I actually got the fabric, but lots of people inform me that they normally have a much quicker turnaround.

Sew on patches

I chose an obvious black fleece for the main body of the dressing gown and then, as my daughter is a Gryffindor fan, went for a red wine colour for the edge, hood and sleeve bands. I found a *Gryffindor sew on patch on Amazon which was perfect for the front of the gown. It’s worth noting that this isn’t included in the pattern and there are no hints on where to buy one from. Amazon seem to have a *wide selection of Harry Potter sew on patches though that should work for the four different houses.

Following the pattern

The pattern itself was relatively easy to understand, with good clear instructions and diagrams of each step. I found laying out and pinning the pattern pieces incredibly hard work, especially as I don’t have a big enough table, so was working on a deep pile carpet (80s style!) on my living room floor. It made cutting the pieces particularly difficult, especially as the fleece is really quite thick when folded double.

Pattern pieces arranged on black fleece fabric whilst laid on a 80s style deep pile carpet!

Luckily fleece is so much easier to sew than it is to cut. It’s also quite forgiving in terms of having a bit of stretch so that if you pin pieces together well you can always stretch one piece enough to line up notches etc. if your cutting has been slightly off.

A close up showing a piece of wine red fleece on the sewing machine

The part of the project that I found the hardest was the contrast cuffs and edge bands. For all of these you apply iron-on interfacing to one of the band pieces before attaching it, and then you have to attach the other piece of the band and have one edge of it pressed under. It’s relatively straight-forward, but the problem is that fleece doesn’t exactly press nice and neatly, and it certainly doesn’t hold the press. To finish the bands off you’re supposed to stitch in the ditch, catching the folded under edge neatly on the other side so that the finished result is all neat. Let’s just say that the fleece didn’t exactly help to make this happen. As I said before though, fleece is luckily quite forgiving when sewing, and I ended up having to sew a few bits by hand to make sure the edges were caught under neatly.

Finished result

A completed Harry Potter Dressing Gown hanging on the back of a door. Mainly black in colour with a wine red trim and a Gryffindor badge on one side of the chest

I’m so pleased with the finished result. And incredibly proud of myself for getting it finished, without needing to call anyone on FaceTime to help! Admittedly it’s not absolutely perfect, but it is far better than I expected it to be. If I were to make it again, I’d probably go for a less firm interfacing as the bands and cuffs are a bit stiffer than I’d like, but that really is a minor thing.

A ten yearly girl smiling whilst wearing a Harry Potter Dressing Gown with the hood up

And the best news is that my daughter absolutely loved it when she opened it on her birthday morning.

What next

The whole project has certainly given me my sewing confidence back. Probably a good thing, as Master C has asked me to make him a dressing gown for his birthday in September. He’s already chosen the pattern he wants (*Simplicity 3575) and I’m hoping that it won’t be too tricky. I might just have to find a more amenable carpet to cut the pattern pieces out on this time!

Disclaimer: Some of the links in this post are affiliate links. All marked with a *. If you click through on these links and buy anything then I receive a small commission, but it will cost you no more than usual. Many thanks to those of you that buy things via my affiliates links. Your support is appreciated greatly.

Filed Under: Crafting, Crafts, Sewing Tagged With: dressing gown, handmade, Harry Potter, sewing

Sandcastle Bucket Hat – Made By Jack’s Mum

April 26, 2020 by Penny Leave a Comment

One of the challenges of lockdown with a small child is that they grow. You suddenly find that their clothes either no longer fit them, or are no longer appropriate for the weather. That’s exactly what’s happened with Tube Stop Baby.

Lockdown seems to have coincided with some gorgeous hot weather here in the UK. Almost like nature taunting us after all that rain we had earlier in the year. We’re incredibly lucky in that we have a back garden and enough space for the kids to get fresh air and exercise each day without having to go anywhere. What I did realise though is that the youngest member of the family didn’t really have any summer clothes, and definitely didn’t have anything to protect her head from the sun. Not really wanting to buy online and with the only shops selling kids clothes being supermarkets I decided that this was the kick up the backside I needed to actually get my sewing machine out again and so that’s exactly what I did.

Sandcastle Bucket Hat Made By Jack's Mum - picture shows the pattern and my chosen fabric

Choosing a Pattern

There are hundreds of patterns available online for hats, but after asking for recommendations on Facebook several people pointed me towards the pattern for the Sandcastle Bucket Hat by “Made by Jack’s Mum“. Now this wasn’t a site that I knew at all, but it seems that I’m pretty much the last person on the planet to actually discover it!

Specialising in easy pdf patterns, Made by Jack’s Mum aims to make sewing accessible to everyone and that approach seems to be incredibly popular with a whole Facebook group full of people sharing photos of their makes from her patterns. The Sandcastle Bucket Hat is actually a free pattern and it also fulfilled my other requirement of only needing a couple of fat quarters to make the size I needed.

Following the pattern

Sandcastle Bucket Hat Made By Jack's Mum - picture shows some of the pattern pieces pinned onto pink fabric with small white spots on it

The pdf pattern was printed out over four pieces of A4 paper. I then simply stuck these together with sellotape before cutting out the pattern pieces for the size I was making. There are different coloured and drawn lines for all the different sizes and it’s easy to follow the size you need.

The pattern is accompanied by an amazingly detailed set of instructions, with photos at every stage. They were incredibly easy to follow. The only practical difficulty I had was attaching the top circle to the ring of fabric that formed the sides of the hat. It just took a bit of re-pinning to get it lined up correctly and was probably due to my lack of practice recently.

Sandcastle Bucket Hat Made By Jack's Mum - picture shows me sewing the bands on the hat's brim on my sewing machine

The morning I spent making this hat was a perfect way to get me back into dress making and re-familiarising myself with my sewing machine. It certainly helped boost my confidence no end, and my final result was also a brilliant hat for my daughter.

My Sandcastle Bucket Hat

Sandcastle Bucket Hat Made By Jack's Mum - a collage of pictures showing the finished hat - both inside and outside and my daughter wearing it

I’m really pleased with the end result. The fabric I used was from a bundle of floral fat quarters that I picked up Aldi a life-time ago. They have just been sat in my sewing stash ever since. It’s great to see them finally in use, and fulfilling a practical need too. I went for a floral fabric for the outside of the hat, and a pink spotty fabric for the inside. But, one of the beauties of the Sandcastle Bucket Hat is that it’s reversible meaning that we can choose which side to show off each day.

Now if only I could get her to actually keep the hat on her head whilst playing in the garden!

The Sandcastle Bucket Hat pattern is available online here.

Filed Under: Crafting, Crafts, Sewing

Primary Sidebar

Google Ads

Categories

  • Baking
  • Blogging
  • Books
  • Business
  • Car Boot
  • Childrens Crafts
  • Collaboration
  • Corona Diary
  • Crafting
  • Crafts
  • Crochet
  • Days Out
  • Decorating
  • DIY
  • Environmental
  • Family
  • Fashion
  • Films
  • Finances
  • Fireworks
  • Food and drink
  • Gardening
  • Gifts
  • Halloween
  • Health and Fitness
  • Home
  • Interiors
  • Knitting
  • Life
  • Moving house
  • Music
  • New house
  • Outdoors
  • Parenting
  • Pregnancy
  • Relationships
  • Romance
  • Sewing
  • Simple things
  • Swimming
  • Television
  • Thrifty
  • Travel
  • Upcycling
  • Vintage
  • Womens Institute
  • Work

Penny on Amazon

Want to find out what I’m recommending over on Amazon at the moment? Take a look here.

Copyright © 2025 · Genesis Sample on Genesis Framework · WordPress · Log in