With Diwali just gone and Bonfire Night fast approaching fireworks can be heard most nights round here and it seemed the perfect time to dust off a simple firework painting activity that we used to do with the kids at playgroup at this time of year. It’s easy enough for toddlers to do with a bit of help, or pre-schoolers independently.
What you need
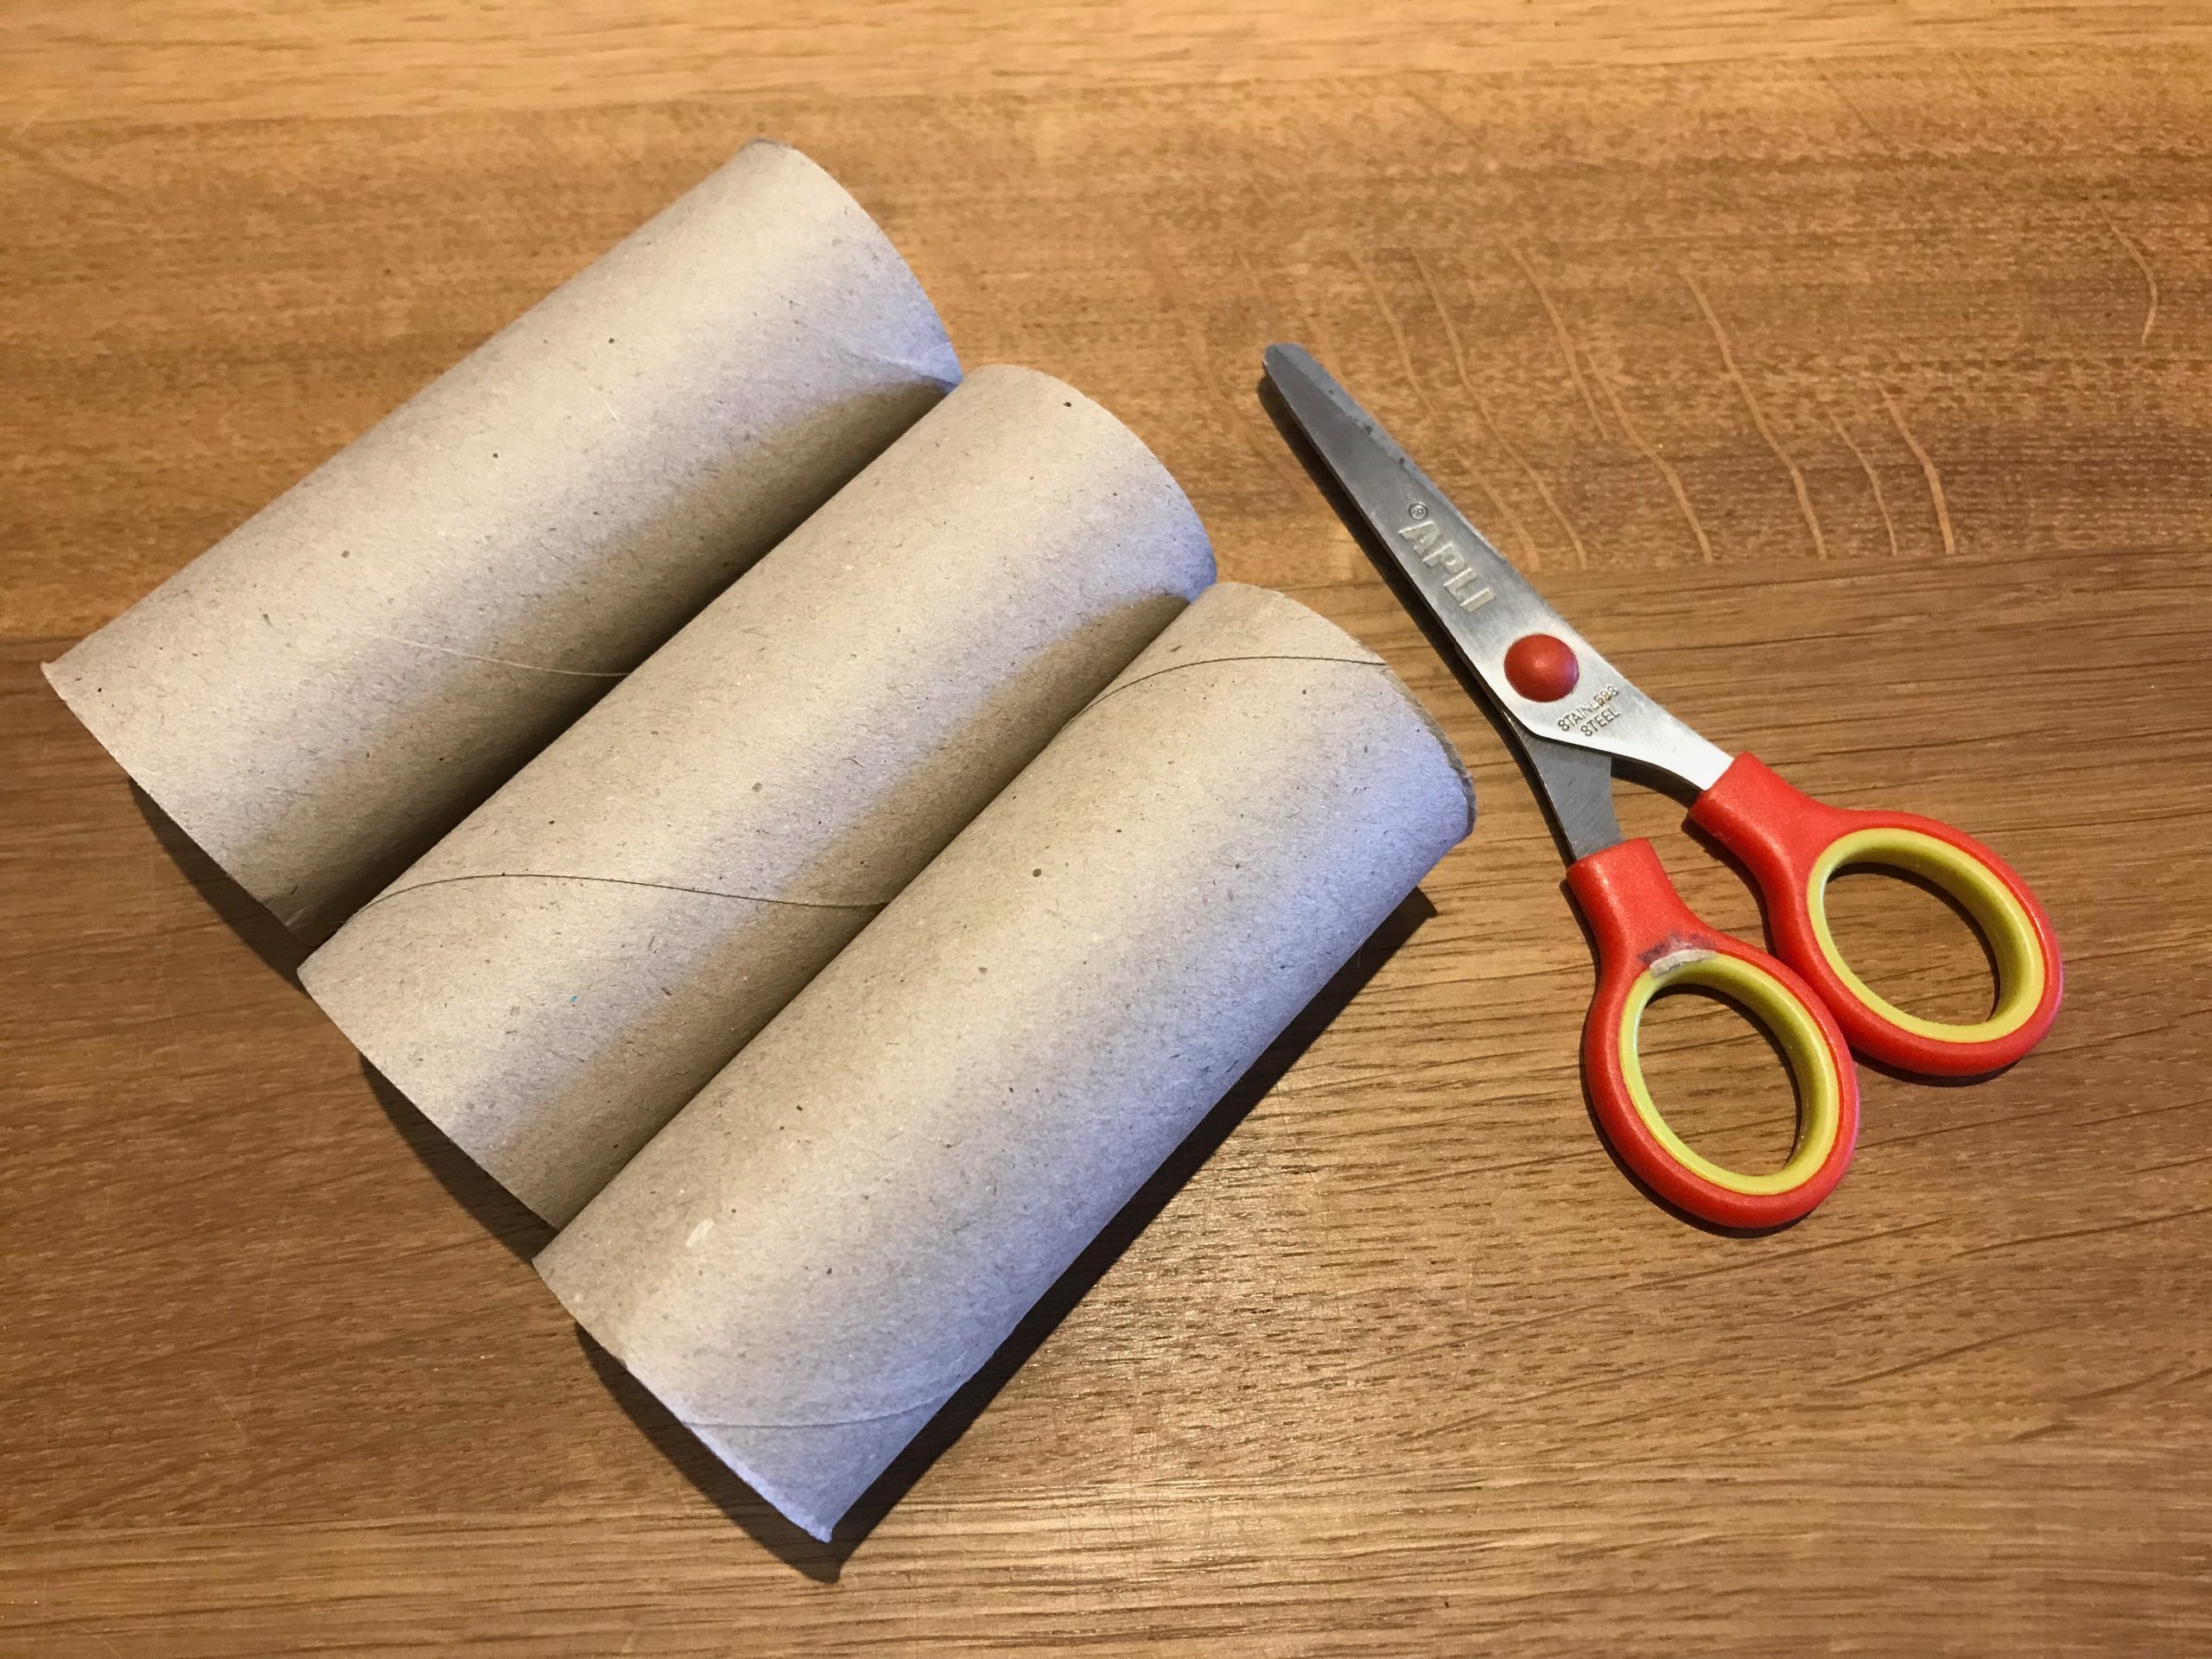
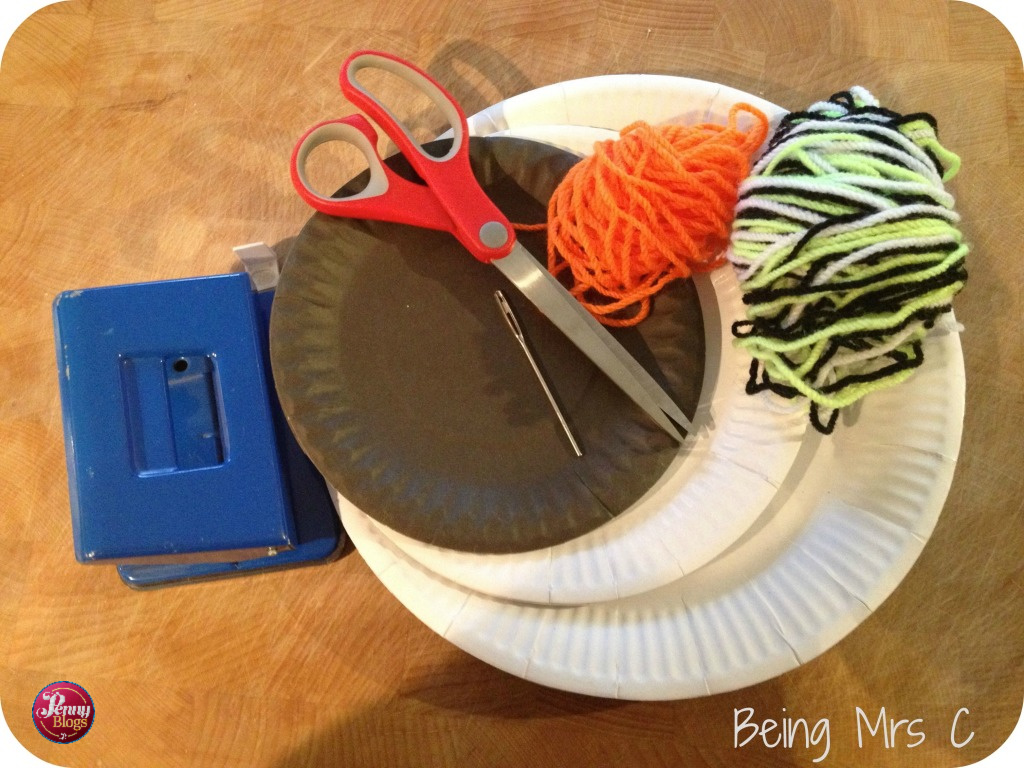
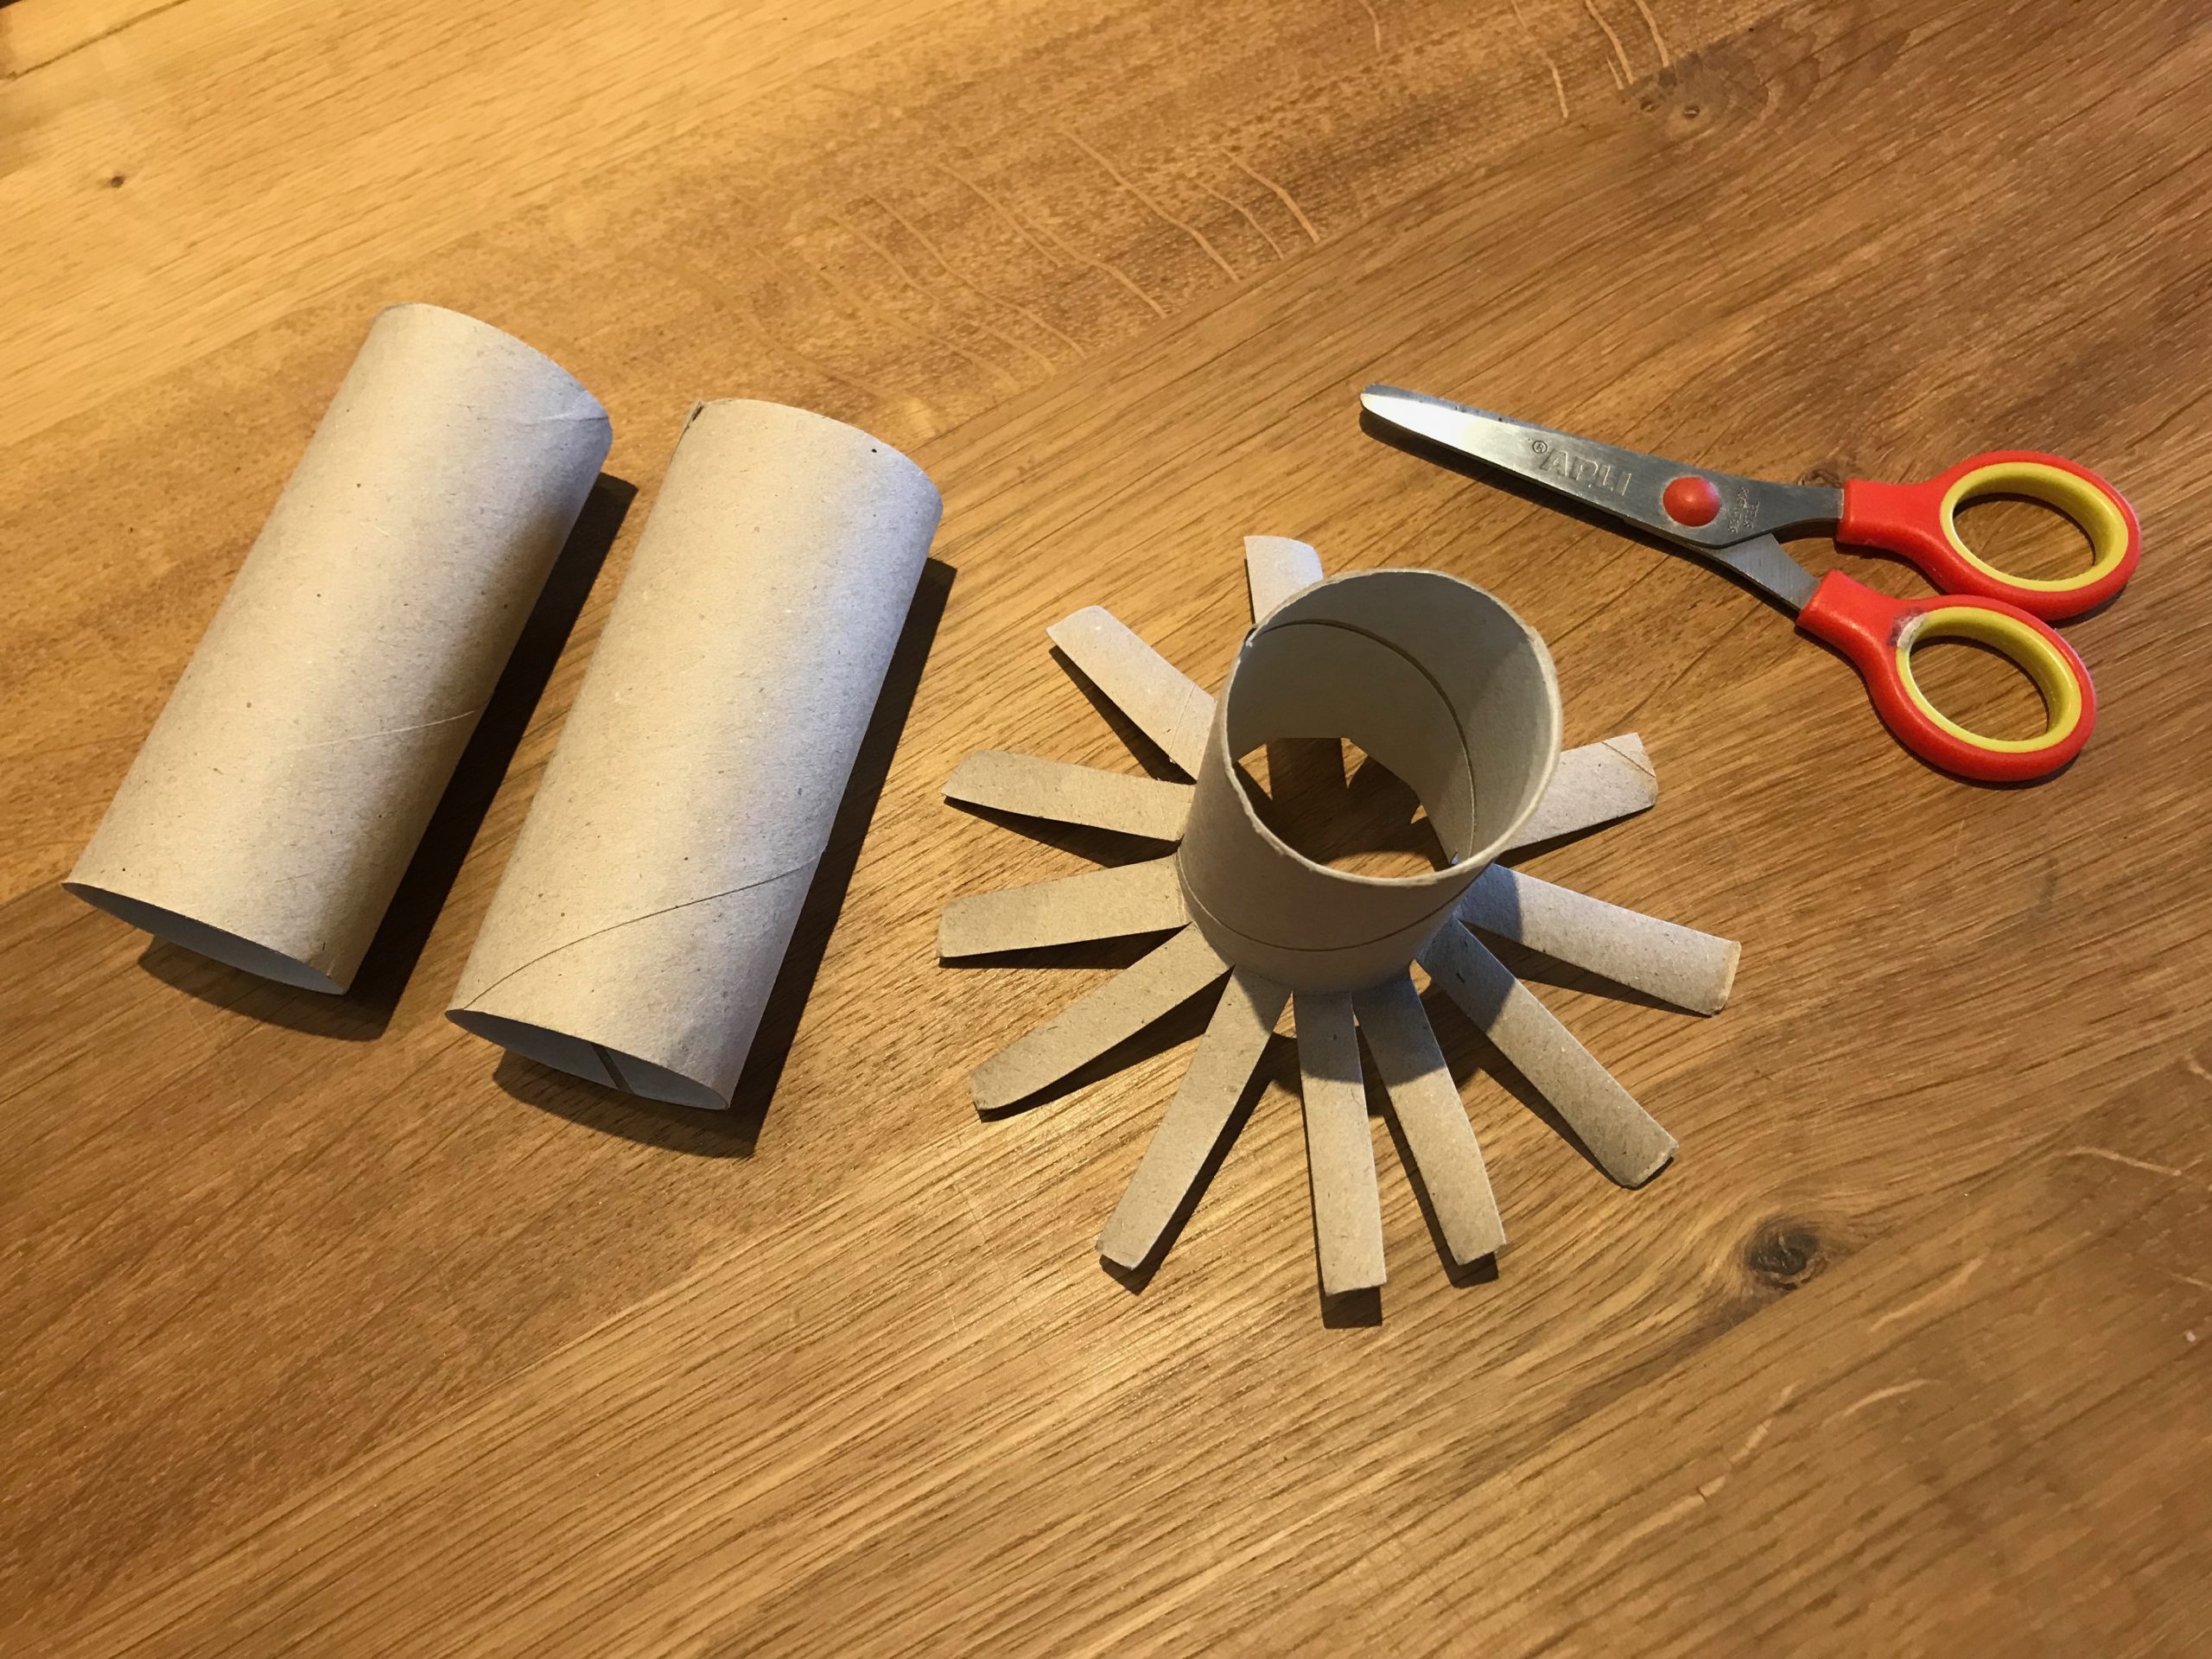
- Toilet roll tubes
- Scissors
- Paint
- Dark coloured sugar paper (black if possible)
How to create your fireworks
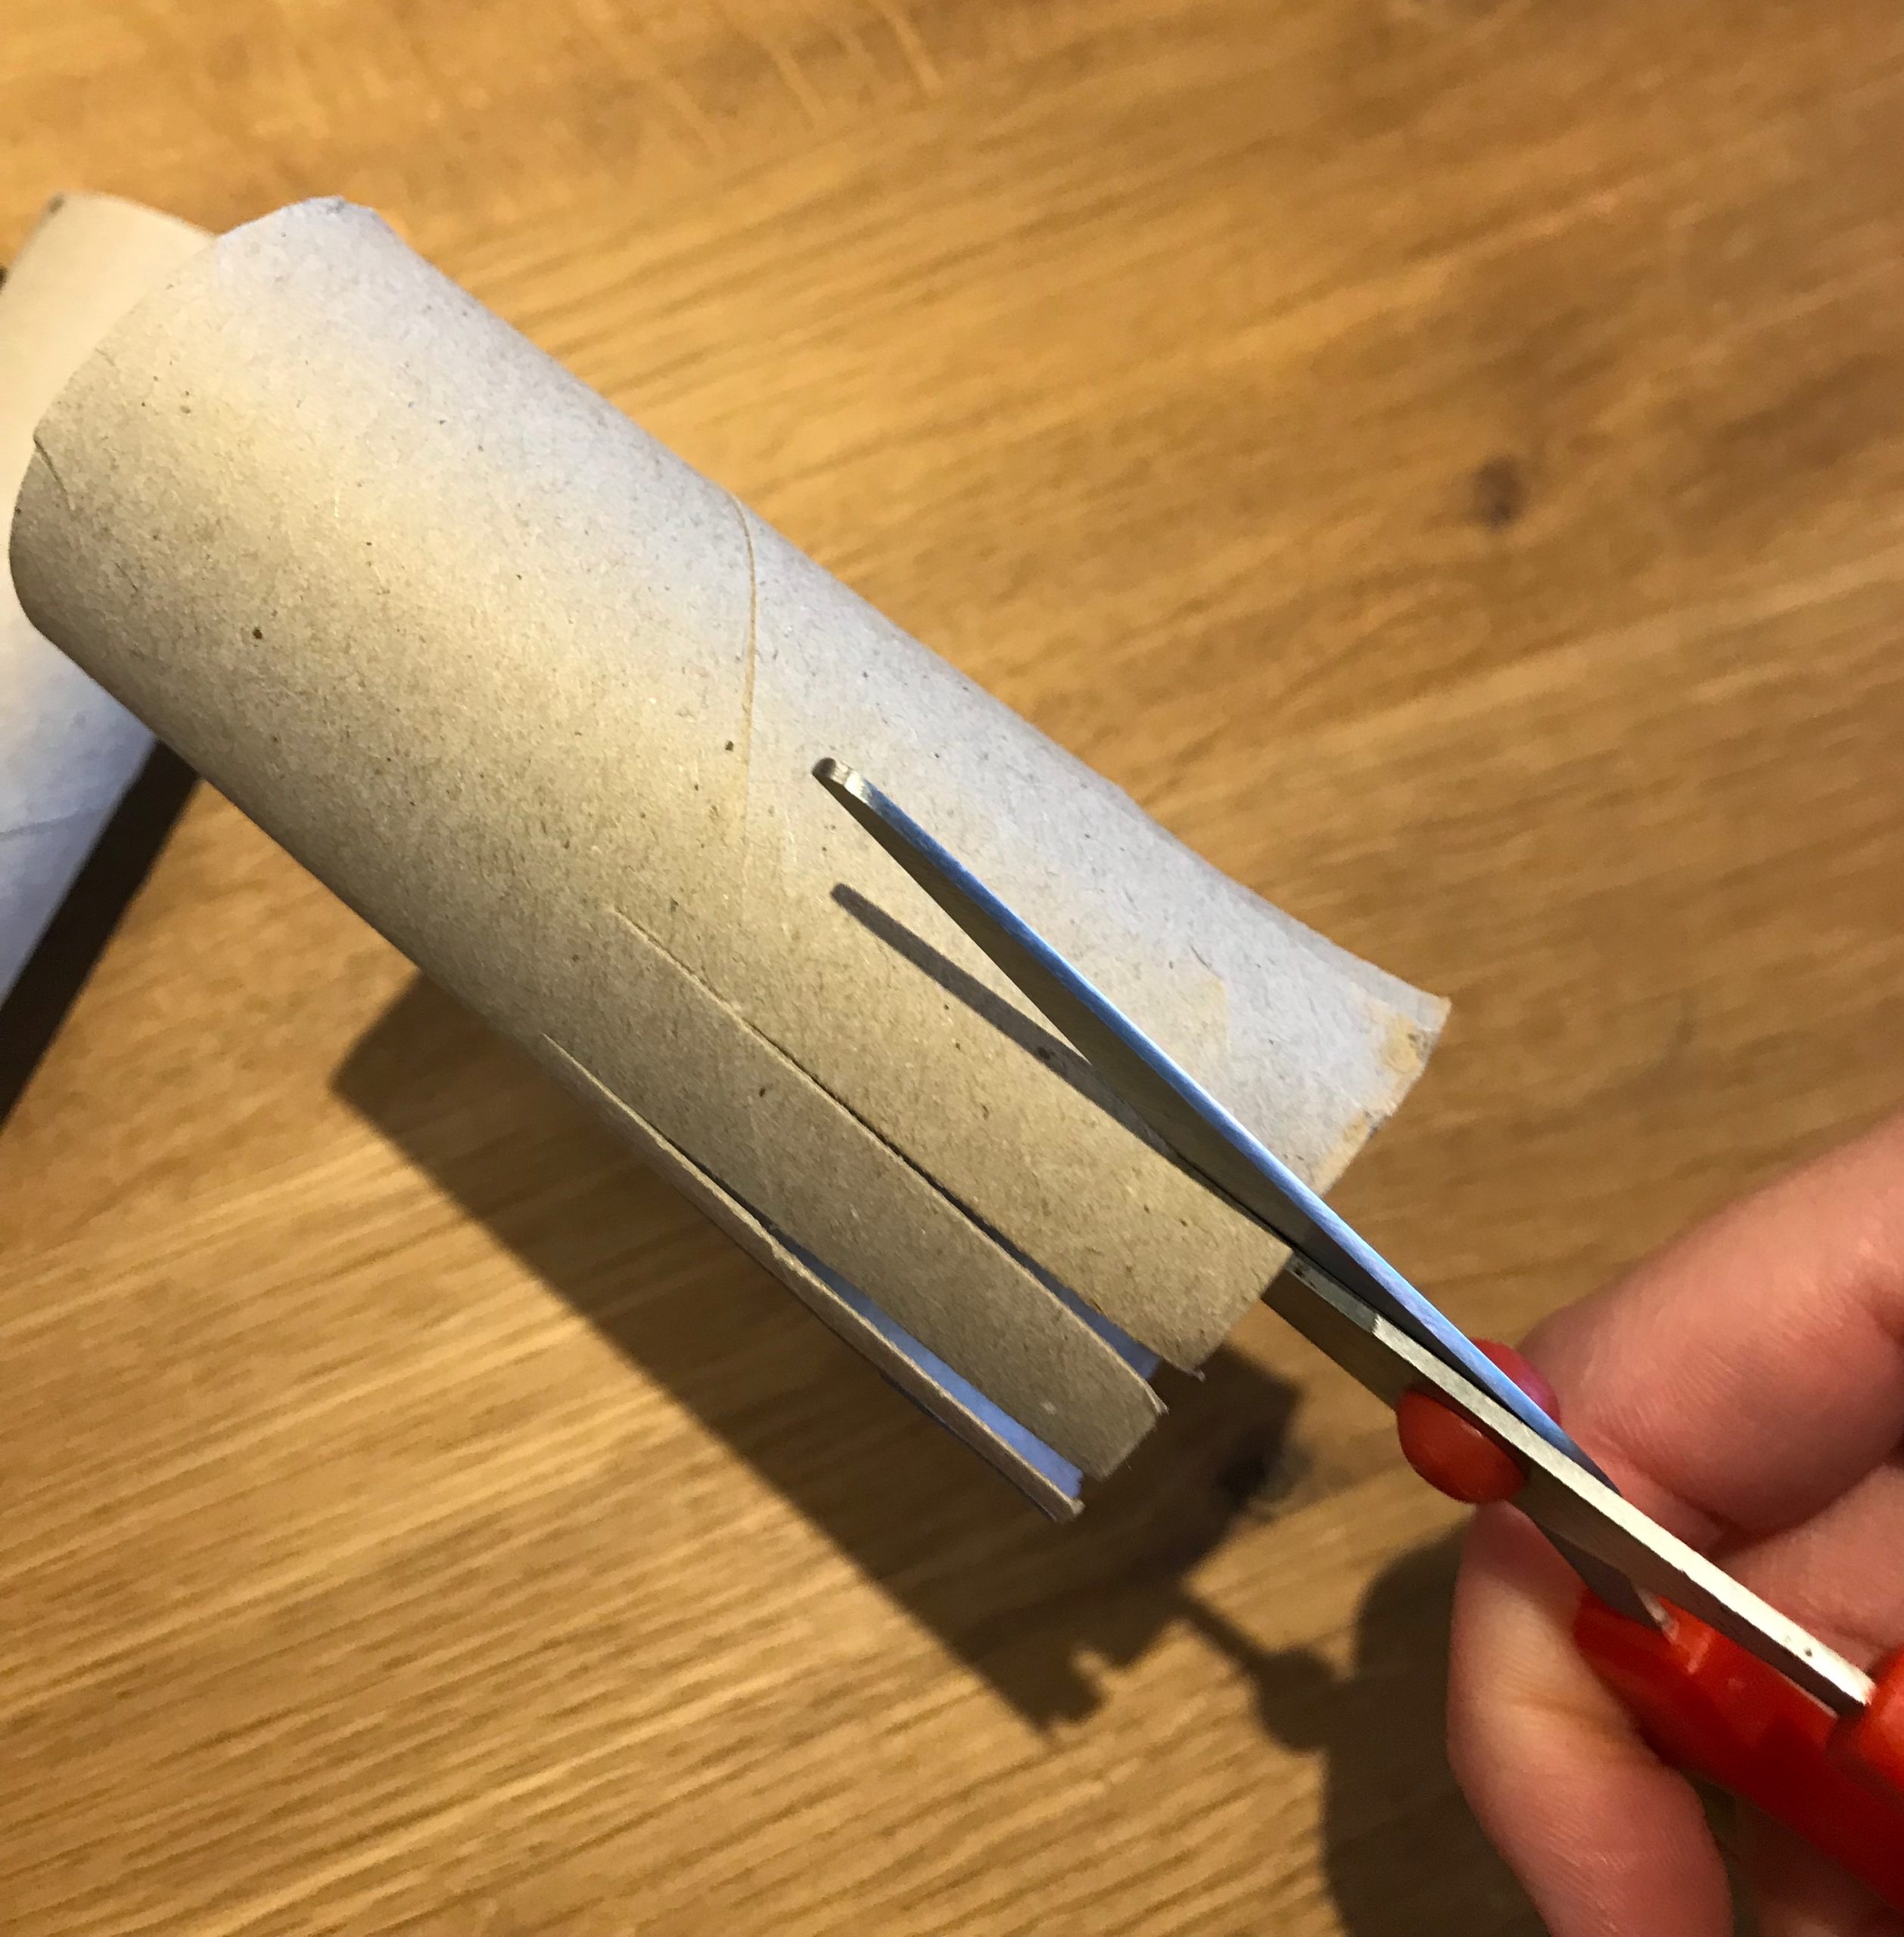
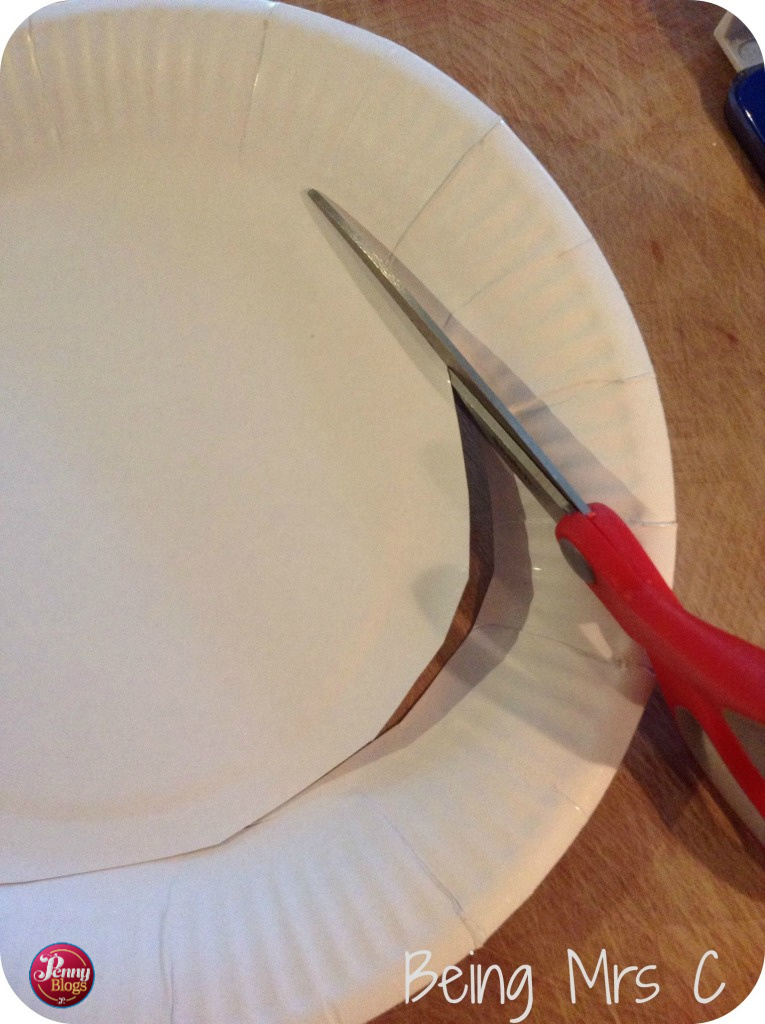
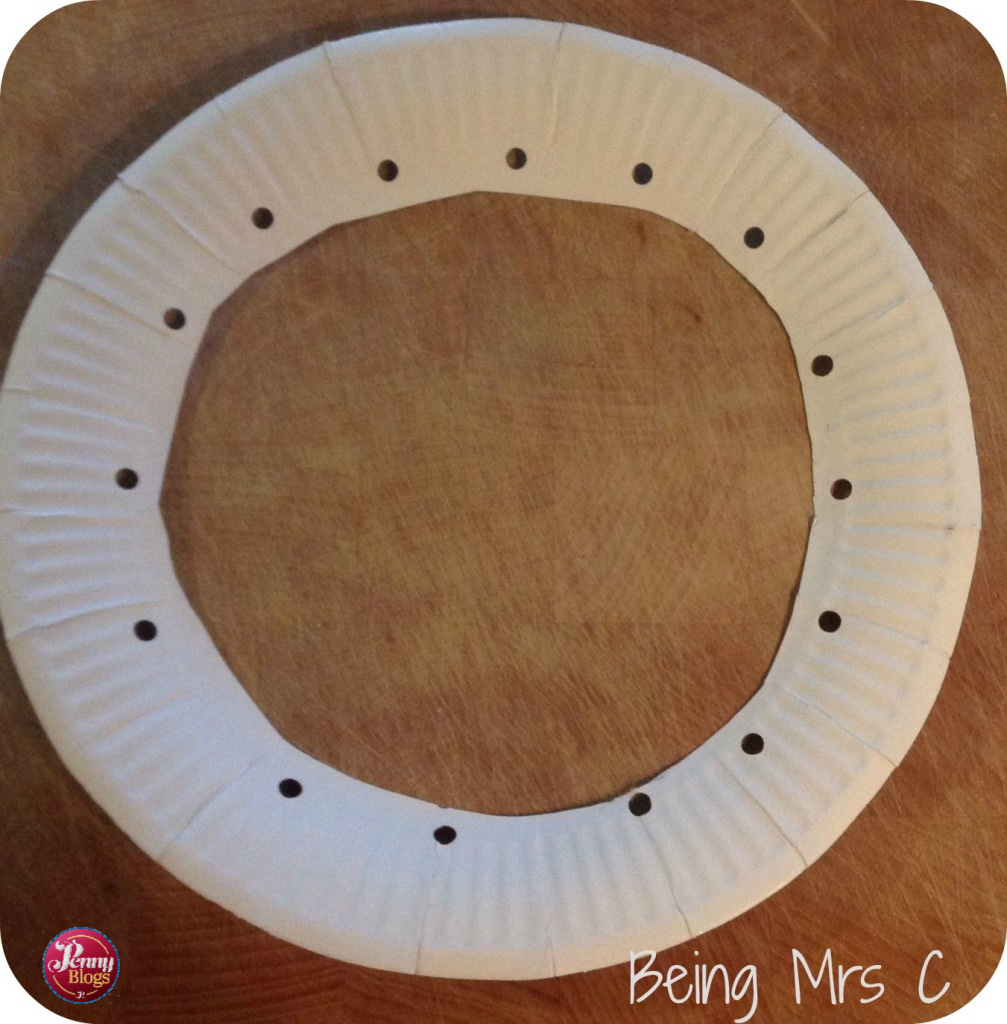
Use your scissors to cut lines into one end of the toilet roll tube so that you can then fan them out to create your firework shape.
You could let older kids do this themselves for scissor practice, but if you do I’d recommend having some pre-made fireworks too – just in case they don’t like the final effect of theirs!
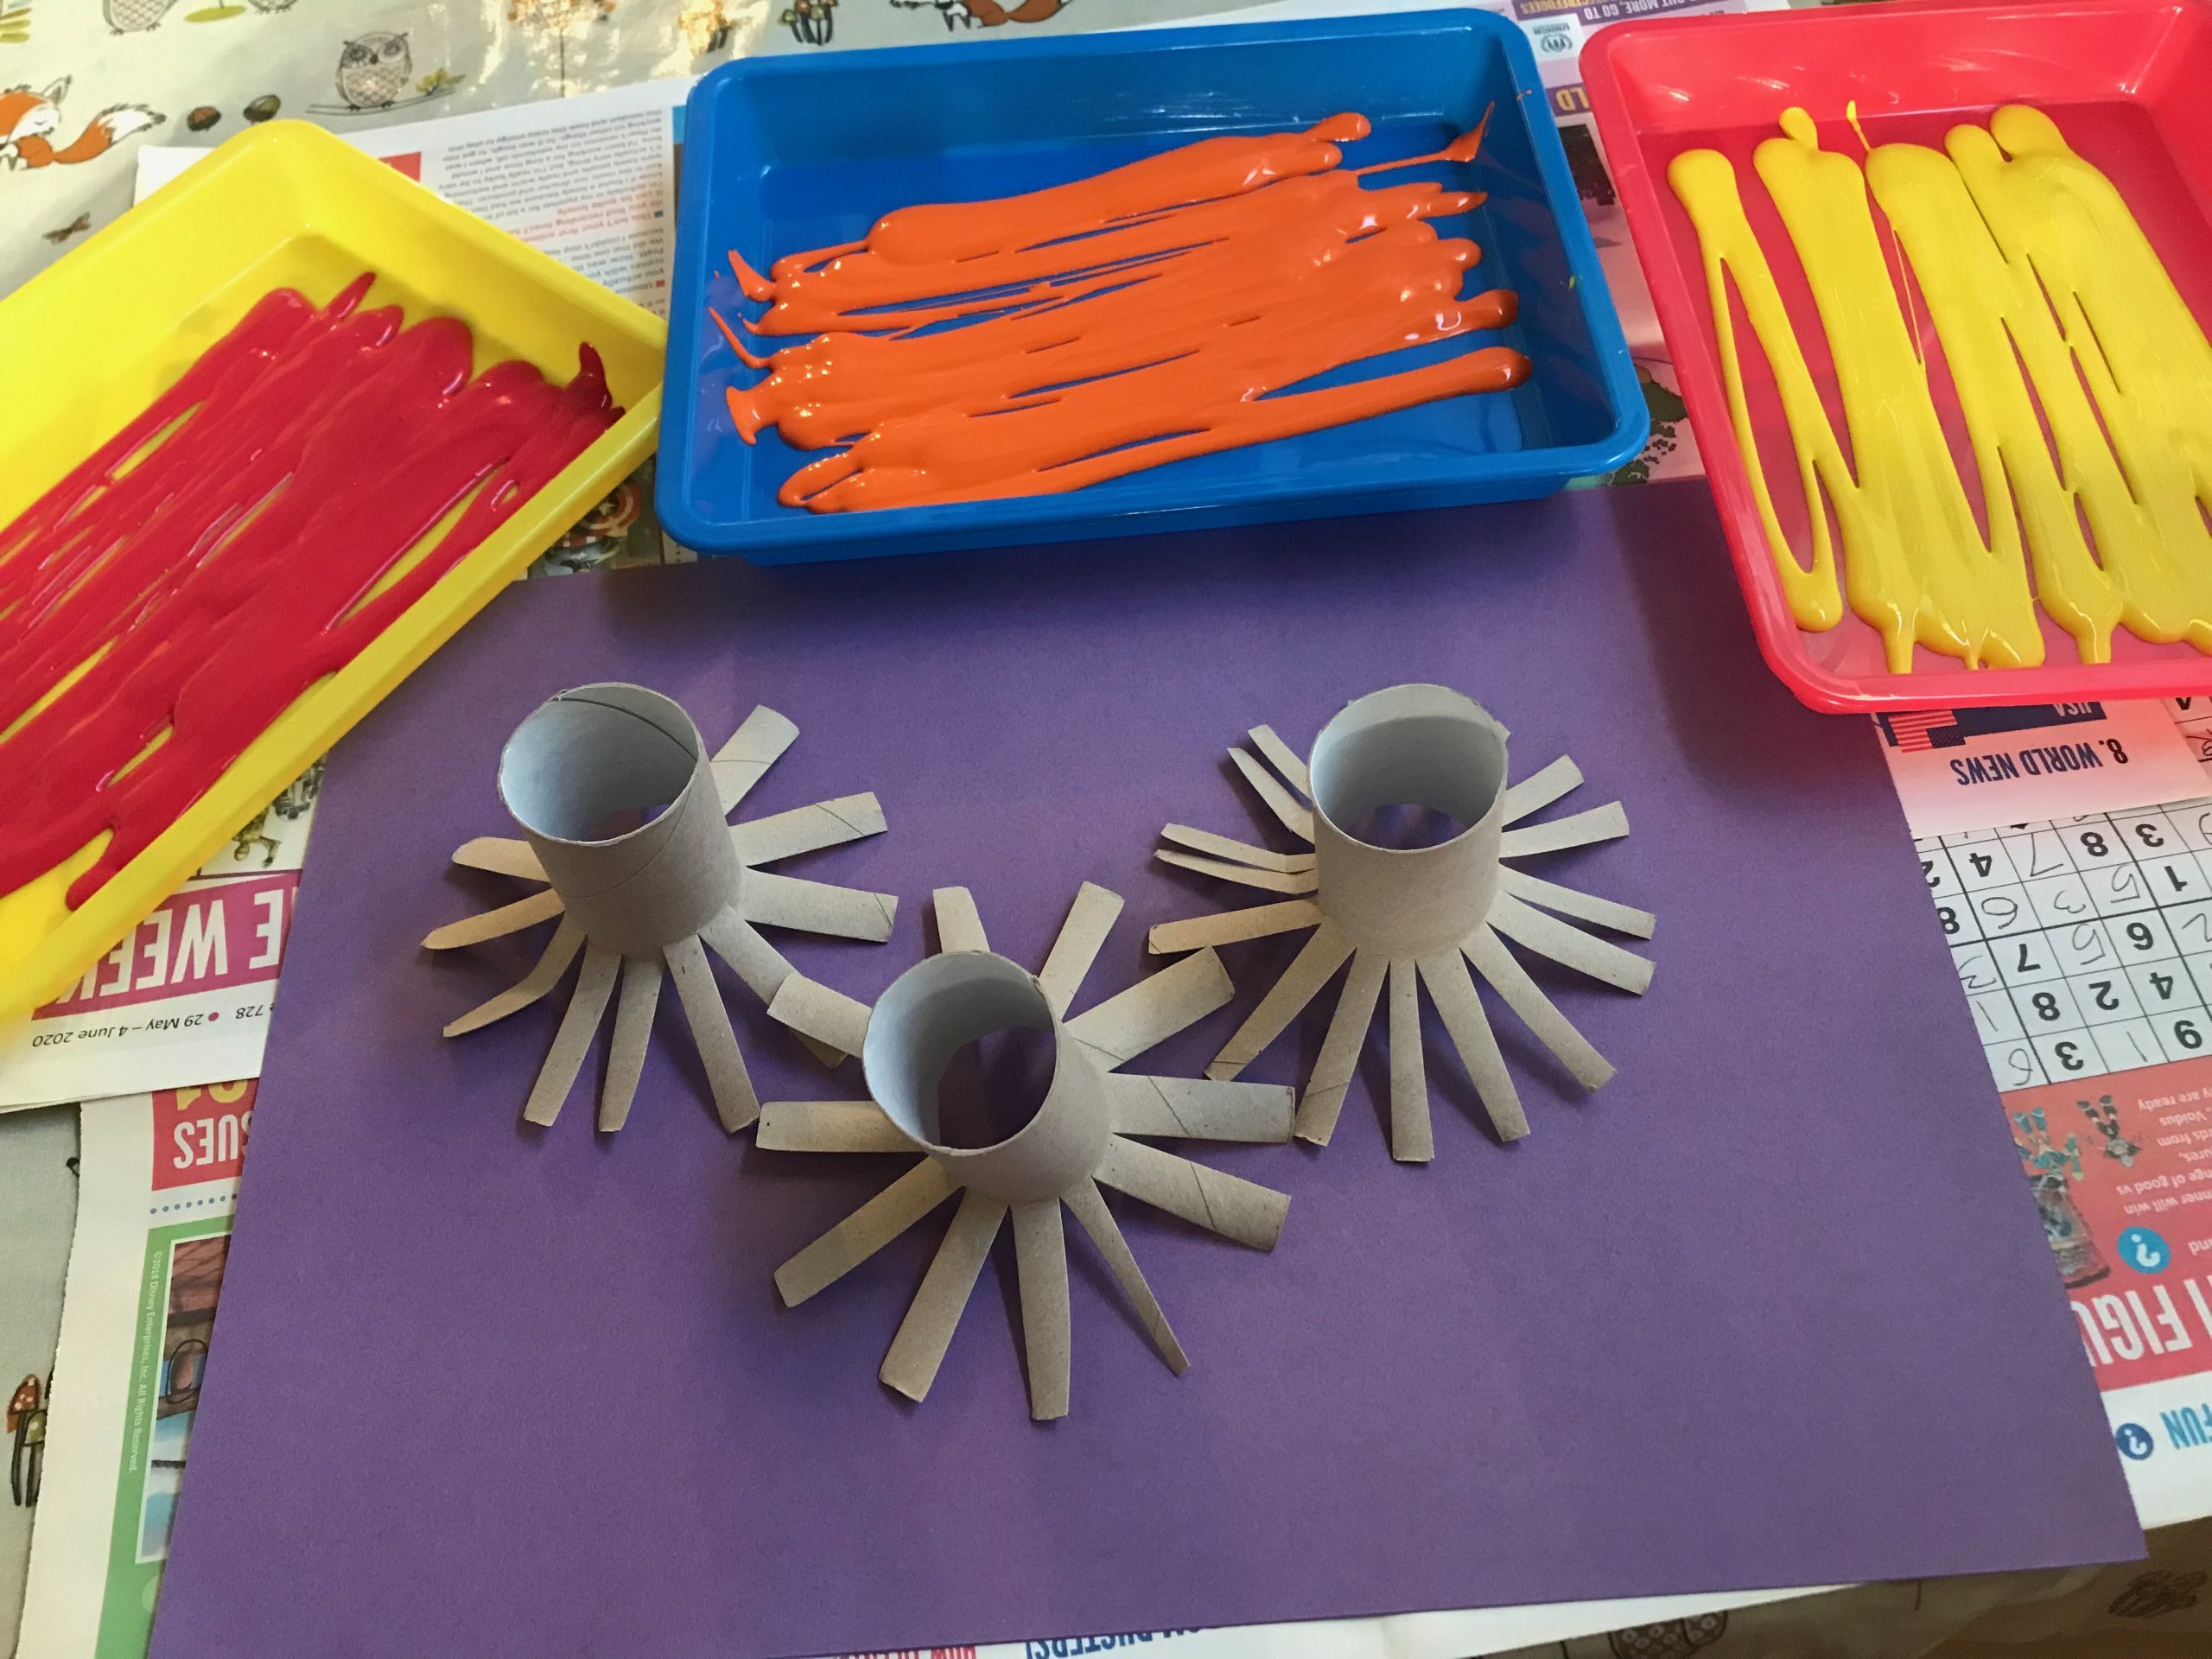
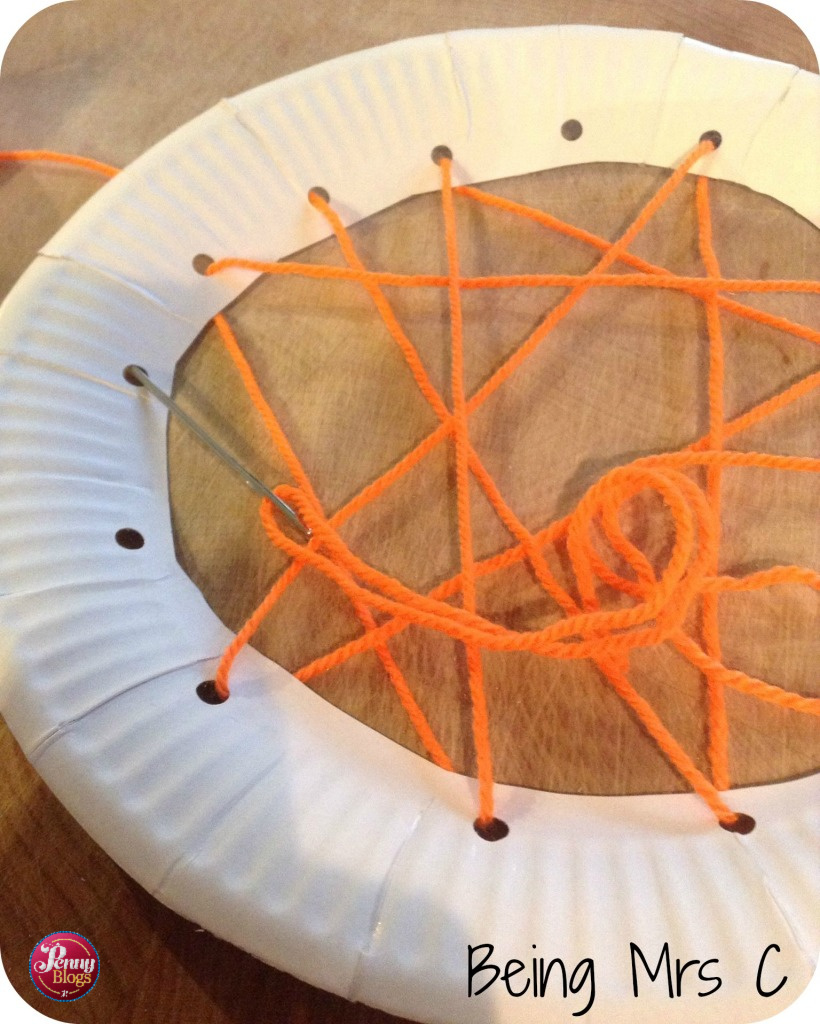
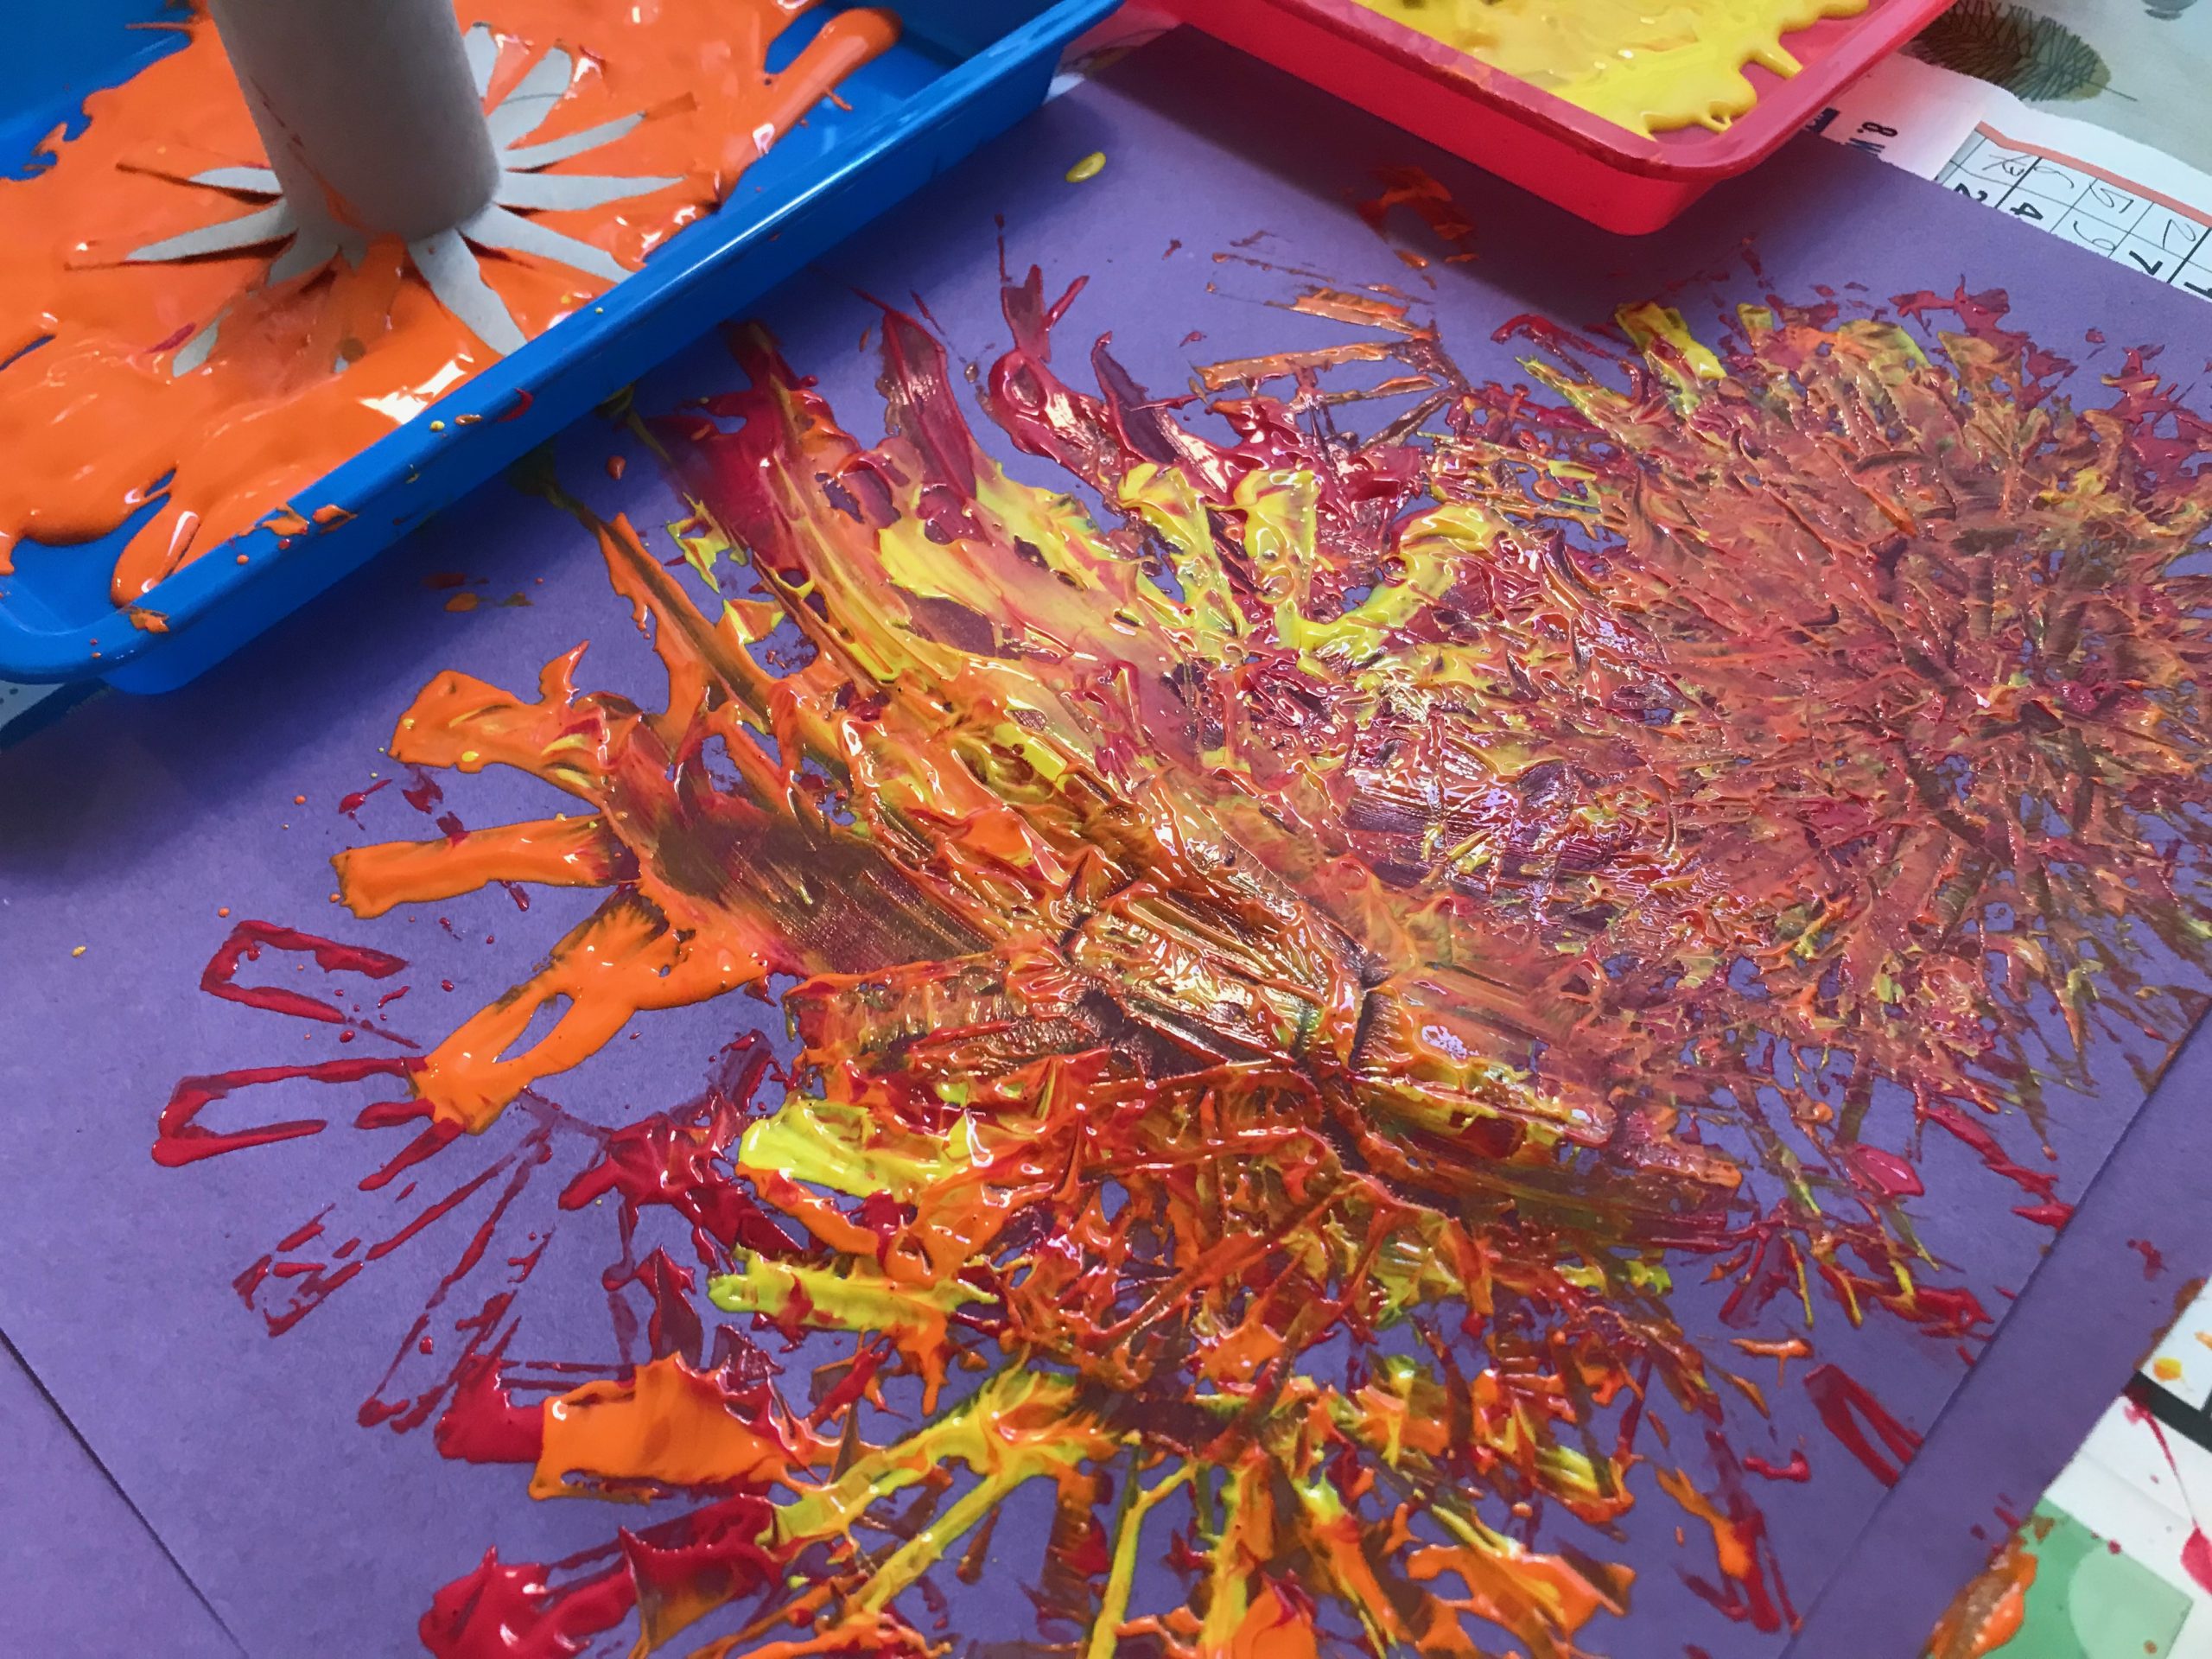
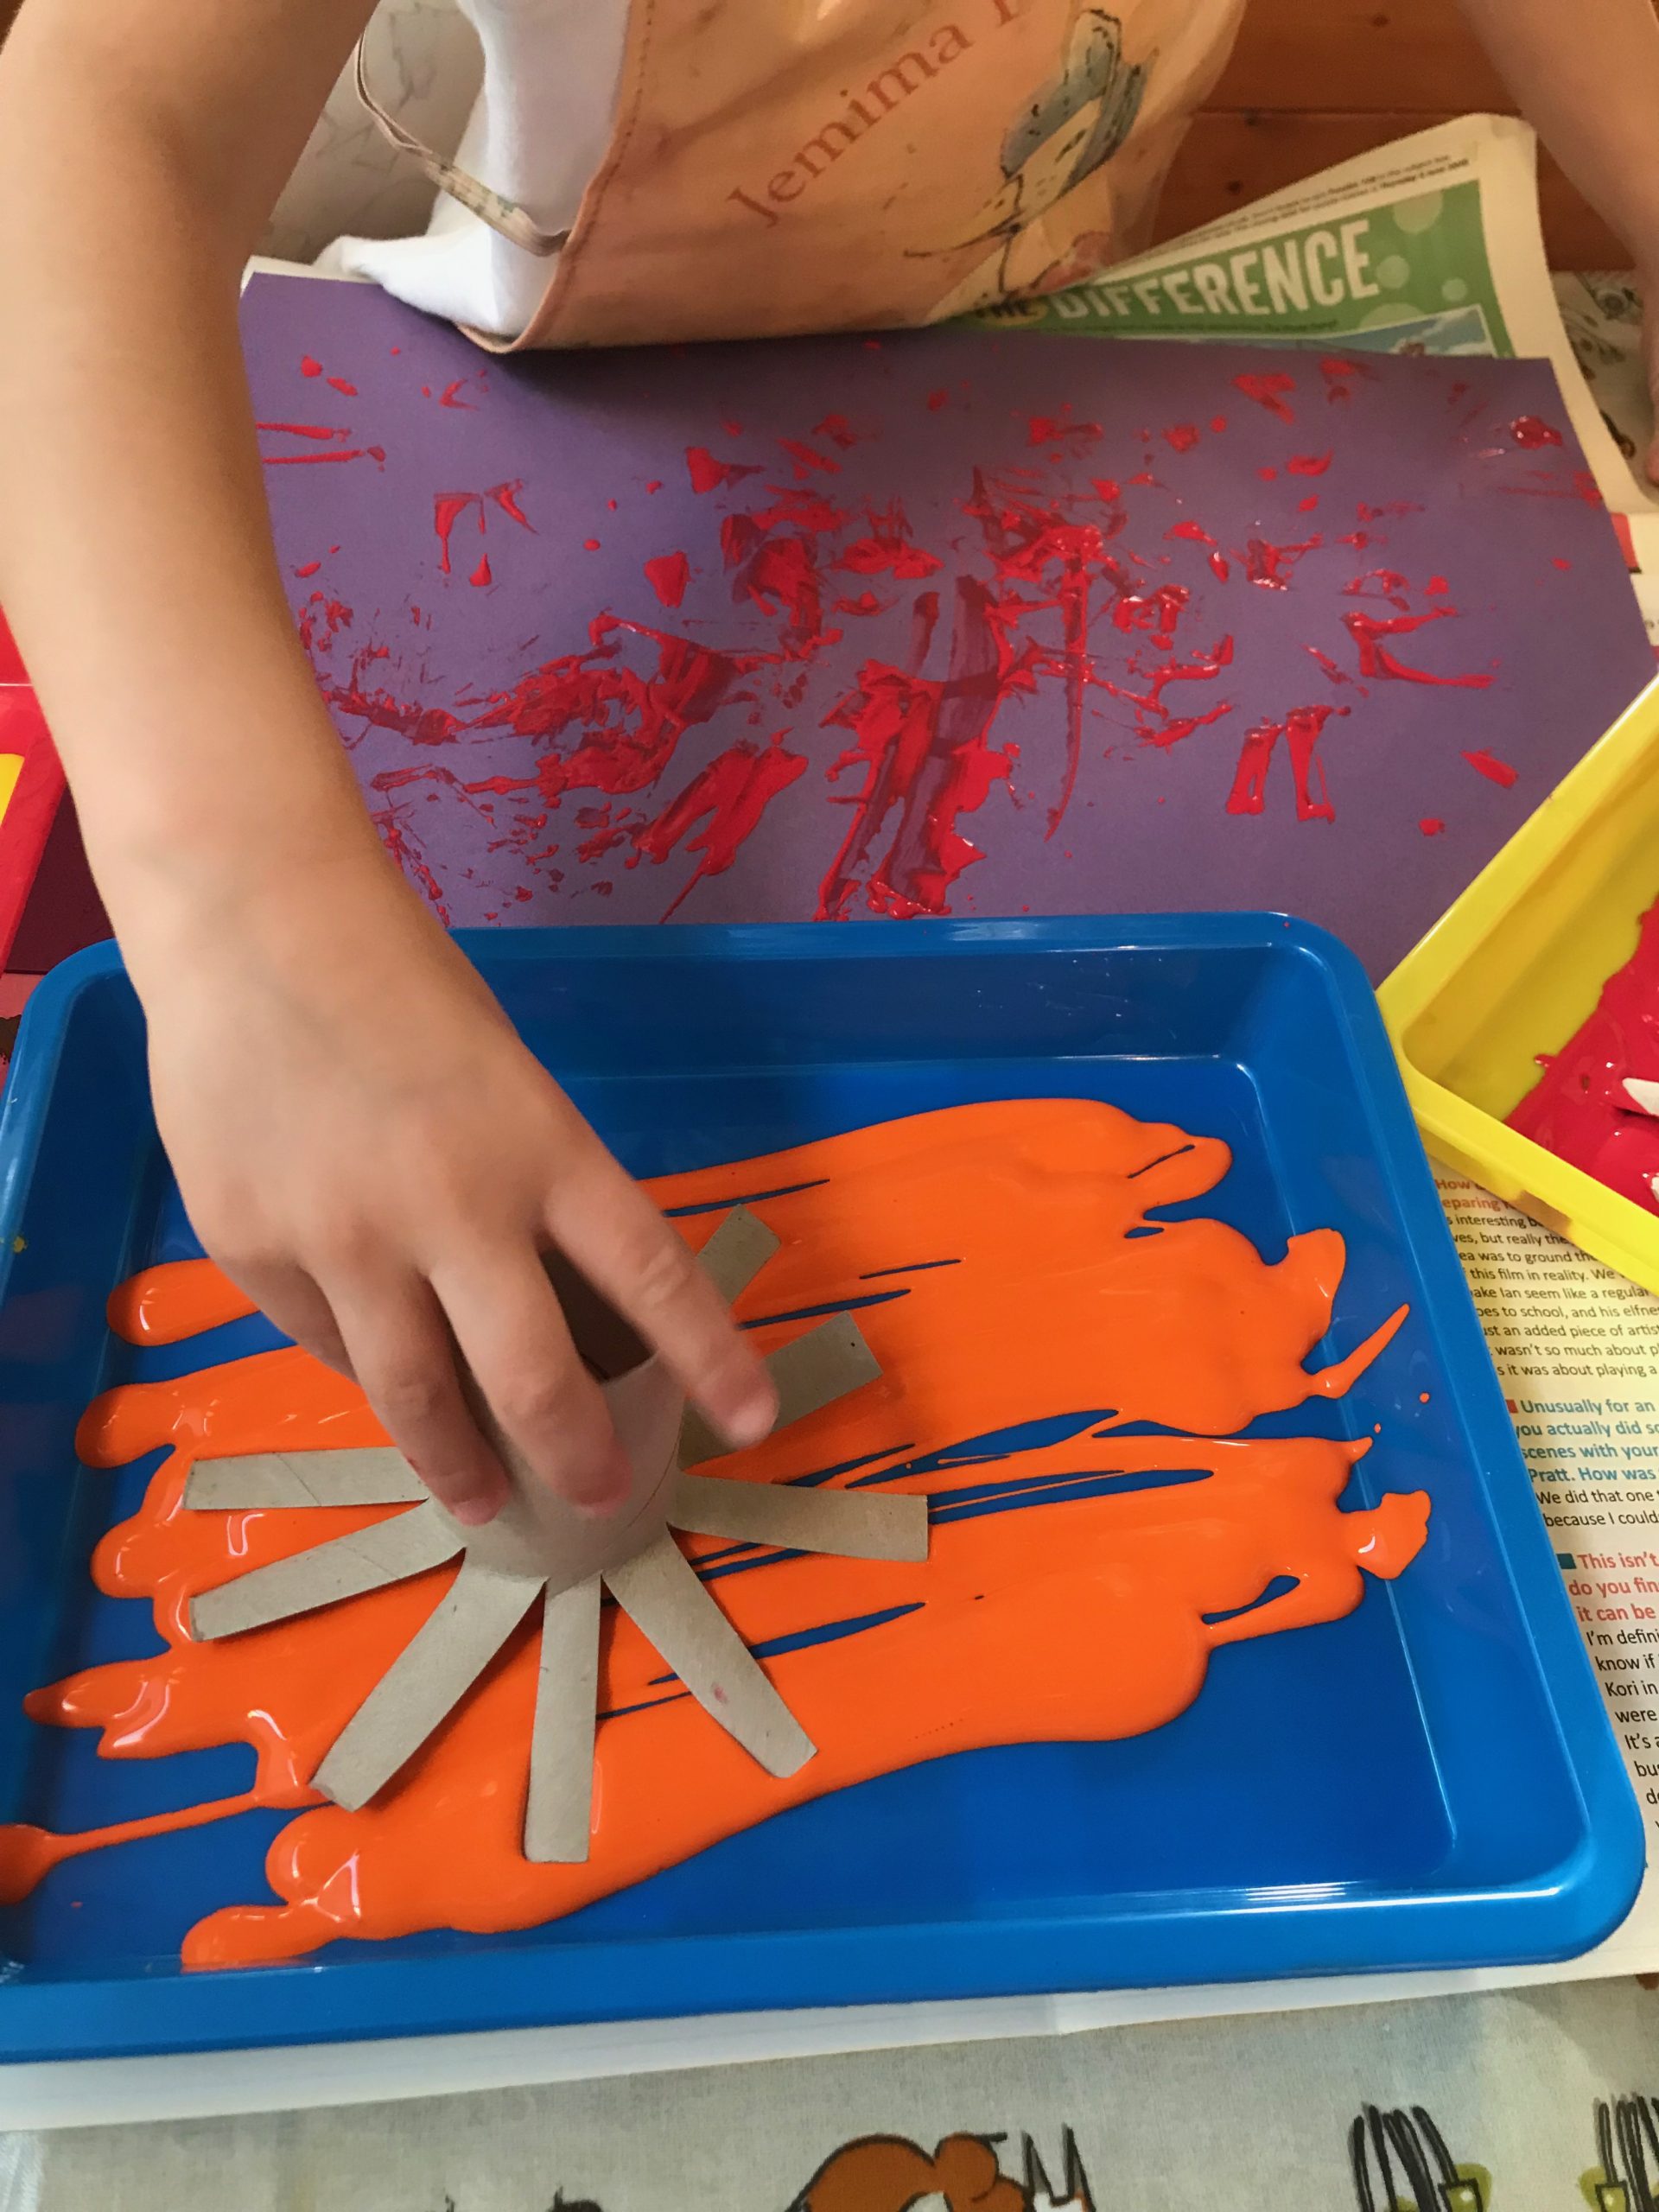
Put your paint into some plastic trays, or onto paper plates, and let children pop their toilet roll fireworks in them before using them to paint fireworks in the night sky.
Go create some fireworks
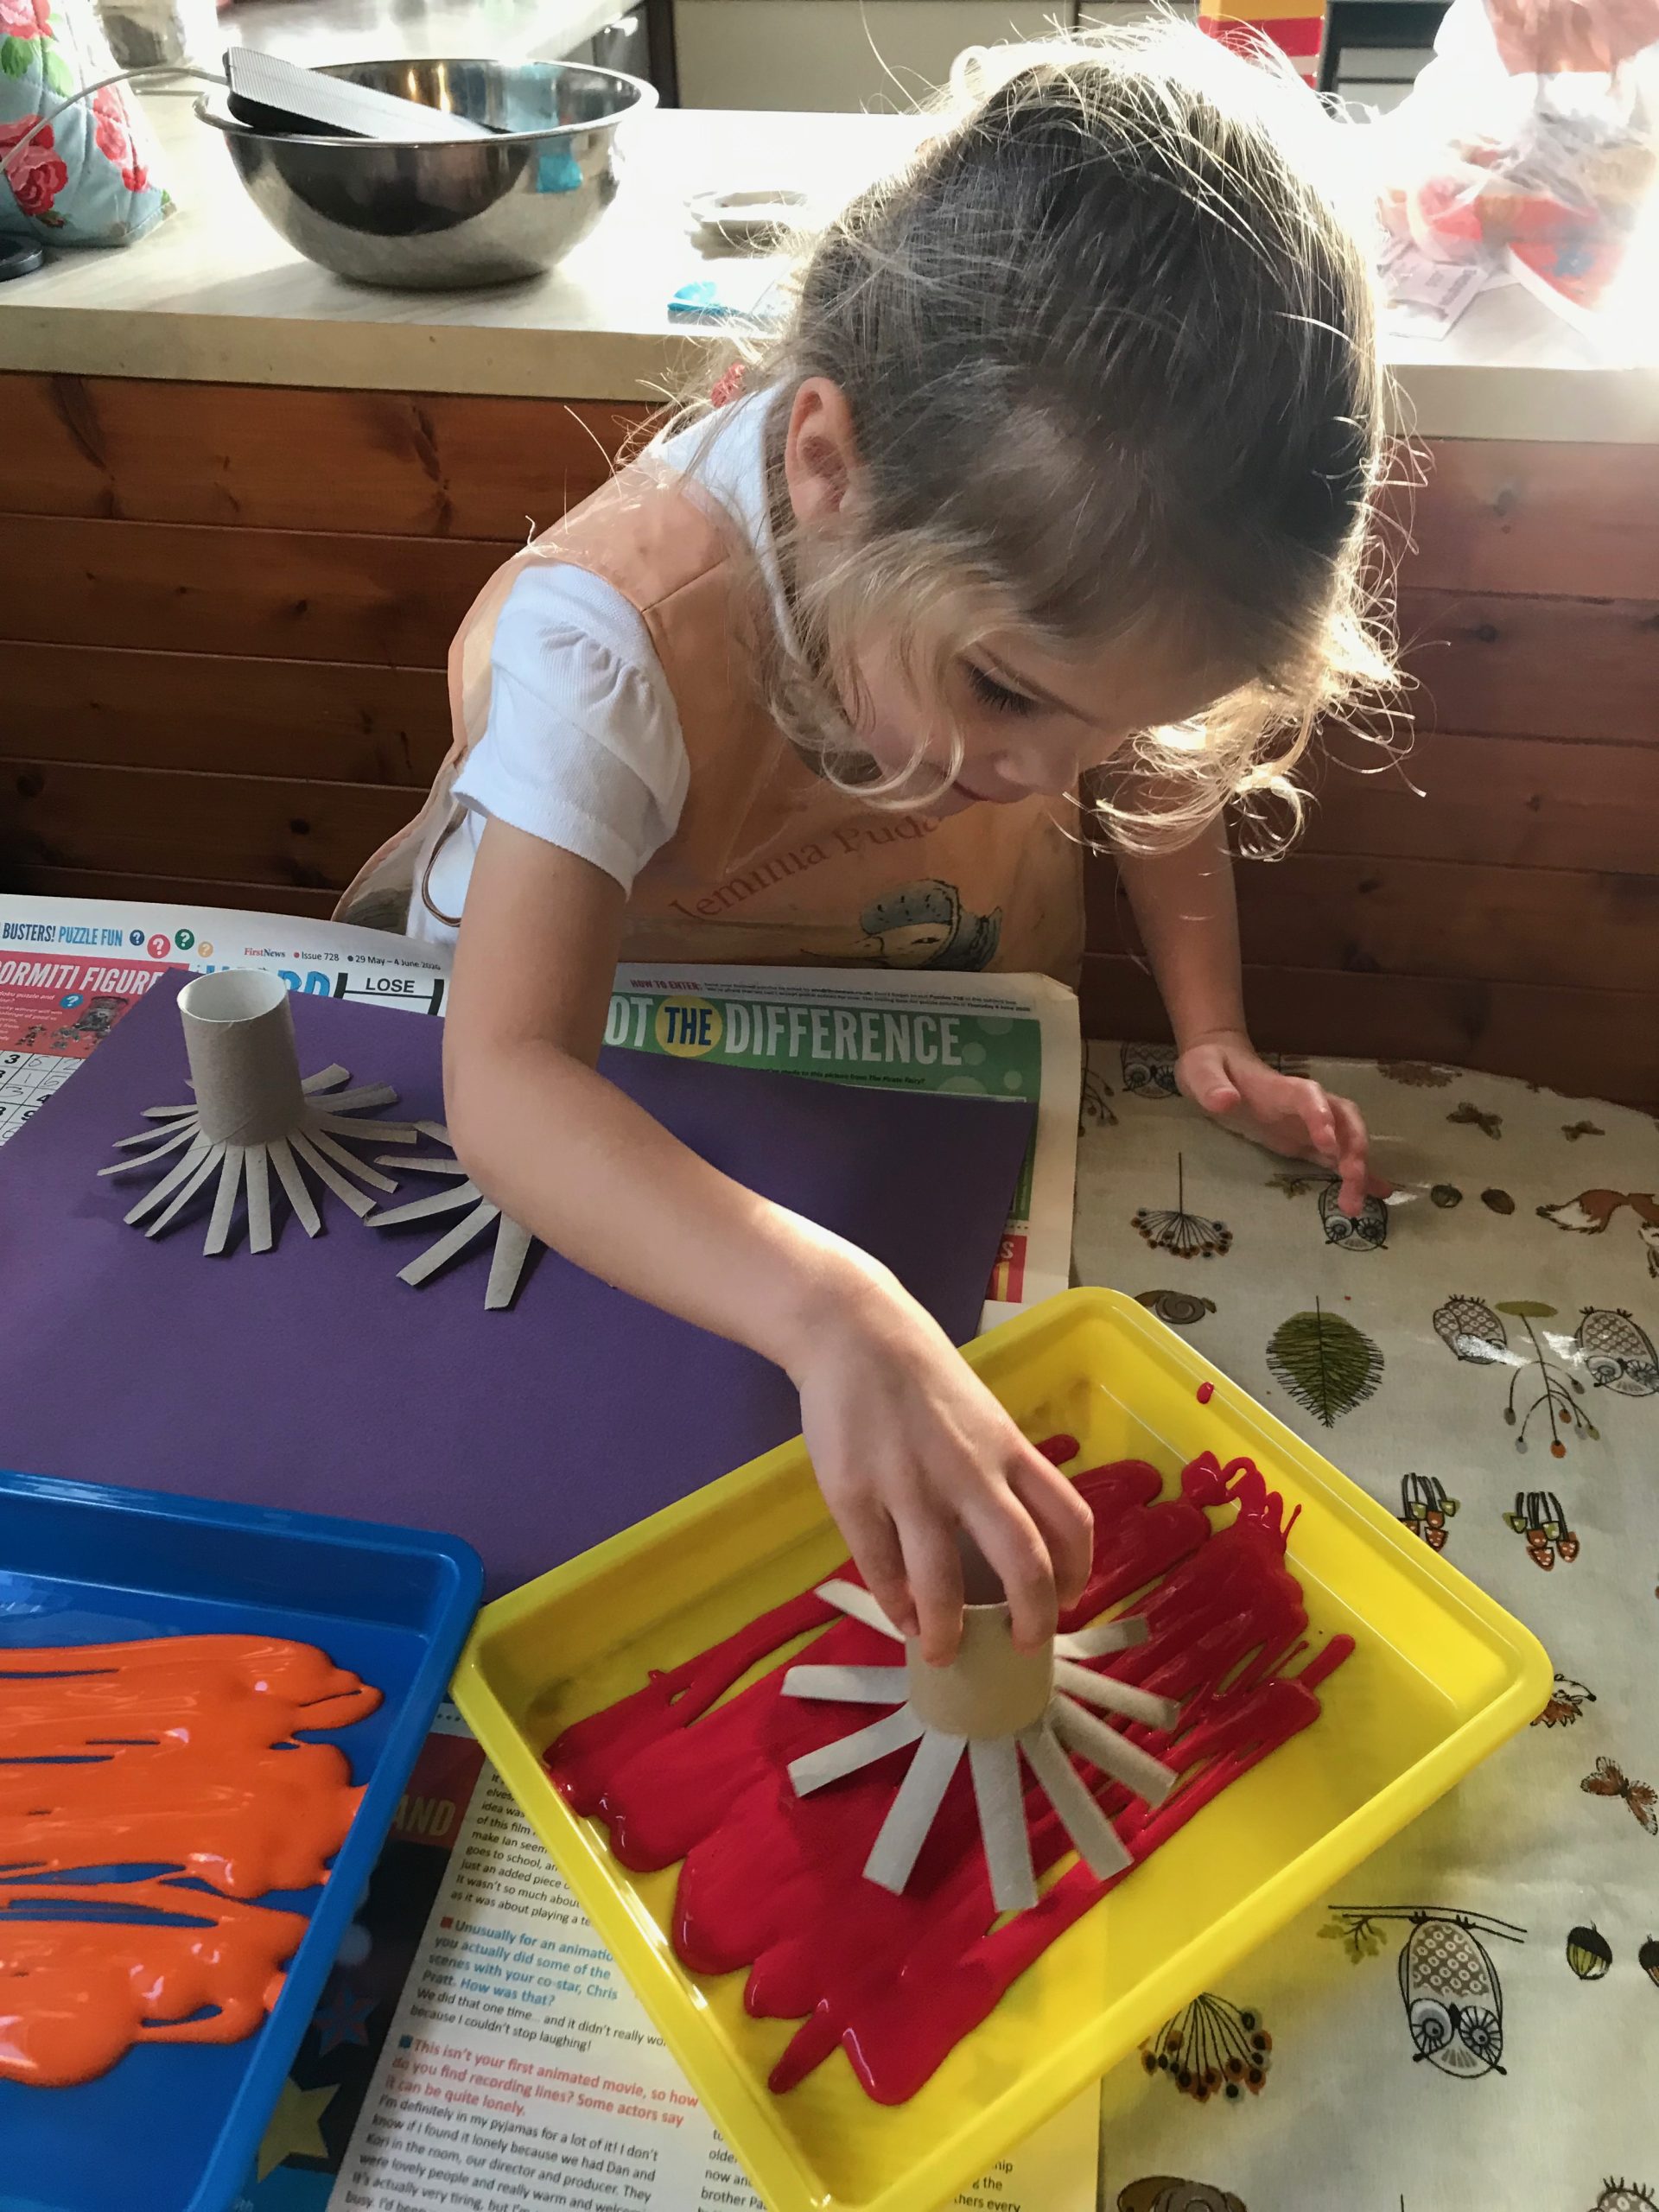
It’s all incredibly simple and easy to do with what you are likely to already have at home. Kids also really like creating their pictures and it’s usually an activity accompanied by shouts of “bang!”, “flash!” and “whizz!” as children practice some of their firework vocabulary whilst painting.