• Skip to primary navigation
  • Skip to content
  • Skip to primary sidebar
Penny Blogs

Penny Blogs

An insight into the things in life that make me smile

  • Home
  • About Penny
  • Pregnancy
  • Privacy Policy and Disclosure

Crafting

Sandcastle Bucket Hat – Made By Jack’s Mum

April 26, 2020 by Penny Leave a Comment

One of the challenges of lockdown with a small child is that they grow. You suddenly find that their clothes either no longer fit them, or are no longer appropriate for the weather. That’s exactly what’s happened with Tube Stop Baby.

Lockdown seems to have coincided with some gorgeous hot weather here in the UK. Almost like nature taunting us after all that rain we had earlier in the year. We’re incredibly lucky in that we have a back garden and enough space for the kids to get fresh air and exercise each day without having to go anywhere. What I did realise though is that the youngest member of the family didn’t really have any summer clothes, and definitely didn’t have anything to protect her head from the sun. Not really wanting to buy online and with the only shops selling kids clothes being supermarkets I decided that this was the kick up the backside I needed to actually get my sewing machine out again and so that’s exactly what I did.

Sandcastle Bucket Hat Made By Jack's Mum - picture shows the pattern and my chosen fabric

Choosing a Pattern

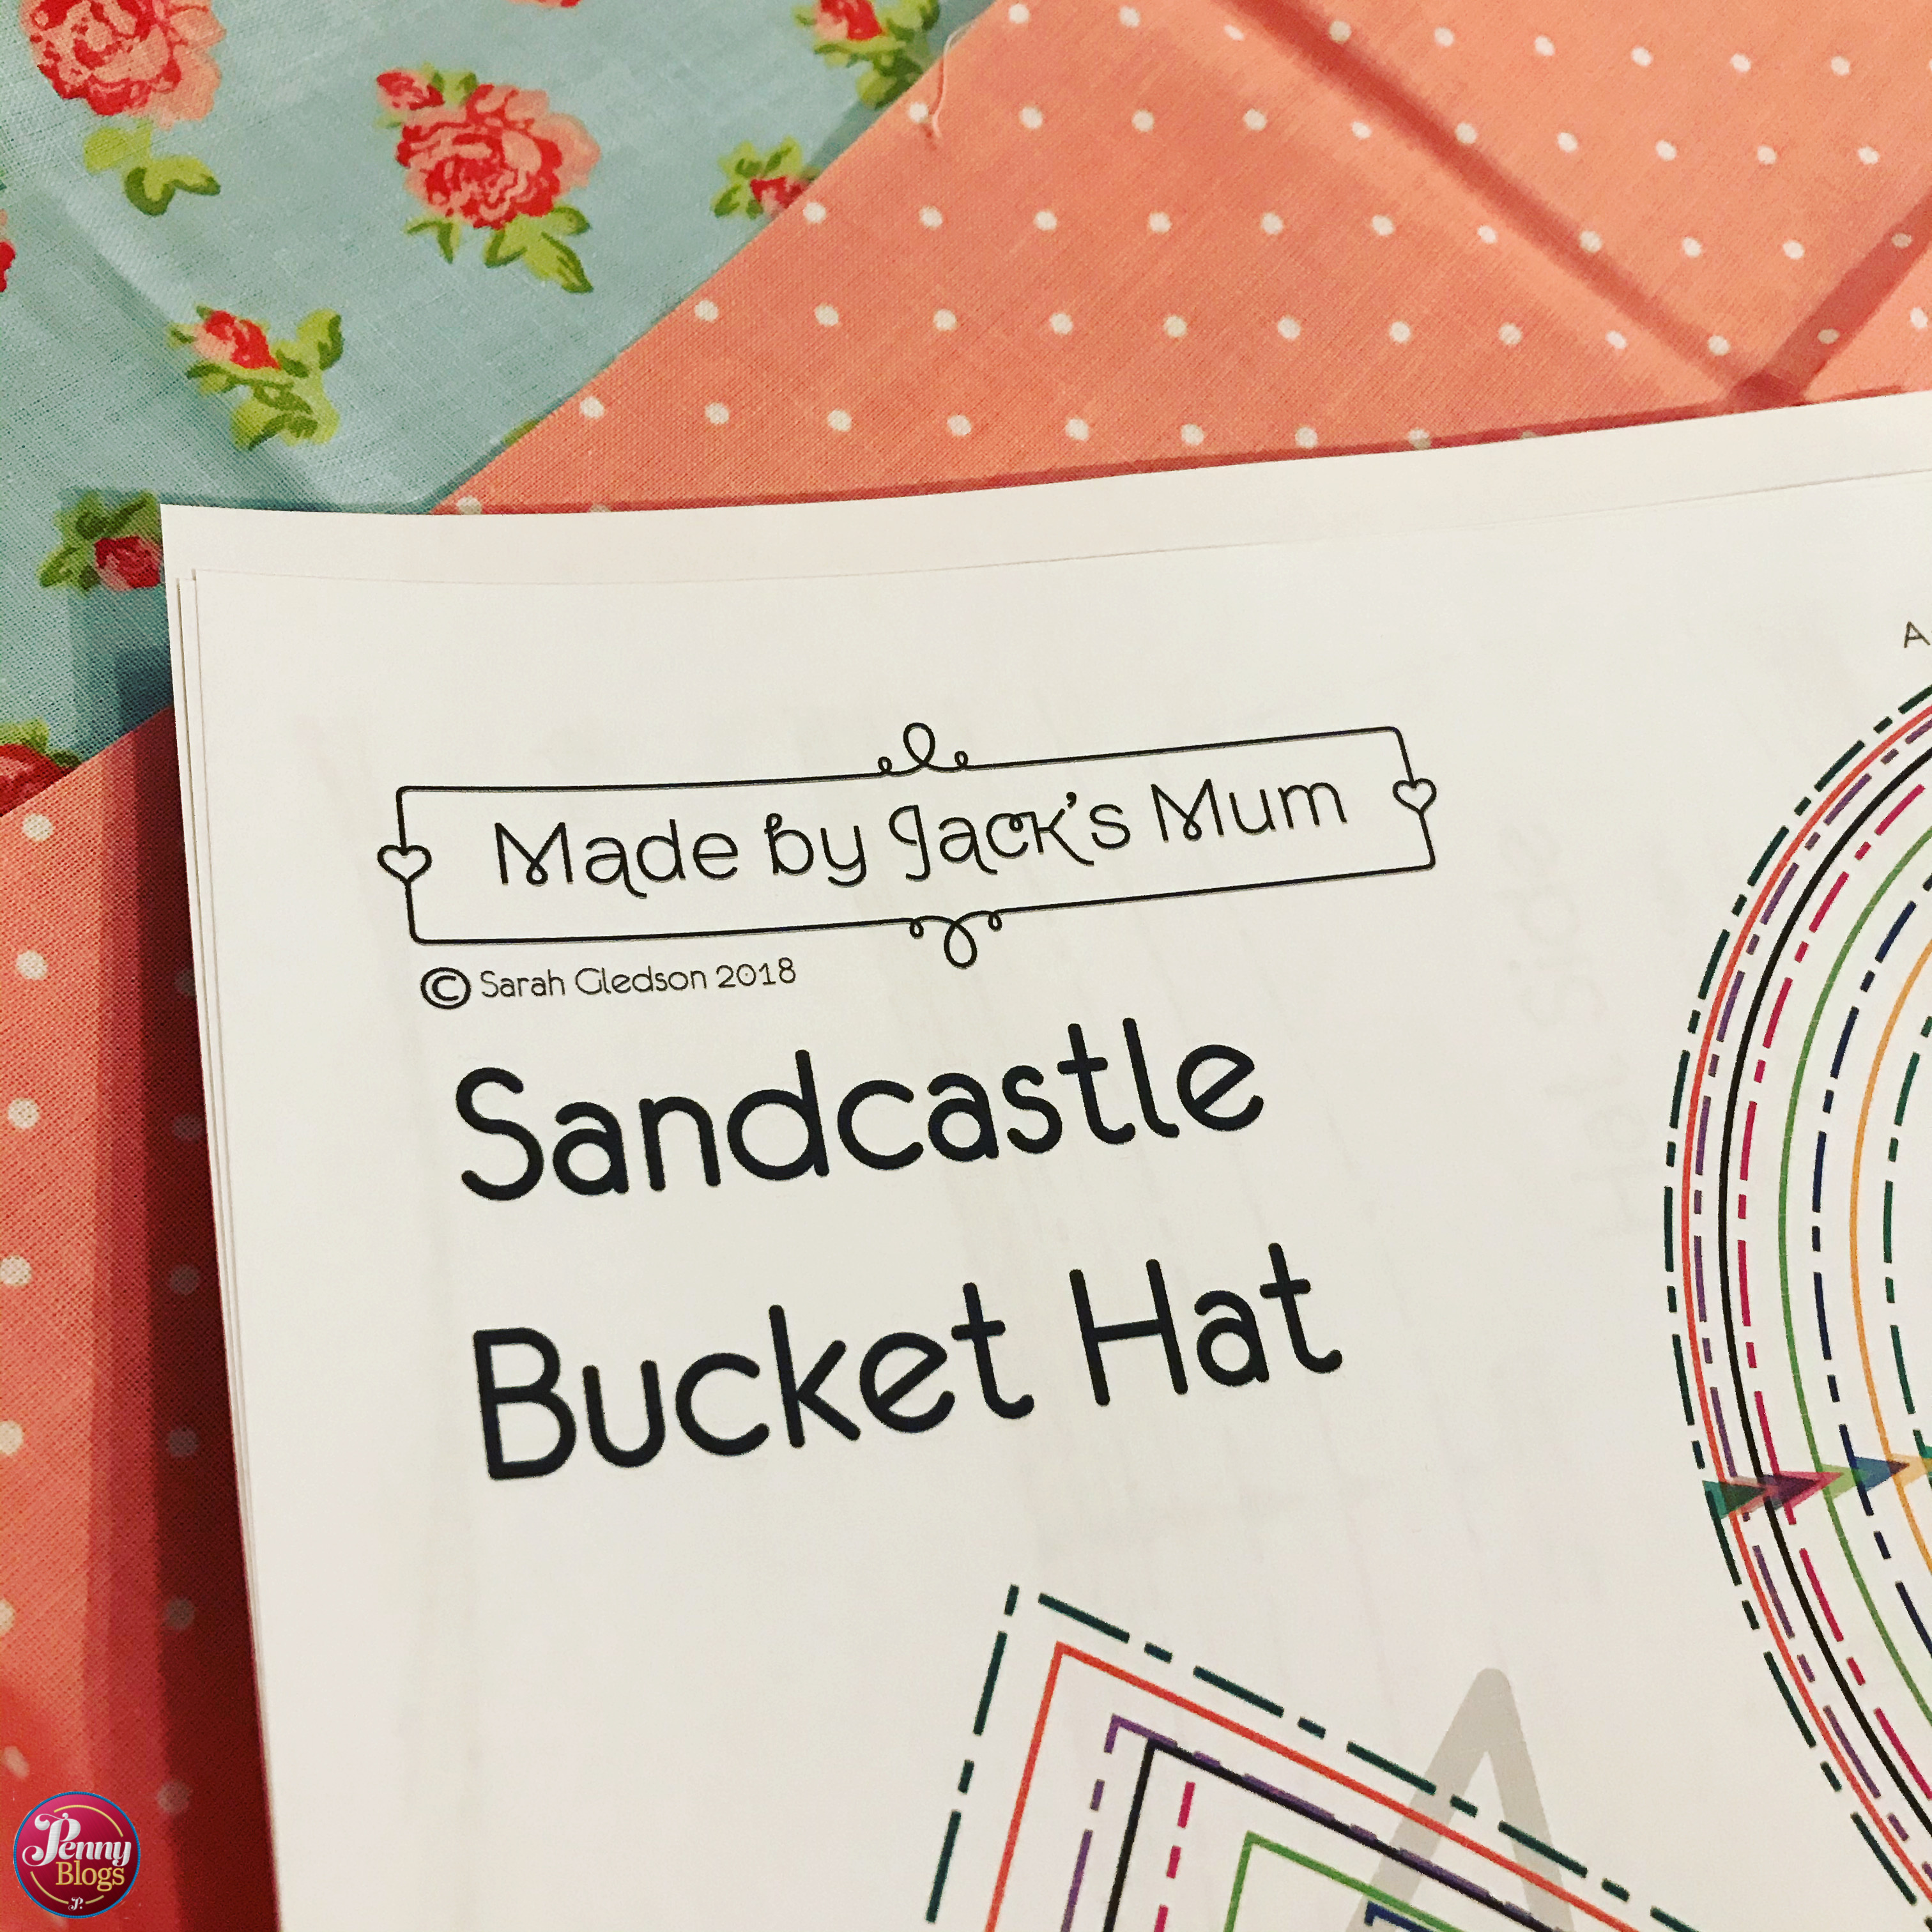
There are hundreds of patterns available online for hats, but after asking for recommendations on Facebook several people pointed me towards the pattern for the Sandcastle Bucket Hat by “Made by Jack’s Mum“. Now this wasn’t a site that I knew at all, but it seems that I’m pretty much the last person on the planet to actually discover it!

Specialising in easy pdf patterns, Made by Jack’s Mum aims to make sewing accessible to everyone and that approach seems to be incredibly popular with a whole Facebook group full of people sharing photos of their makes from her patterns. The Sandcastle Bucket Hat is actually a free pattern and it also fulfilled my other requirement of only needing a couple of fat quarters to make the size I needed.

Following the pattern

Sandcastle Bucket Hat Made By Jack's Mum - picture shows some of the pattern pieces pinned onto pink fabric with small white spots on it

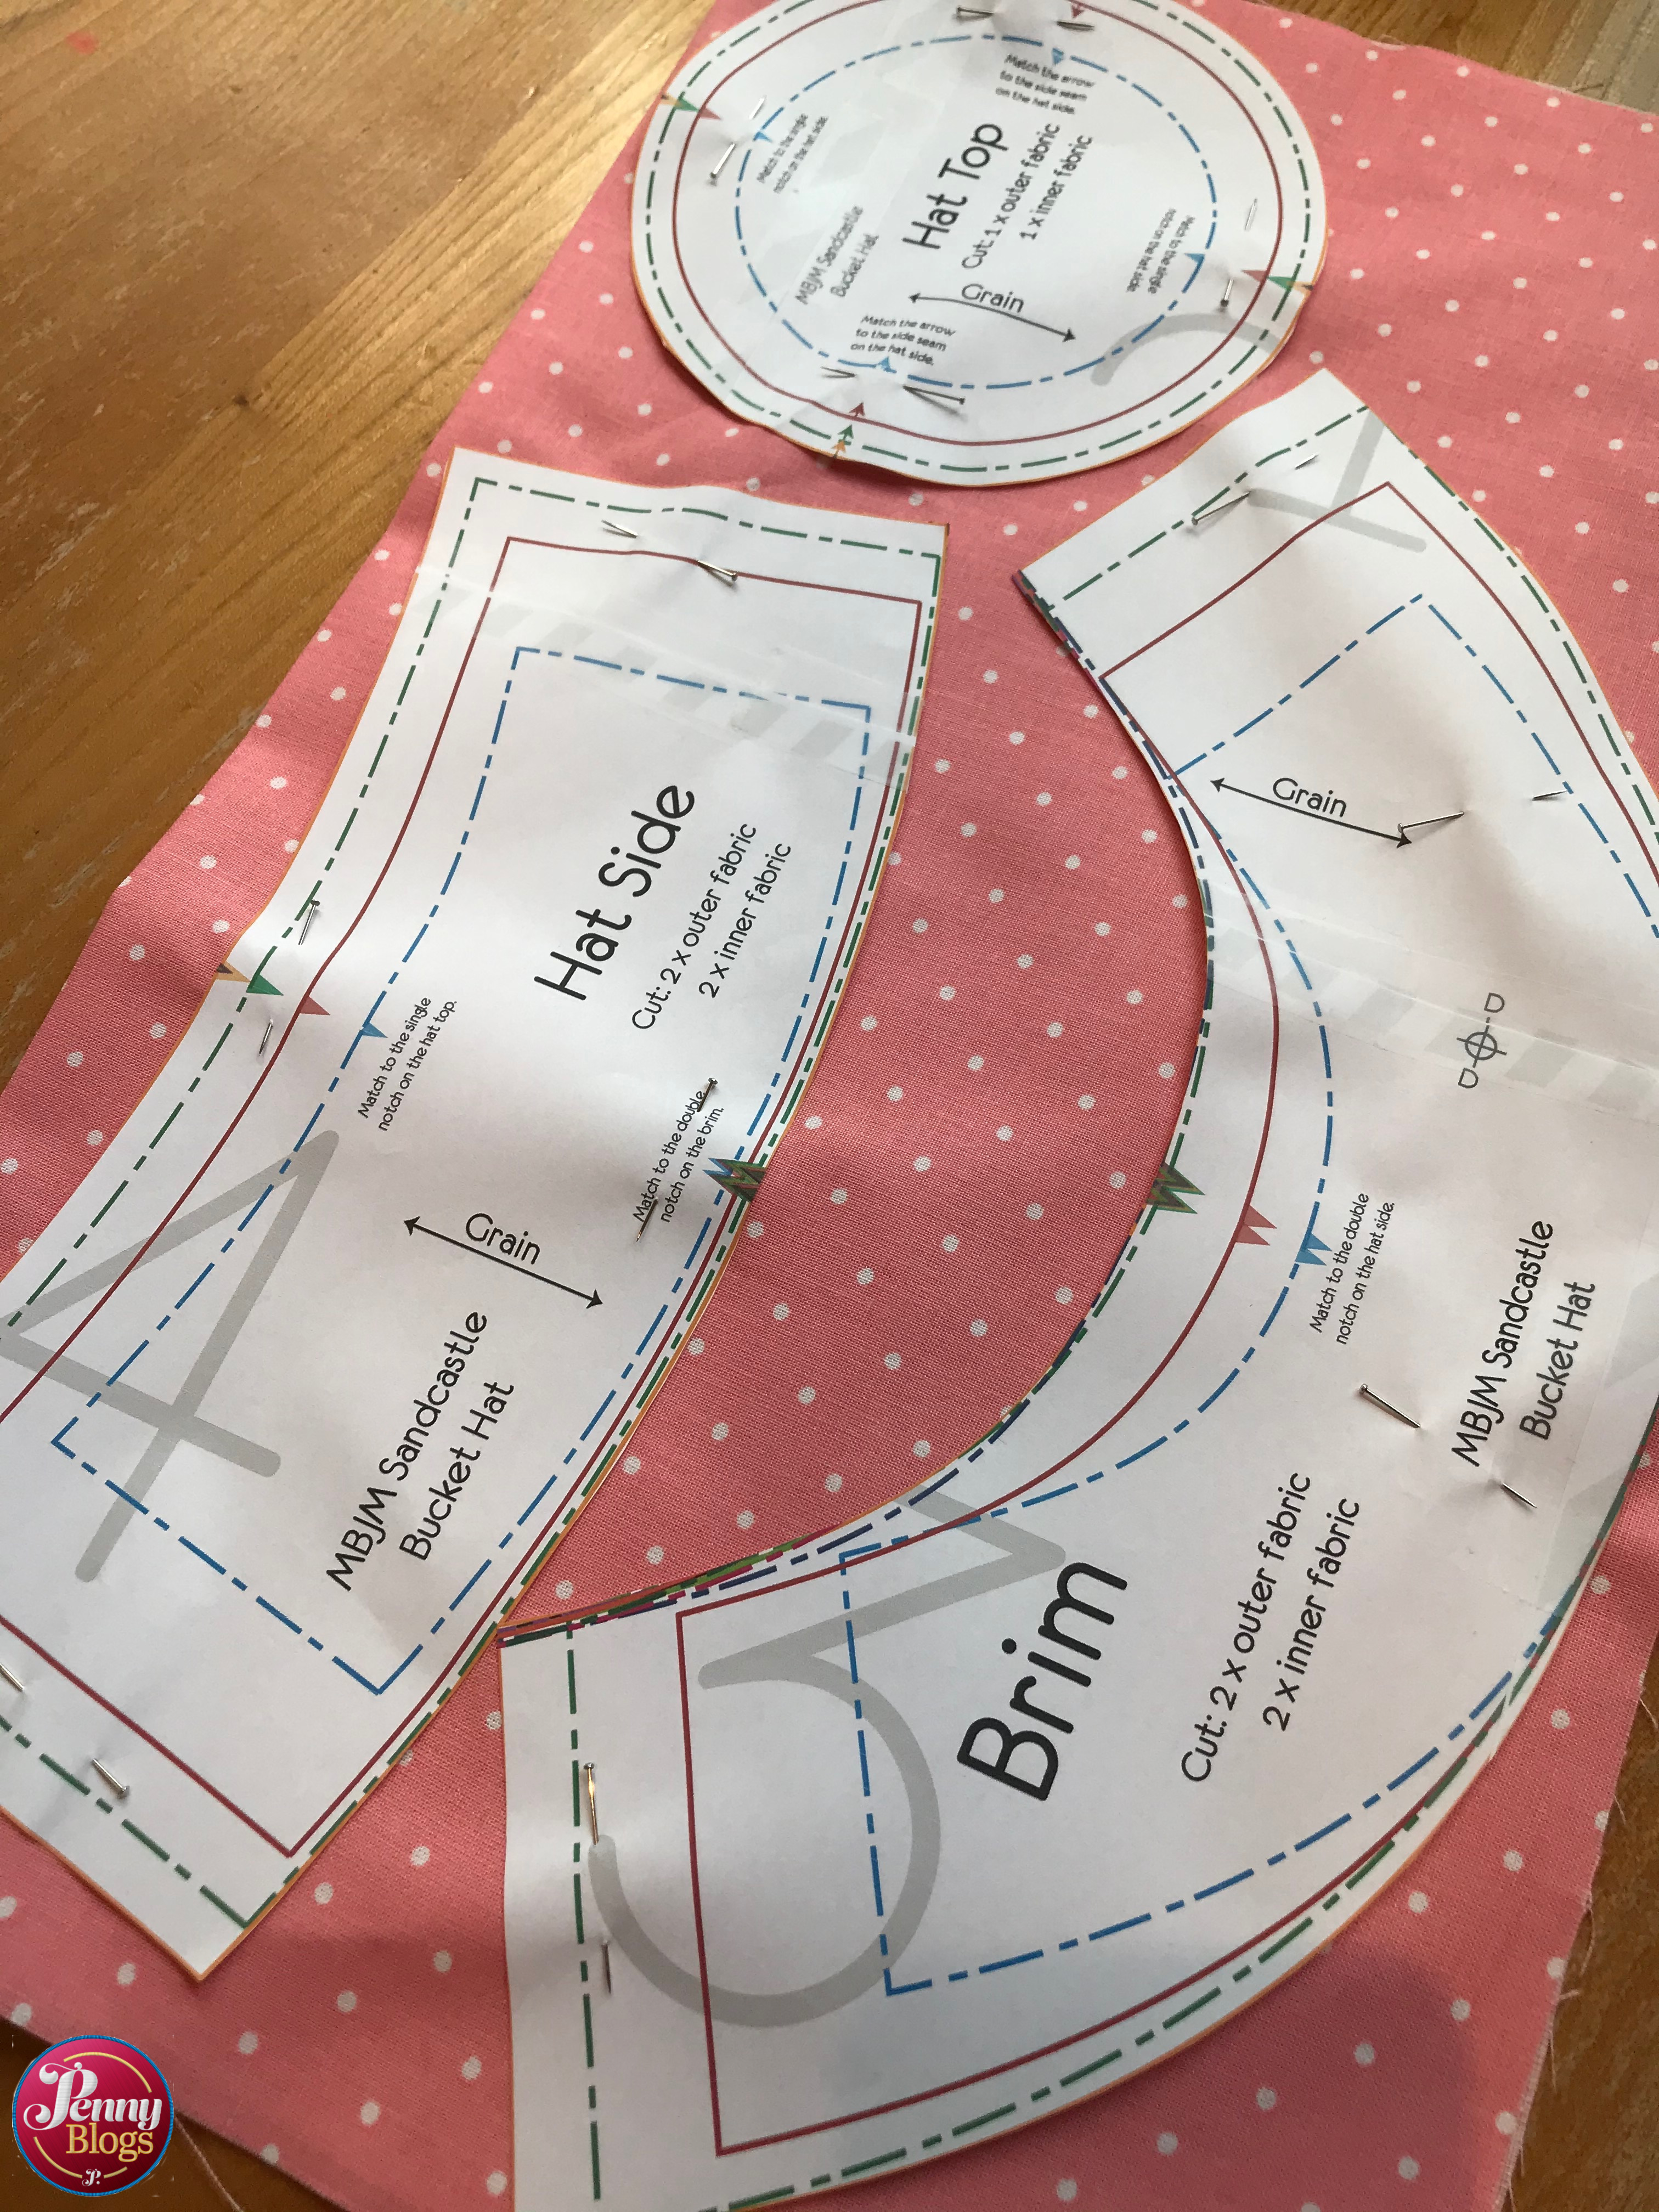
The pdf pattern was printed out over four pieces of A4 paper. I then simply stuck these together with sellotape before cutting out the pattern pieces for the size I was making. There are different coloured and drawn lines for all the different sizes and it’s easy to follow the size you need.

The pattern is accompanied by an amazingly detailed set of instructions, with photos at every stage. They were incredibly easy to follow. The only practical difficulty I had was attaching the top circle to the ring of fabric that formed the sides of the hat. It just took a bit of re-pinning to get it lined up correctly and was probably due to my lack of practice recently.

Sandcastle Bucket Hat Made By Jack's Mum - picture shows me sewing the bands on the hat's brim on my sewing machine

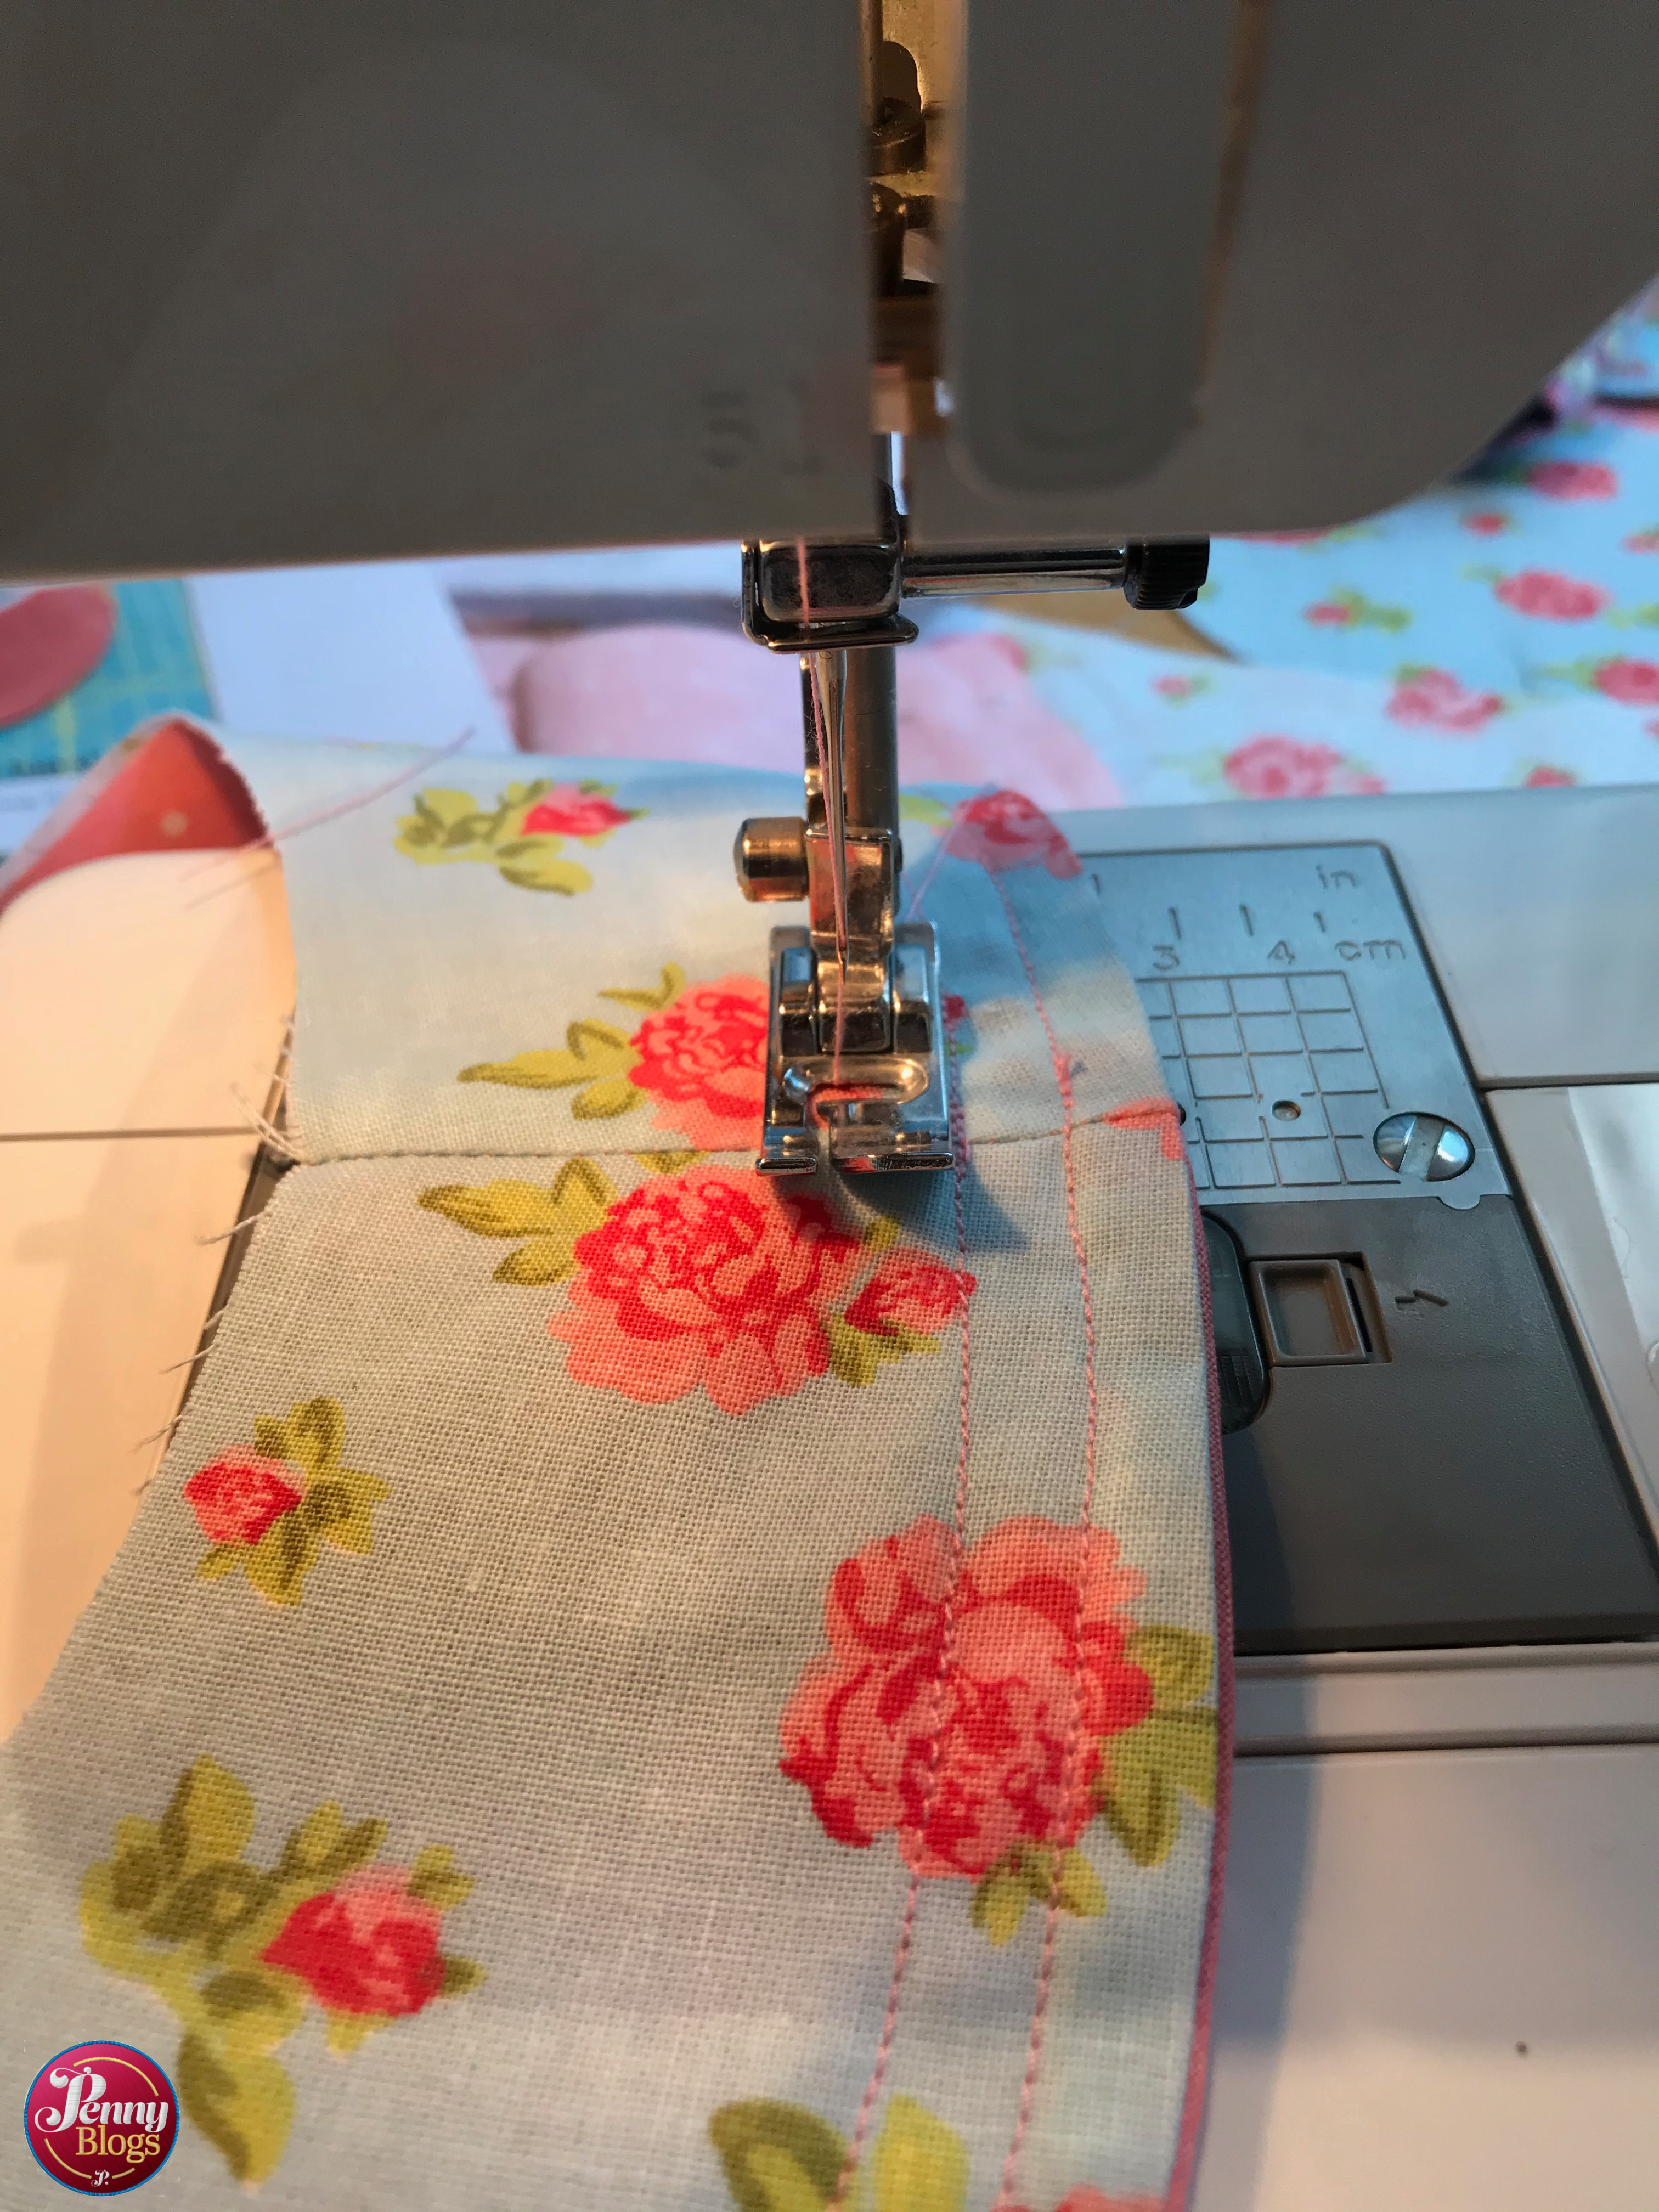
The morning I spent making this hat was a perfect way to get me back into dress making and re-familiarising myself with my sewing machine. It certainly helped boost my confidence no end, and my final result was also a brilliant hat for my daughter.

My Sandcastle Bucket Hat

Sandcastle Bucket Hat Made By Jack's Mum - a collage of pictures showing the finished hat - both inside and outside and my daughter wearing it

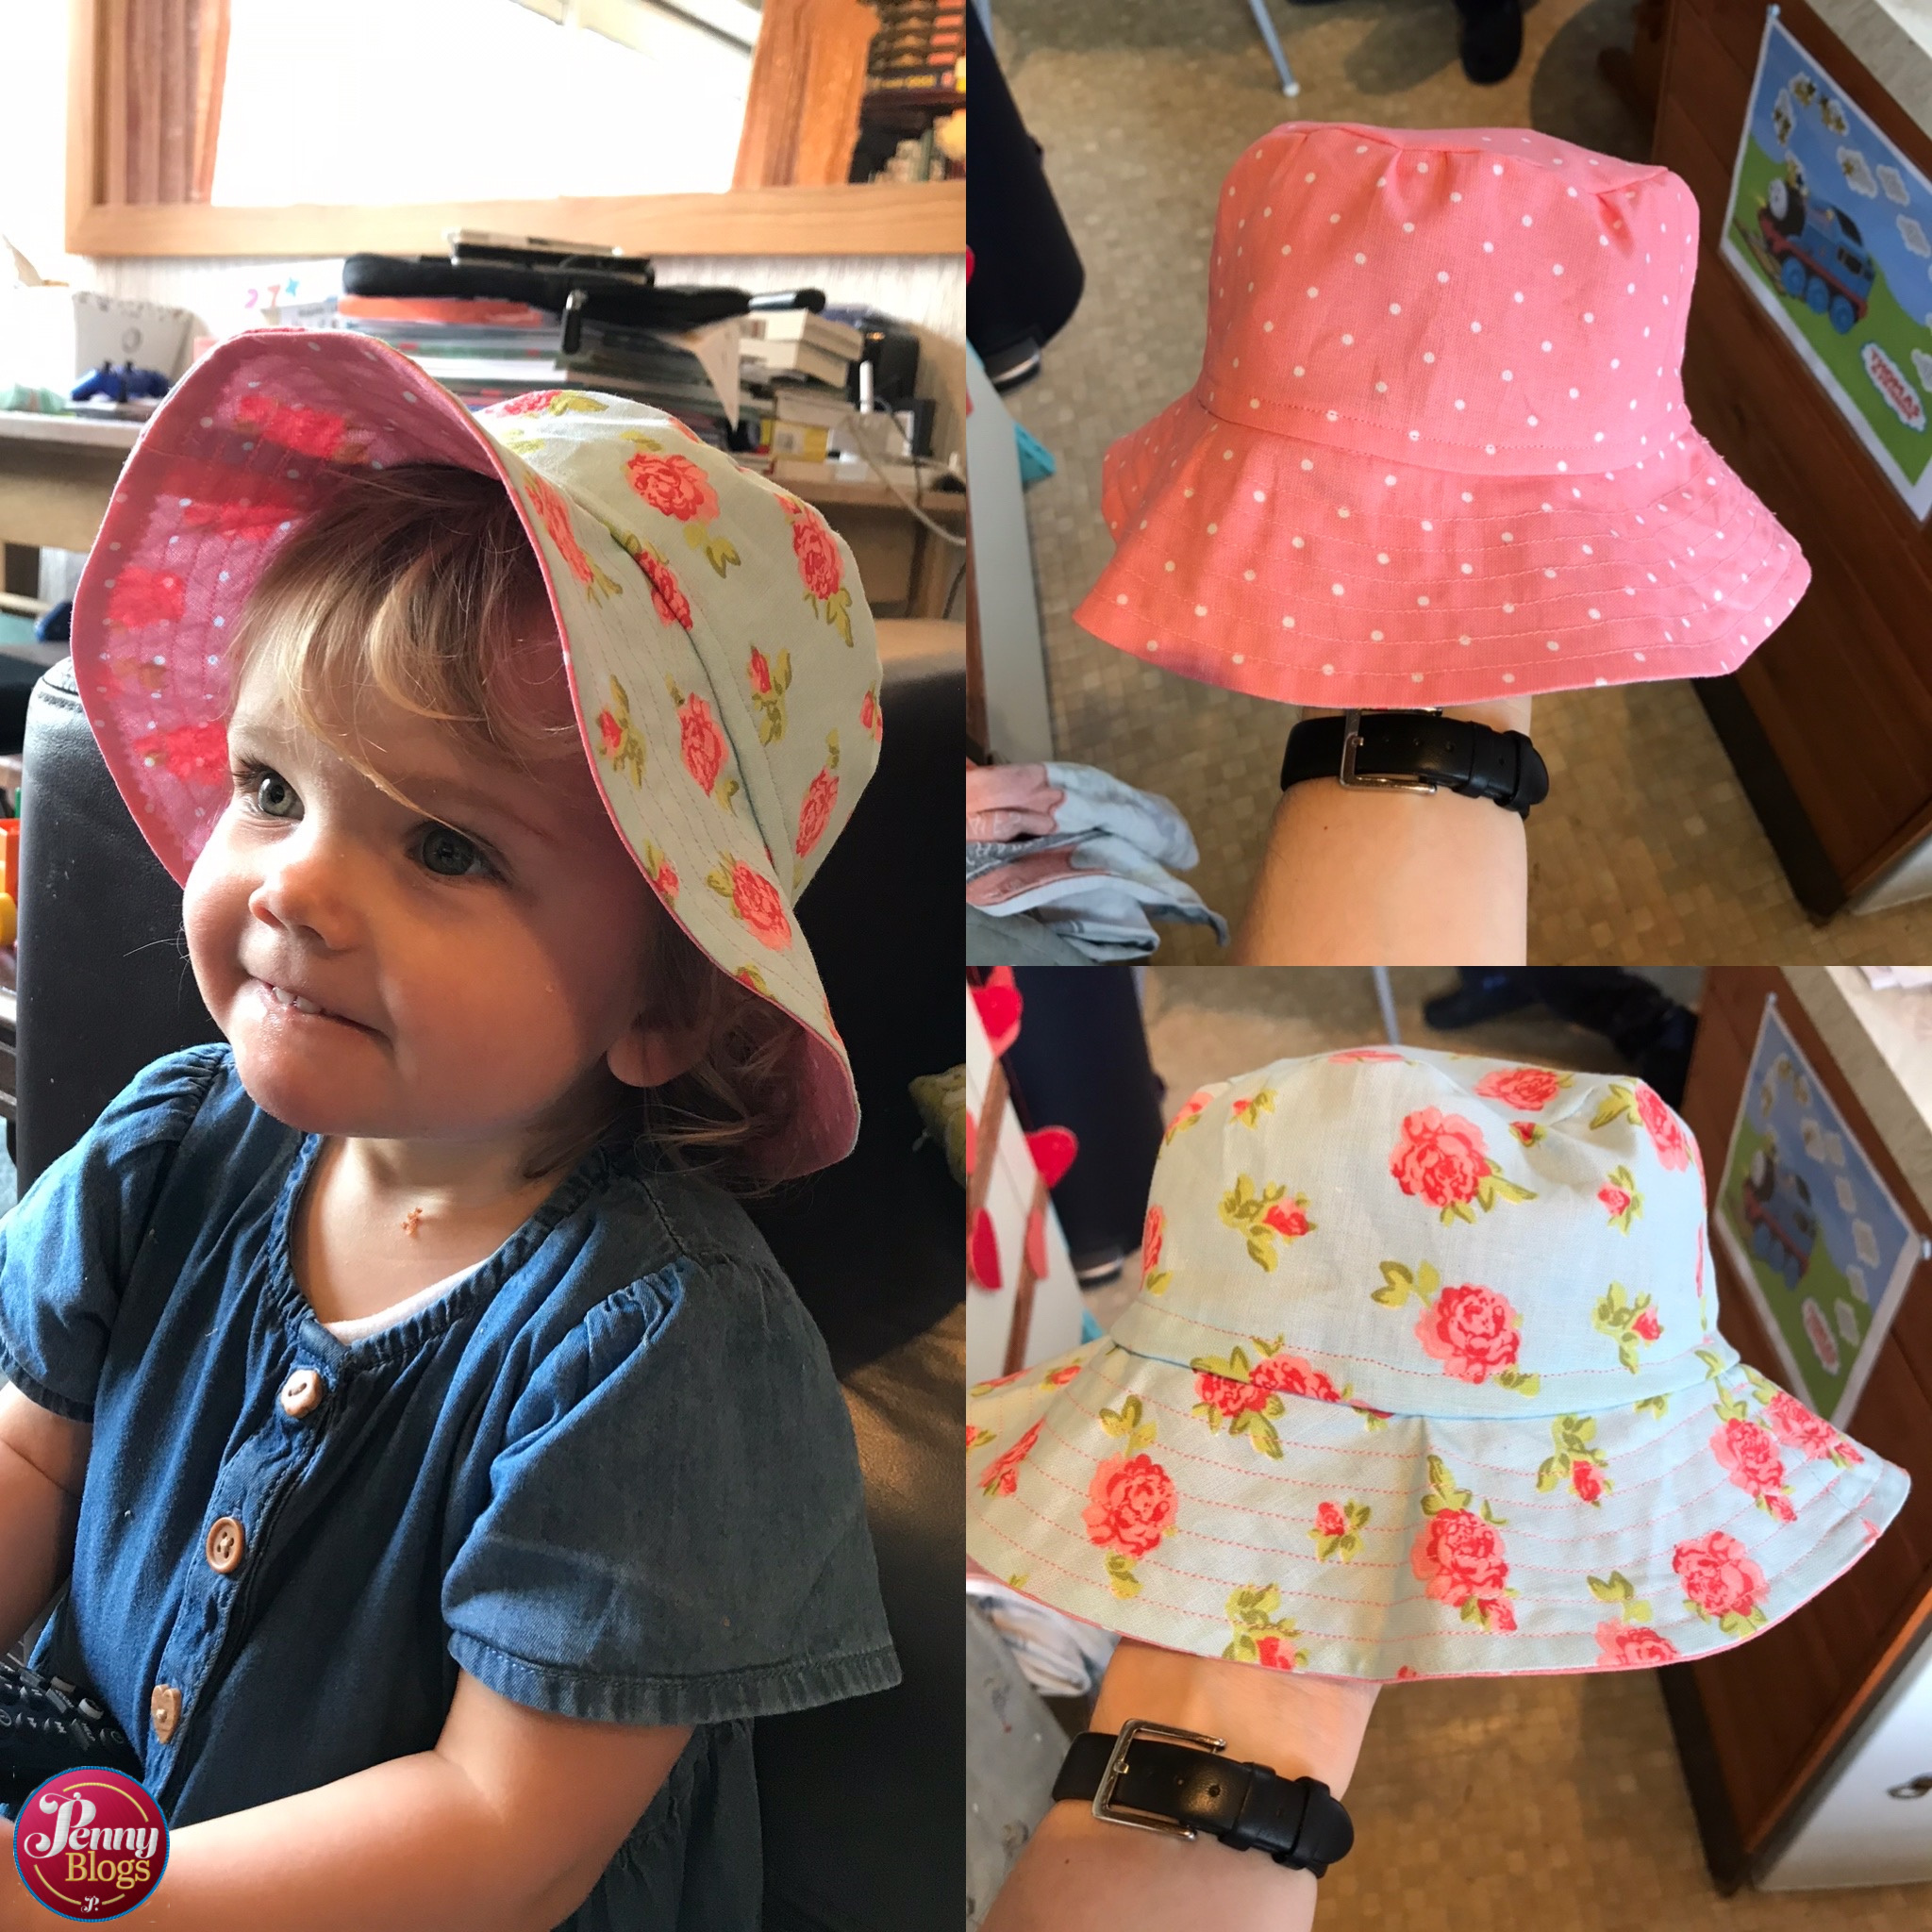
I’m really pleased with the end result. The fabric I used was from a bundle of floral fat quarters that I picked up Aldi a life-time ago. They have just been sat in my sewing stash ever since. It’s great to see them finally in use, and fulfilling a practical need too. I went for a floral fabric for the outside of the hat, and a pink spotty fabric for the inside. But, one of the beauties of the Sandcastle Bucket Hat is that it’s reversible meaning that we can choose which side to show off each day.

Now if only I could get her to actually keep the hat on her head whilst playing in the garden!

The Sandcastle Bucket Hat pattern is available online here.

Filed Under: Crafting, Crafts, Sewing

September – the month that…

October 8, 2019 by Penny Leave a Comment

… vanished without a trace!

Somehow we’re in October. Worse than that, we’re already a week into October and I only just got round to swapping my calendar over from September this morning!

September - Master C playing with birthday Lego

The last month (and a week) has been utterly crazy in so many ways. It was a month in which I celebrated our first wedding anniversary and Master C’s 7th birthday. Both seem somewhat unbelievable as time is going so fast.

September - Bonn and Penny infront of the Little Mermaid in Copenhagen, Denmark

It’s also been a month in which I’ve twice been over to Copenhagen with Bonn whilst he’s been working out there. The first time was mainly so that I didn’t have to spend our first wedding anniversary at home on my own, whilst the second trip was with the aim of gaining enough material to allow me to write several travel posts on both Denmark and Sweden. I certainly gathered everything I needed and visited loads of different places that I want to write about, I just need to find the time to actually do so now we’re back.

In addition to Copenhagen and Malmo I’ve also been up to Liverpool and the Wirral and enjoyed checking out charity shops at various other places around the country. We’ve been on the lookout for vintage board games in particular, but also other toy and game bits that we can use for a bit of a new business venture into the world of re-selling and reducing landfill. More on that over on Penny Plays when I get round to writing about it!

There’s also loads that I haven’t managed to get done in the last month – possibly because we’ve been away so much. The house hasn’t got much further forward over the last month, but at least I can now say that the downstairs loo is finished. Or at least it will be when the very final picture is returned to the wall. Once that is done I can finally take some photos and share the transformation with you.

September - Tube Stop Baby riding on a elephant in a playground

The other thing that is hanging over me are the Clothkits kits that I bought when Tube Stop Baby was just six months old and that I planned to make for her first birthday which is the middle of November. I’ve now got just a month left and really need to pull my finger out and start working on them. I’ve managed to squeeze in a couple of craft book reviews, but finding time to actually craft is another matter entirely.

I’ve also been putting a lot of effort into my online blogging and social media work over the last month. Not as much as I would have liked to, but as much as I have been able to manage whilst still reserving a few hours every night for sleep. On the travel front I’ve started off my writing on Copenhagen and Malmo with details of how we managed to pop over to Sweden for dinner during our first Copenhagen stay earlier in the year. I’ve also teamed up with Three to write about how I make the most of their App when I’m travelling so that I can always work on the move and stay in touch with my kids.

Over on Penny Plays I’ve been desperately trying to catalogue and play all the vintage board games that came our way during the summer car boot season. Once we’ve played the games we’re looking to either keep them if they are ones that we can see us going back to again, or otherwise selling them over on our new ebay store. It’s early days yet, but we’re hoping this is a way to keep our board game stocks to a reasonable level so they don’t completely take over the house (and garage!). On the blog itself I’ve been writing about everything from a pre-electronics teach yourself chess game, through to Ghettopoly – a version of Monopoly set in a US ghetto. Somewhere in the middle I also wrote about a vintage Spears Game in which you are supposed to name things that begin with a certain letter of the alphabet – Tell Me. It’s certainly been varied.

In addition to all this I’ve also been trying to put some work into the Vintage Board Games Facebook group that we set up earlier in the year. It’s slow work, but with Facebook you need to really put the effort in to get the results out. I just need a bit more time for the effort part!

And lastly, but not at all least. Over on Penny Reads I’ve relaunched Ladybird Tuesday! This is probably one of the achievements I’m most proud of this last month or so. I’ve really missed my regular delves into my vintage Ladybird book collection and after losing various physical possessions during my divorce and subsequent house moves they are one thing that I am so glad to still have in my possession. There’s a huge body of work ahead of me to try and move all the original posts over from Being Mrs C, but I’m sure it will give me something to keep me out of trouble whilst the winter weather keeps us at home. The posts I’ve included this month vary from an original Uncle Mac book that I received for my birthday, through to a Learn to write workbook from the 1980s and the recent Climate Change book that was partly written by Prince Charles. Also in there was the Ladybird book about Denmark. It seemed somewhat appropriate seeing as I’ve spent so much time there lately.

September - Tube Stop Baby eating watermelon in her high chair

What is nice though at the end of a busy month is sitting down like this and looking at everything that I have managed to achieve and not focussing on the things I failed to do. I’ve been pushing myself a lot lately with daily to do lists and sharing them on Instagram stories with the #KatyKicker hashtag to help make me accountable a bit for how much I get done in a day. It doesn’t always work, but what I have loved is reading Katy’s own monthly aims on her blog. One of the reasons I started blogging in the first place was as a way of making myself actually do things. Time to get back to using my blog like that and set myself some (achievable aims) for the month ahead.

Filed Under: Blogging, Books, Crafting, Crafts, Family, Life, Travel Tagged With: blogging, Copenhagen, ladybird books, September, travel, tube stop baby, vintage board games, what I've done this month

Attic 24 Inspired Ripple Blanket for a New Baby

August 16, 2019 by Penny Leave a Comment

So many things that I love doing have gone on the back burner over the last couple of years. Crochet, and crafting in general, has been one of those things. I’m desperate to be able to go back to spending evenings curled up on the sofa watching a box set with some crochet in my hands. I think it would probably help me sleep better too.

I’ve also got some wonderful Clothkits kits to make up before TSB’s first birthday in November. I really want to make her some things to remember, like I did for Little Miss C when she turned one, and I’m scared that time will be against me on this. I bought the kids three months ago, but they’re yet to come out of the carrier bag since returning home. It’s shameful really.

There is one project though that I have managed to finish in the last couple of years and it was rather an important one.

Attic 24 Inspired Crochet Baby Blanket

My sister gave birth to her first baby last month and I was determined that this niece or nephew should have something handmade from his Auntie. A crochet blanket seemed the obvious choice and so that’s what I set out to do. My sister didn’t know if she was having a boy or a girl so I wanted to use bright colours that would work for either gender. I managed to raise my leftovers from the various blankets that I’ve made in previous years and came up with a lovely selection of Stylecraft Special DK that I could use.

Attic 24 Inspired Crochet Baby Blanket

I based my pattern on Lucy from Attic 24’s Ripple Blanket and just altered it so that my foundation row was shorter, so that the final blanket would be a similar size to one that we had for Tube Stop Baby. I then just kept crocheting until it was approximately square in size. I’m not going to lie, it took months, especially as the only real time I had to crochet was when a passenger on long car journeys around the country, but I’m delighted to say that I managed to get it finished about two hours before she gave birth!

Attic 24 Inspired Crochet Baby Blanket

Now I need to just run my attentions to finishing all the other blankets that still need ends sewing in and borders adding. I’m beginning to think that I might just stop sleeping to gain a few extra hours in each day!

Filed Under: Crafting, Crochet Tagged With: attic 24, attic24, baby blanket, craft, Crafting, crochet, handmade, ripple blanket, style craft special dk

Recycled Sewing

March 13, 2019 by Penny Leave a Comment

A very rare event took place in our house last night. I got to watch the Great British Sewing Bee live. So unheard of that I struggled to know what time it was actually on. Let alone what channel it was. (9pm, BBC2 in case you’re as ignorant as I am about live TV these days!) Normally I manage to pick it up on iPlayer the following day whilst feeding Tube Stop Baby.

Last night’s episode is worthy of further discussion though.

The theme was recycling with it being tagged as Reduce, Reuse and Recycle week. Normally there is a weekly transformation challenge when something is plucked from a “charity shop” for them to repurpose into something else. This took it to a whole new level though. It also brought out a couple of key statistics from Patrick that made me gasp.

Firstly, the average person in the UK throws away 15kg of clothes every year. Let’s just think about that for a second. Has our disposable attitude to clothes really got to the stage when so much is being ditched? And is it all really clothes that have worn out, or is it just things that are no longer “in fashion”? And where are all these clothes going?

When talking about the history of more “disposable fashion” they talked about Biba and how in the 1960s people were ready for something different after the war years and rationing.  I can understand how those that had lived through such austerity would celebrate no longer having to, but have we just gone too far now?

I really struggle with the idea of shopping (especially for clothes) as a hobby. I honestly can think of nothing worse. If I need new clothes I pop to the shops, go for exactly what I want, buy it and get out of there as quickly as possible. The idea of spending hours just browsing rails of clothes not looking for anything in particular brings me out in a cold sweat!

The fact that so many clothes now are priced so that people can buy them as an impulse purchase may well be part of the problem. If they can buy clothes on a whim, them do they just get rid of them on a whim too?

The second statistic that made me gasp was that 30% of the fabric that home sewers buy, ends up not being used. OK, I understand that depending on what you making and patterns on the fabric you are using, it might be the case that cutting out isn’t always as efficient as it should be. I suppose the question is, what happens to all that fabric?

I’m pretty sure that most sewers that I know would never dream of putting off cuts in the bin if they can be used for something else. A dear WI friend of mine Emma, runs her own dress-making business, specialising in fantastic reproduction dresses (Oh Sew Vintage – look her up, her dresses are amazing!) and as a result has a lot of off cuts. There is no way that they are all destined for landfill though. Instead Emma makes the most of every last bit. Some she passes on to other people, or into our WI crafting supplies, but many are reused into smaller projects. I’ve seen some used to make small purses or make-up bags. Some used to make things like rag rugs or even rag fairy light garlands (like I did at Wine and Wigwams a couple of years ago) which look gorgeous. There is absolutely no reason for them just to go in the bin.

Last night’s Sewing Bee was excellent at highlighting just how much waste there can be – both in terms of unwanted garments and also when sewing at home. It showed how home furnishing items can be reused to make clothes, but I still think it can go further. Not all of us are yet at the stage of being able to make a dress from an old duvet cover (as much as I want to learn to) but something like a rag garland or wreath or even a simple patchwork blanket is achievable.

What we now need to do is show people who aren’t at the Sewing Bee level of sewing skills what is possible. Give them ideas and instructions as to what they can make from scraps of fabric that might otherwise go in the bin. Make them think more about those items of clothing that they no longer want to wear, and try to see them in a new light.

At the end of the day the idea of 15kg of clothes and 30% of sewing fabric being wasted is just criminal!

My own first steps towards all this is going to be trying to actually finish the million and one sewing (and crochet and knitting!) projects that I have in an unfinished state. They include the cot bed quilt that I originally started for Little Miss C all those years ago. I’ve found all the fabric and even the old blog posts from 2010 that I was following to help me and I’m determined to get it finished before Tube Stop Baby moves into a full size cot. Watch this space!

Photo by Dinh Pham on Unsplash.

Filed Under: Crafting, Crafts, Environmental, Television Tagged With: cot bed quilt, Great British Sewing Bee, recycle, recycled fabrid, recycling, reduce, reduce reuse recycle, reuse, sewing, sewing bee

Halloween Crafts – Post-it Note Pumpkin

October 16, 2018 by Penny Leave a Comment

I originally created the Post-it Note Pumpkin several years ago back on Being Mrs C. Time to revive it for this Halloween!

As Little Miss C and I sat at the kitchen table today crafting together with a bit of a halloween theme inspiration struck. Still on our patio windows were the letters that we put up when we reviewed Post-it Notes a few weeks back and as I looked at the orange and green colours I realised that I had the perfect materials to make a giant Post-it Note pumpkin.

Halloween Crafts Post It Note Pumpkin

What you need to make a Post-It Note Pumpkin

All you need to make this is:

  • Orange Post-It Notes*
  • Green Post-It Notes*
  • Black paper/card*
  • Glue* or double sided sticky tape*
  • A large wall or window space

How to make your Pumpkin

Halloween Crafts Post It Note Pumpkin

Arrange the orange Post-it Notes in a roughly round shape. You could make it a bit flatter at the bottom if you wish. Add some green Post-it Notes at the top to form a stalk.

Take your black paper / card and cut out three triangles (two for eyes and one for the nose) and a mouth shape. Use either glue or double sided sticky tape to attach them on to the orange Post-it Notes.

The Finished Pumpkin

Halloween Crafts Post It Note Pumpkin

Ta-da! One complete Post-it Note pumpkin.

If you’re feeling really clever you could try to create it in reverse so that it could go in a window and be seen from outside. I’m wondering about a smaller version for the square glass panel in our front door.

Happy Halloween!

Disclaimer: Links marked * are affiliate links. If you order anything via them it will cost you no more than if you’d gone to Amazon yourself to buy them, but I will receive a small commission. Many thanks for any purchases you make. They are very much appreciated in these tricky financial times. 

Filed Under: Childrens Crafts, Crafting, Halloween Tagged With: Childrens crafts, crafts, Halloween, halloween craft, KIds Crafts, post it notes, Pumpkin

Halloween Crafts – Paper Plate Spider’s Web

October 15, 2018 by Penny Leave a Comment

I first blogged about making a paper plate spider’s web as a Halloween craft over on Being Mrs C several years ago. Seeing as Halloween is approaching it seemed the right time to dust off the festive cobwebs and share it again.

Halloween Crafts Paper Plate Spiders Web

I saw a picture of this make on Pinterest (my favourite place online right now – please pop over and follow me if you don’t already) when doing some insect crafts with the kids earlier in the year and knew that it had to be on my Halloween list of things to make. The yarn in my Bostik Bloggers box from Craft Merrily was the perfect prompt. Paper plate spider’s webs are not only easy to make with young children, but they also look really effective and are great for children’s fine motor skills too.

Halloween Crafts Paper Plate Spiders Web

What do you need to make a paper plate spider’s web?

All you need is:

  • Paper plates
  • Scissors
  • Yarn / wool
  • Large tapestry needle (blunt if children are doing the activity)
  • Hole punch

How to make a paper plate spider’s web

Halloween Crafts Paper Plate Spiders Web

The first thing you need to do is cut out the middle of your paper plate. This can be a bit fiddly to start off with and you might need to fold the plate in half to start off your cutting, so it may be best for an adult to do this part.

Halloween Crafts Paper Plate Spiders Web

Once you’ve got just the rim of your plate left use the hole punch to make holes around the inside of it. Space them out a bit, but they don’t need to be very evenly spaced, nor does it matter how many you do. It seemed Little Miss C had never actually used a hole punch before so we now have piles of paper and paper plates all with holes punched in them as she enjoyed doing it so much!

Halloween Crafts Paper Plate Spiders Web

Thread the yarn on to the needle and start lacing it across the inside of the cut out plate. It doesn’t matter if you go in and out of holes you’ve already used, or what order you go round the holes, just try to make sure you’ve used all of them. Putting the needle in from the front or the back of the plate also doesn’t matter. This part of the activity is perfect for children – the holes are big enough for them to easily fit the needle through and it doesn’t matter at all as to what order they lace it all up in.

Try to finish by either going through the same hole where you started, or the one next to it and then just tie a not in the two ends of the thread to secure it.

Halloween Crafts Paper Plate Spiders Web

Finishing touches

These are perfect for hanging up as decorations for a Halloween party and would also work well with a small toy spider attached – as I’ve seen on Pinterest – but it seems that I just can’t find anywhere selling toy spiders this Halloween. I’ve searched all the local shops to no avail. I’ll keep my eyes out though as I think it would be the perfect addition.

Disclaimer: We were sent a box of craft goodies as part of our role on the Bostik Family Craft Bloggers Network when this blog post was first published. This post contains affiliate links.

Filed Under: Childrens Crafts, Crafting, Halloween Tagged With: Childrens crafts, craft, Crafting, Halloween, KIds Crafts, paper plate crafts, Spiders Web

  • « Previous Page
  • Page 1
  • Page 2
  • Page 3
  • Next Page »

Primary Sidebar

Google Ads

Categories

  • Baking
  • Blogging
  • Books
  • Business
  • Car Boot
  • Childrens Crafts
  • Collaboration
  • Corona Diary
  • Crafting
  • Crafts
  • Crochet
  • Days Out
  • Decorating
  • DIY
  • Environmental
  • Family
  • Fashion
  • Films
  • Finances
  • Fireworks
  • Food and drink
  • Gardening
  • Gifts
  • Halloween
  • Health and Fitness
  • Home
  • Interiors
  • Knitting
  • Life
  • Moving house
  • Music
  • New house
  • Outdoors
  • Parenting
  • Pregnancy
  • Relationships
  • Romance
  • Sewing
  • Simple things
  • Swimming
  • Television
  • Thrifty
  • Travel
  • Upcycling
  • Vintage
  • Womens Institute
  • Work

Penny on Amazon

Want to find out what I’m recommending over on Amazon at the moment? Take a look here.

Copyright © 2025 · Genesis Sample on Genesis Framework · WordPress · Log in